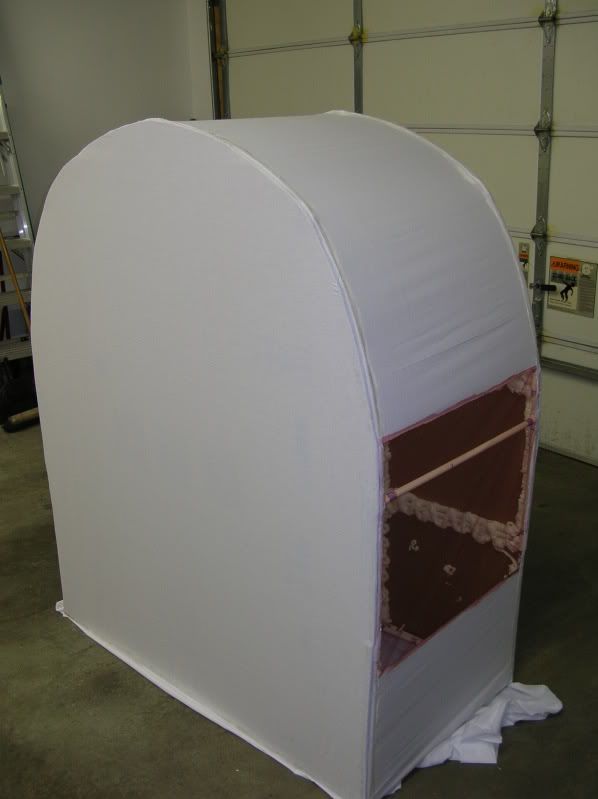
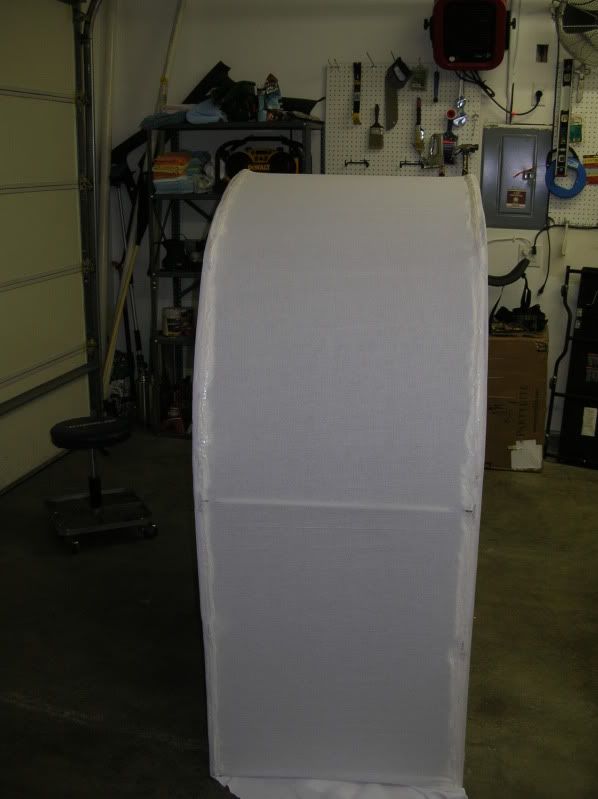
My PacMan costume
Posted: Wed Oct 07, 2009 5:17 am
I'm new around these parts, but am looking for a place to show off a bit of hard work. This project started about a month and a half ago as an idea, about a month from the initial design sketches. (Pardon any grammatical mistakes, I'm copying/pasting/editing multiple postings from a car forum I'm on)
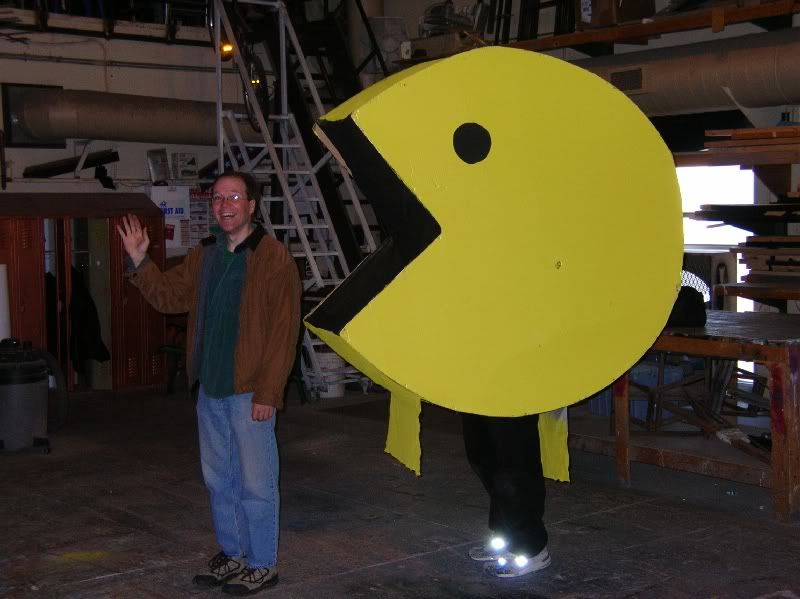
Three years ago I made a giant PacMan costume, but did it kinda by the seat of my pants. The final product was pretty decent, but lacked fit and finish. It was a huge hit so this year I've decided to resurrect it, but make it better!
This year's is going to (hopefully) have a functioning, moving mouth.
Anyway, here are a couple pictures of the old one.
(I'm inside the suit)
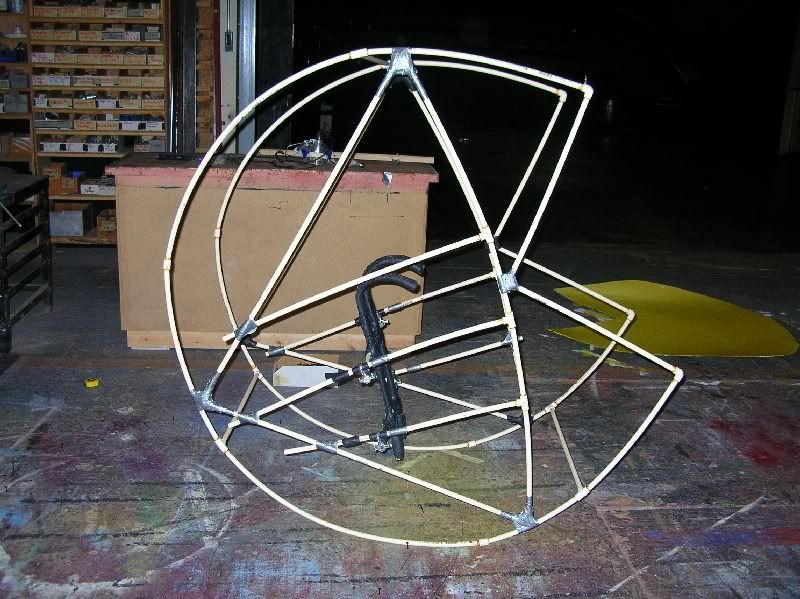
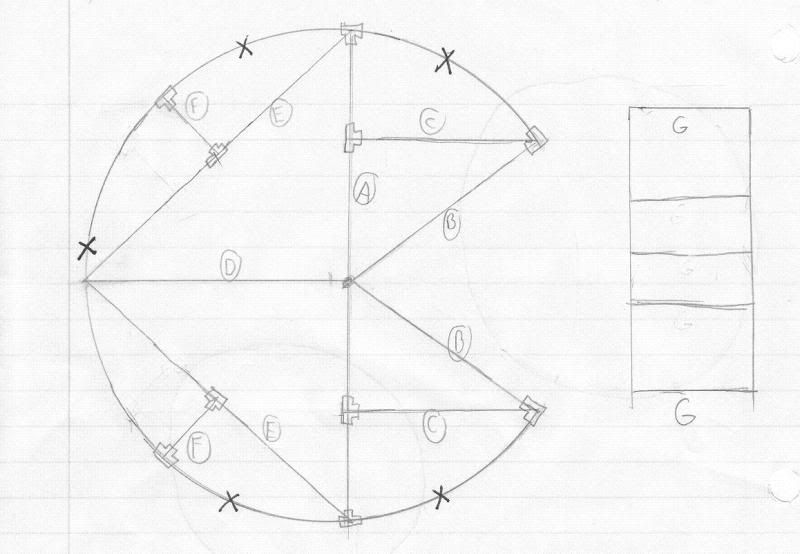
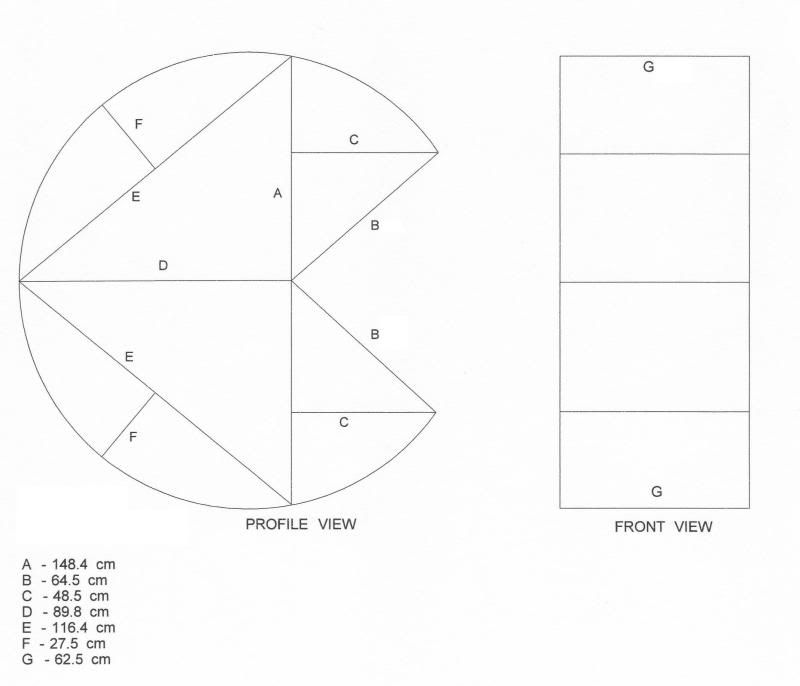
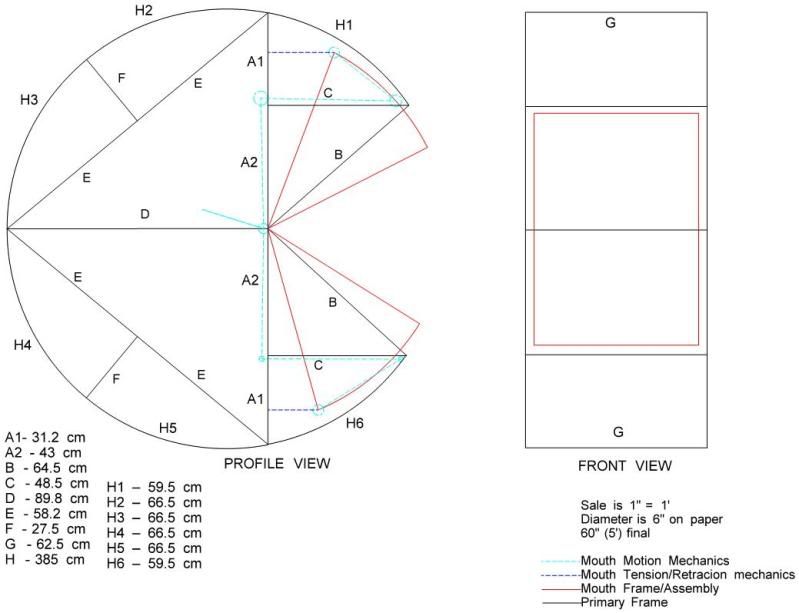
This year gets a lot more planning. Here are my plans that I put together.
The extra bracing is there to fix problems I had with flex. You can see it in the frame only picture. There was more flex that happened later as well.
Initial sketch
Put into the computer
Here's the mouth mechanism drawn in
A crappy 3D rendering. It's not actually solid through and through, I'm just not good with CAD software. The blue and teal colors are the mechanism to close the mouth and the elastic material to make it open back up.

Some pictures of it starting to get put together
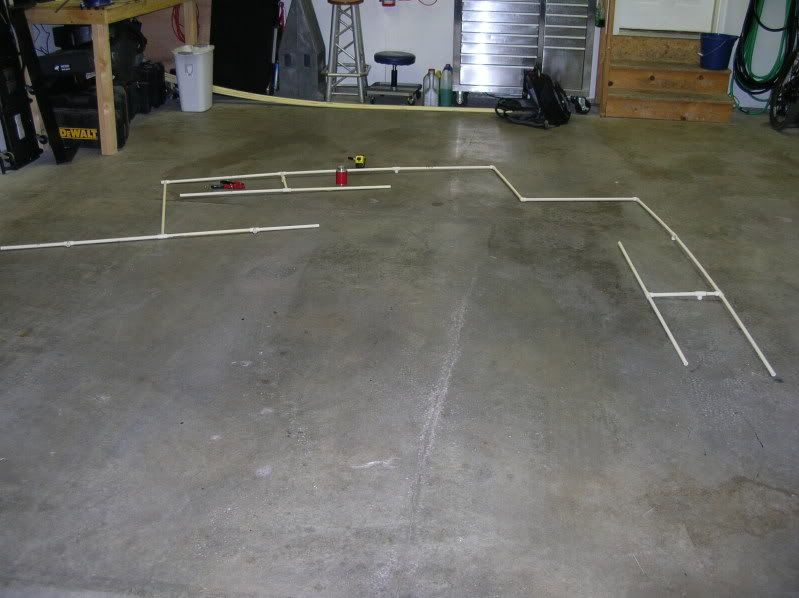
This is one half of PacMan cut up into nice little pieces. I'm a demented one
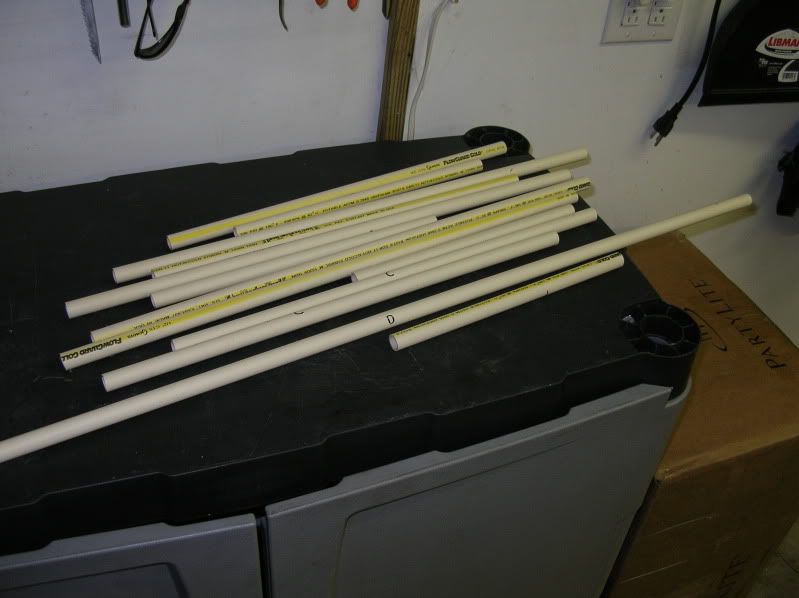
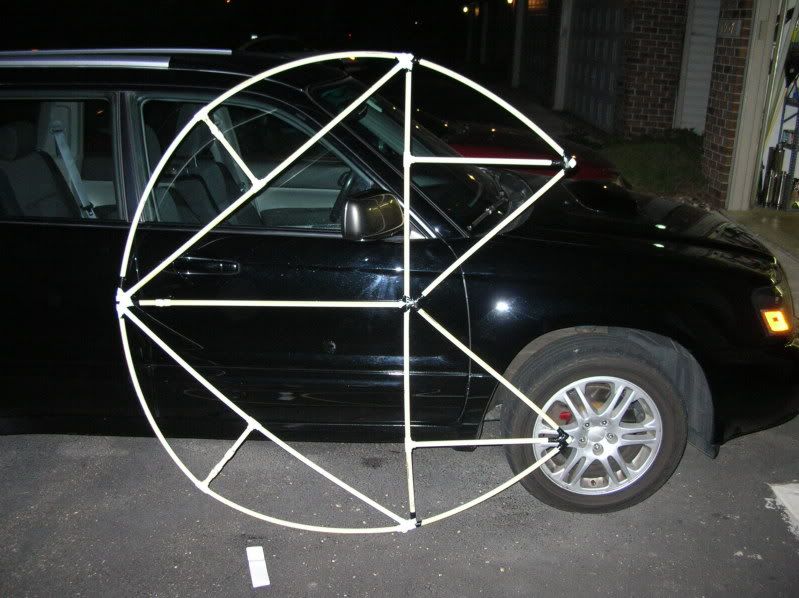
Here's that half going together
All put together
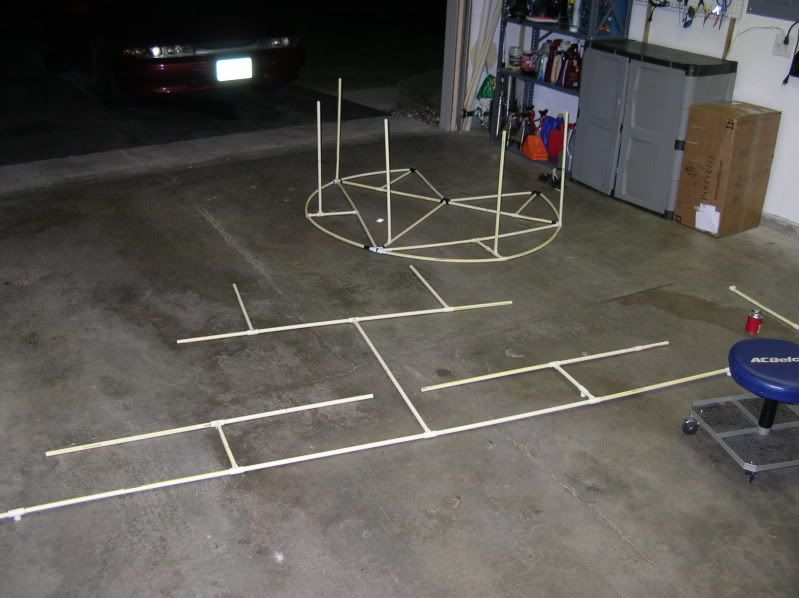
Cross-Pieces installed. You can see the other half being put together. I changed the way I was doing this because it was much easier to join the frame at one of the 90 degree bends instead of in the middle of a curve. Much less tension.
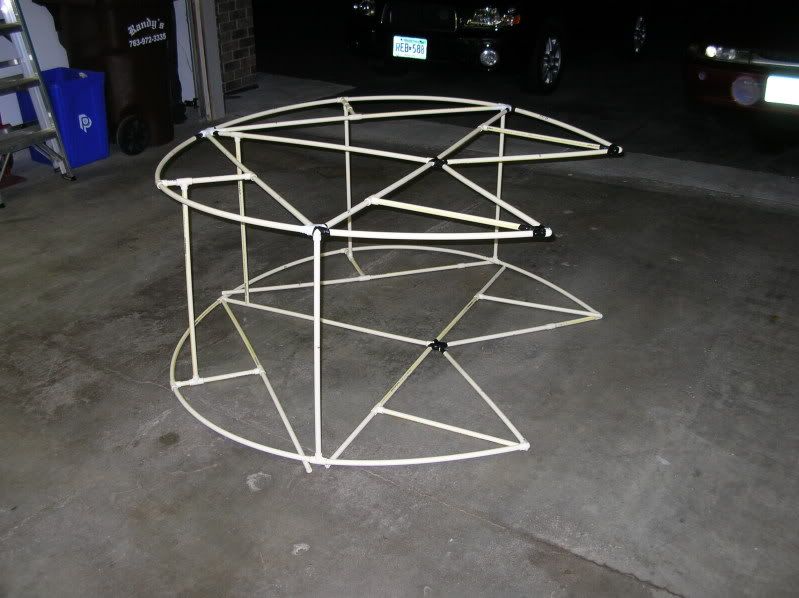
The other half about 2/3 done. Sitting on top of the cross bars to get a feel for how things are matching up. I'm going to use little stubby ones to really nail things down.
Once the outer frame was finished I went shopping for military surplus backpack frames to install in the suit.
I picked up yellow fabric for the center section, black sheer fabric for the mouth, and had Lowes color match paint to the yellow fabric for the sides.
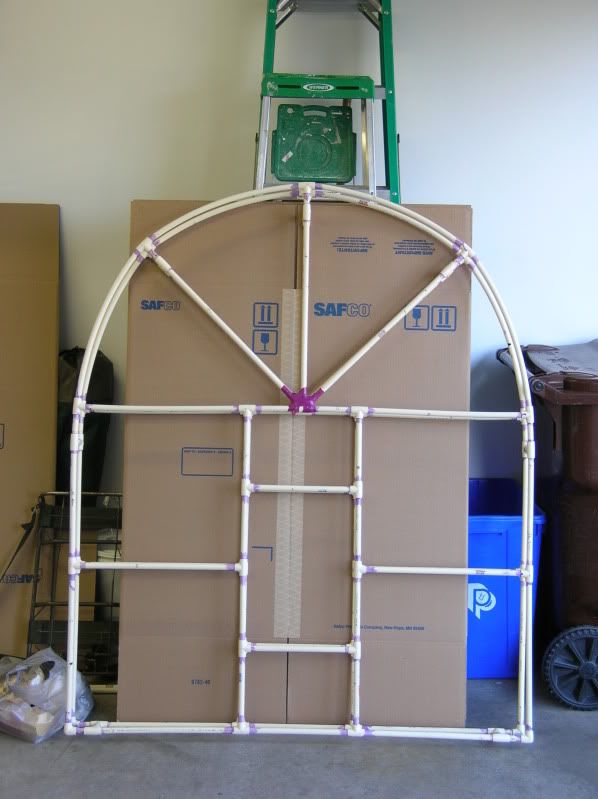
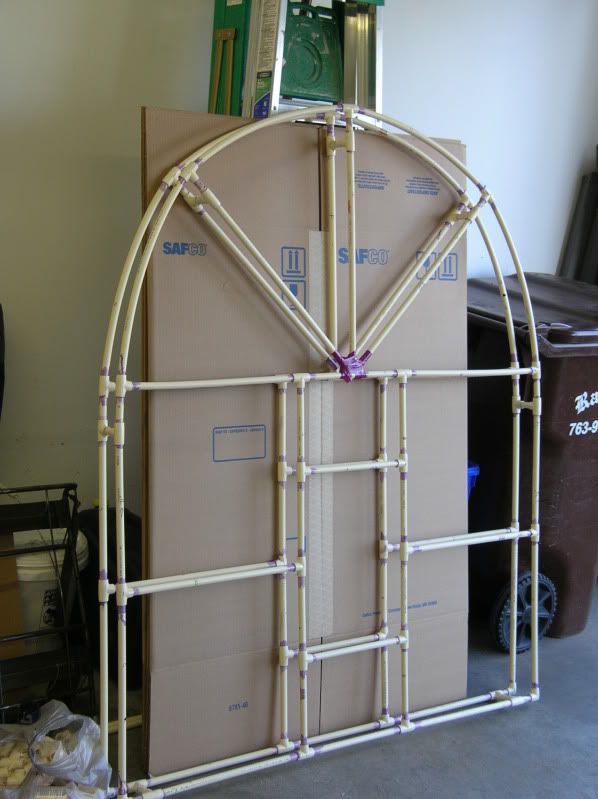
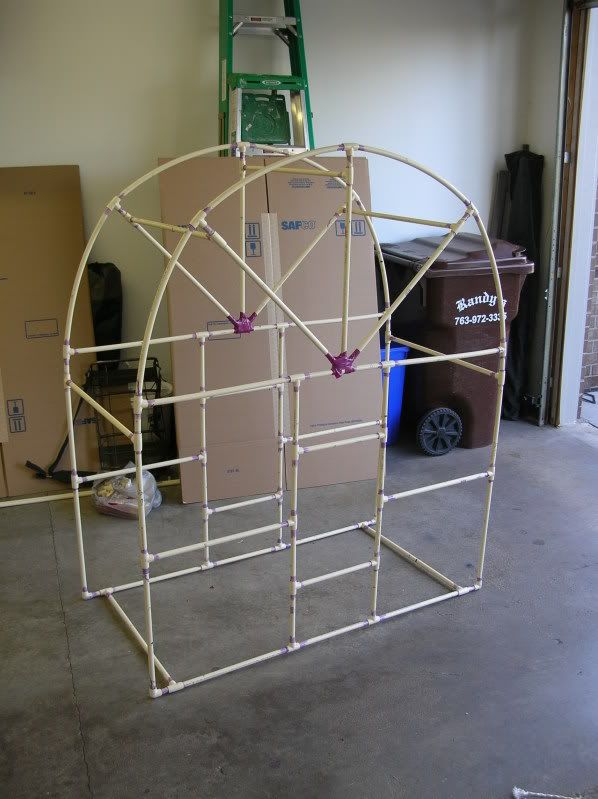
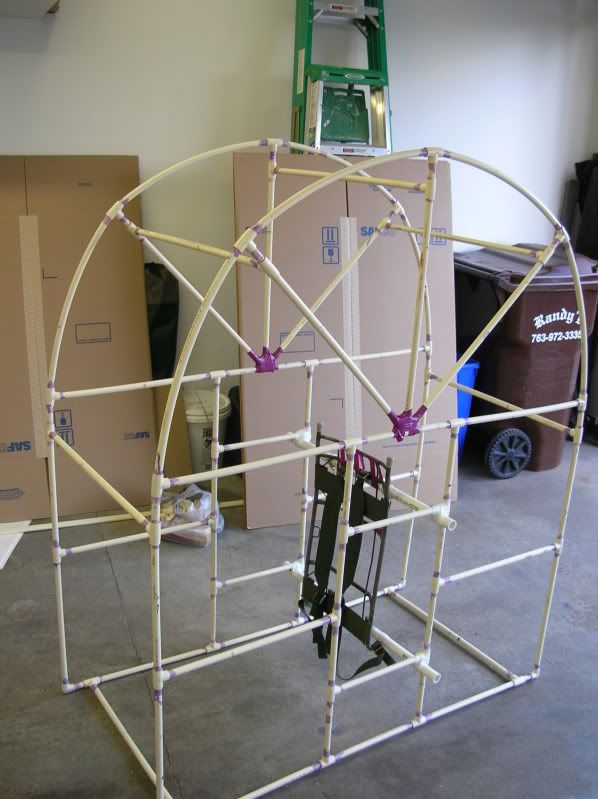
Here are some pictures from this night. I made super-short cross bars so that I could make adjustments and get the two halves as close to symmetrical as possible.
Here are the two halves. Pretty darn close to identical
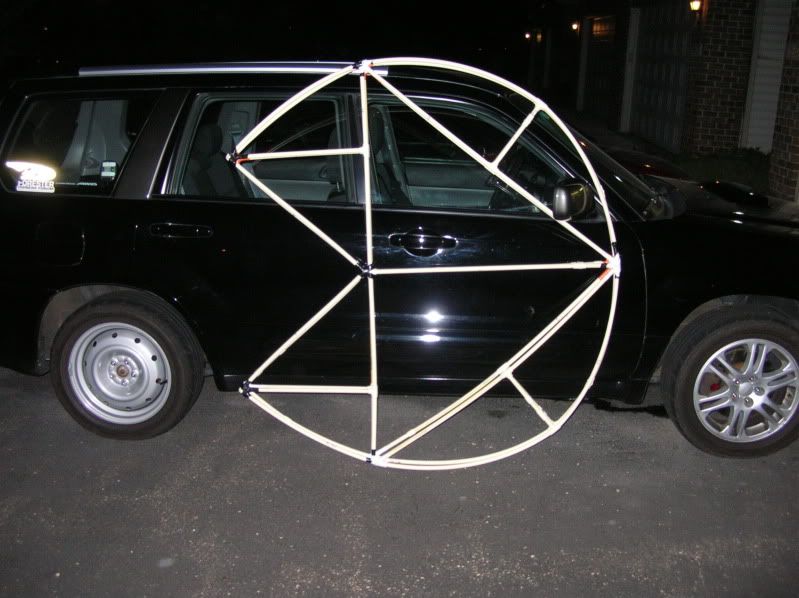
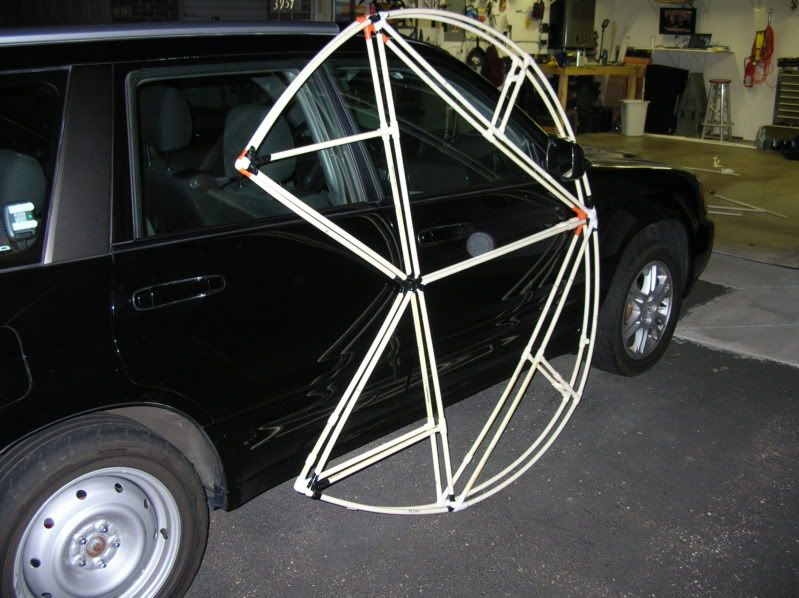
All put together
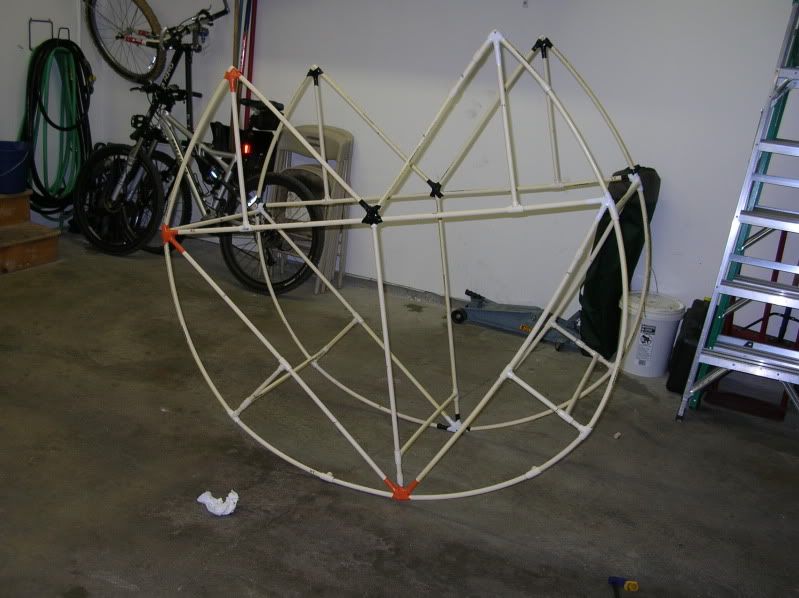
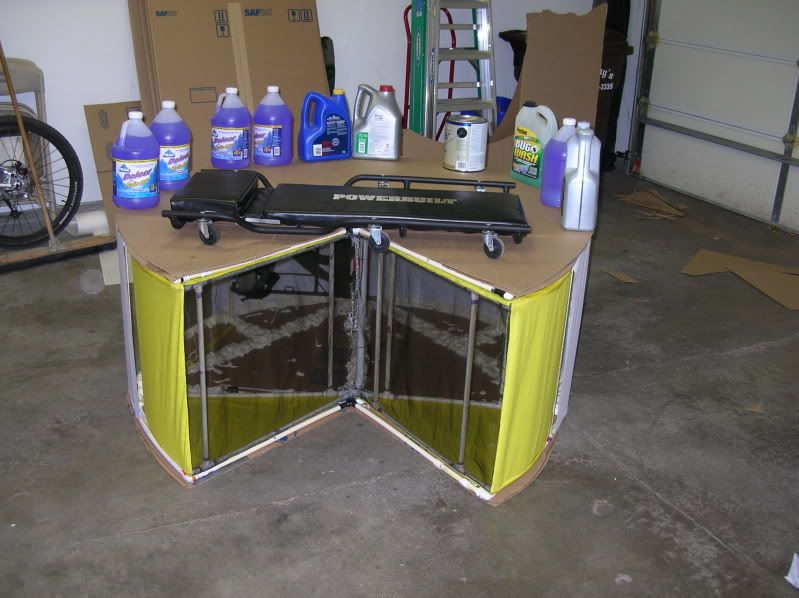
One more all assembled. The two ladders in the background are a 6' and an 8'. That gives you a point of comparison for size.
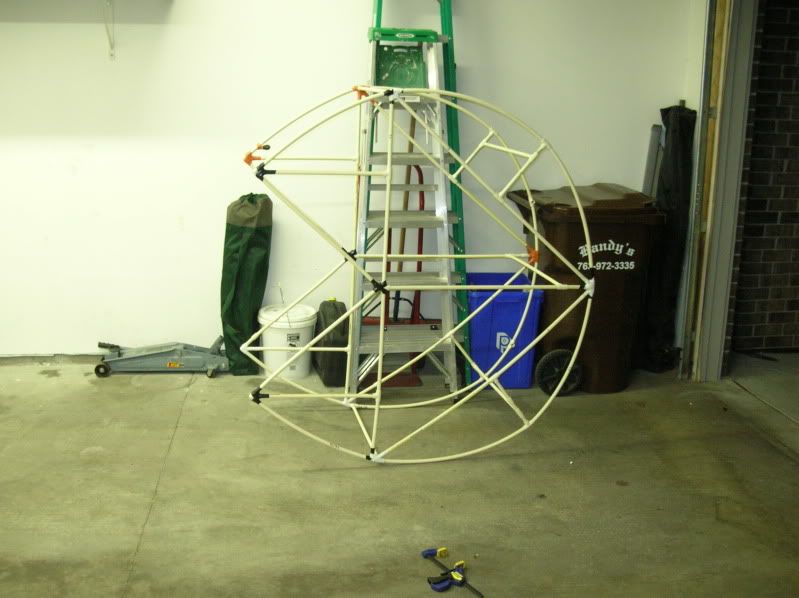
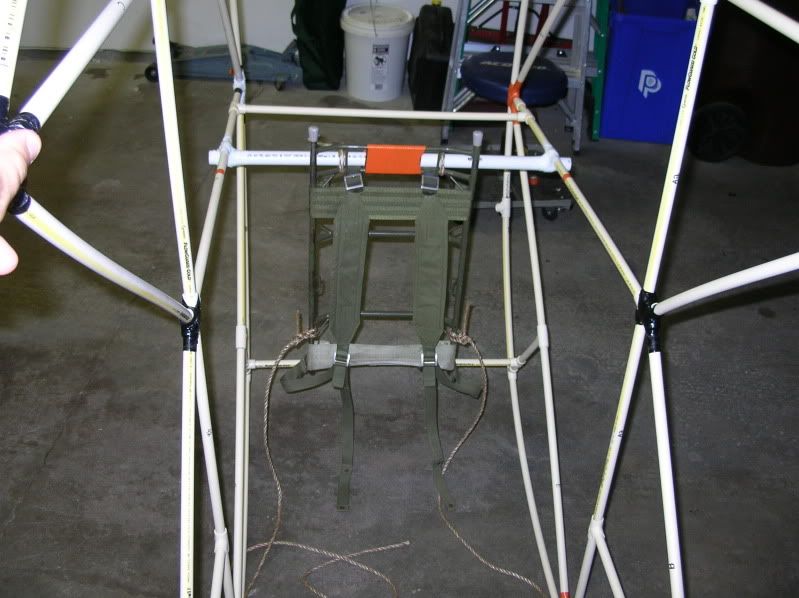
I went to a surplus store and picked up a very old military metal-frame backpack. The pack part got thrown out but I'm using the frame to attach the costume to myself. I got the frame mounted and one of the sides put together. I'm not thrilled with the cardboard I'm using since I have to tape multiple parts together, but I don't have a good way to transport larger pieces. I may look into some kind of poster board to lay over the top to make it look a little bit cleaner.
Here are a few more pictures:
The harness mounted
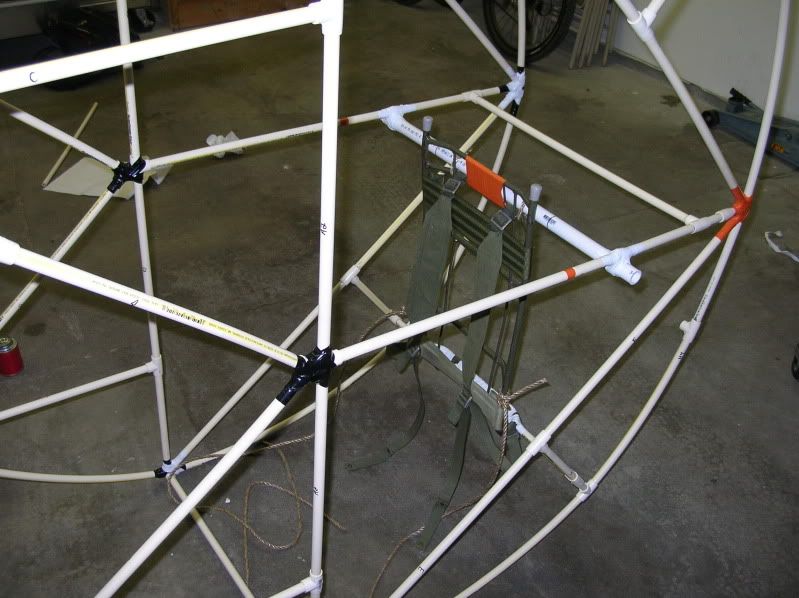
And the side that I got put together. I'm not attaching it until I get everything else in the mouth figured out since the sides will make it much harder to do any work inside.
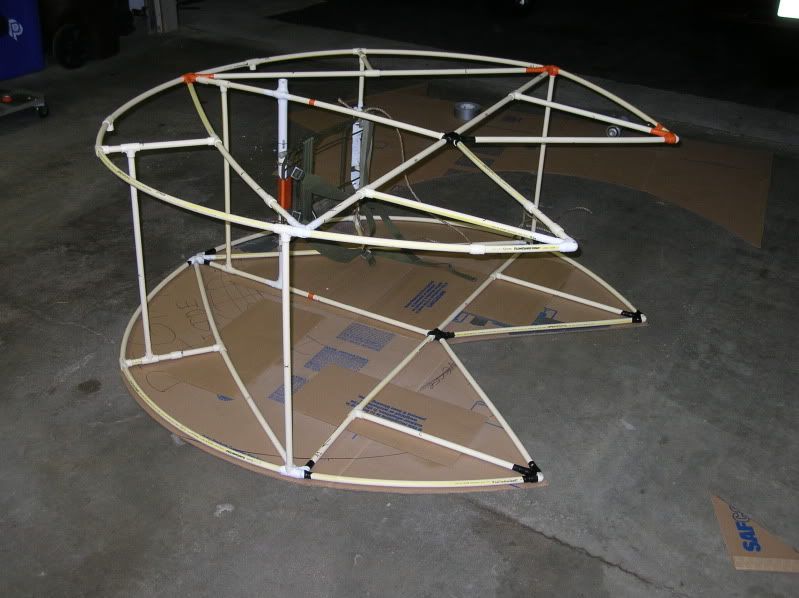
This night I got the lower jaw of the mouth built, installed, and working. There was a lot of tweaking required as far as the placement, attachment, and whatnot of the pulleys, but as of now it seems to be working very well. I may need to get larger rope though. The stuff I got is a little smaller than what the pulleys are designed for and it has a habit of getting a little off track.
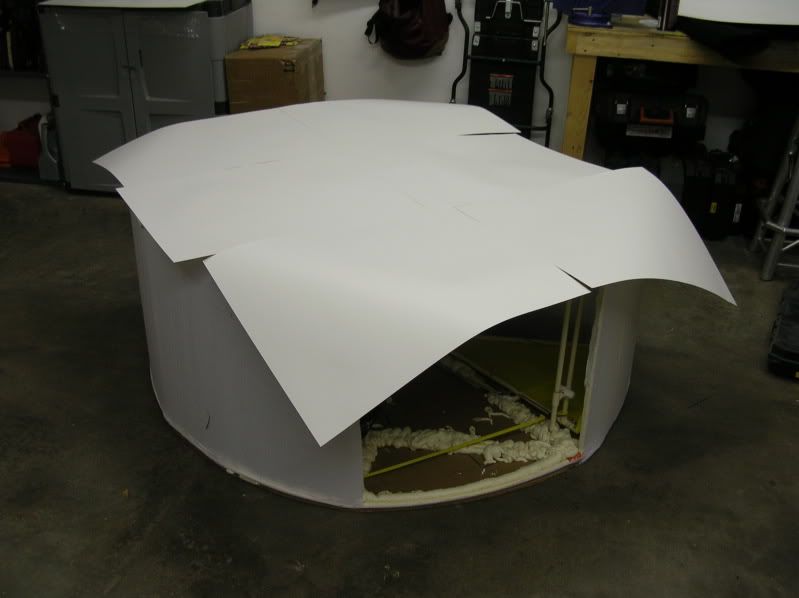
I also picked up some poster board to lay over the top of the cardboard for a nice even surface. They should butt right up against each other leaving minimal lines, unlike the pieces of cardboard taped together.
Here are the pictures
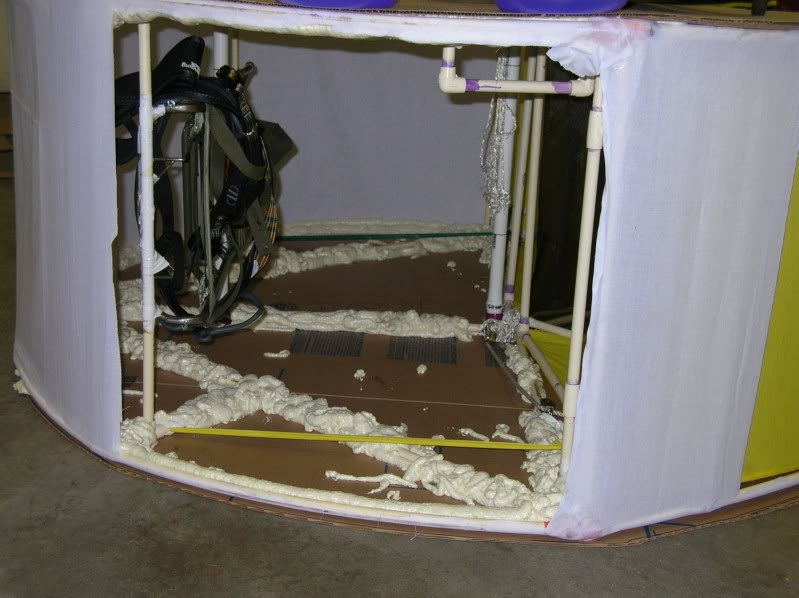
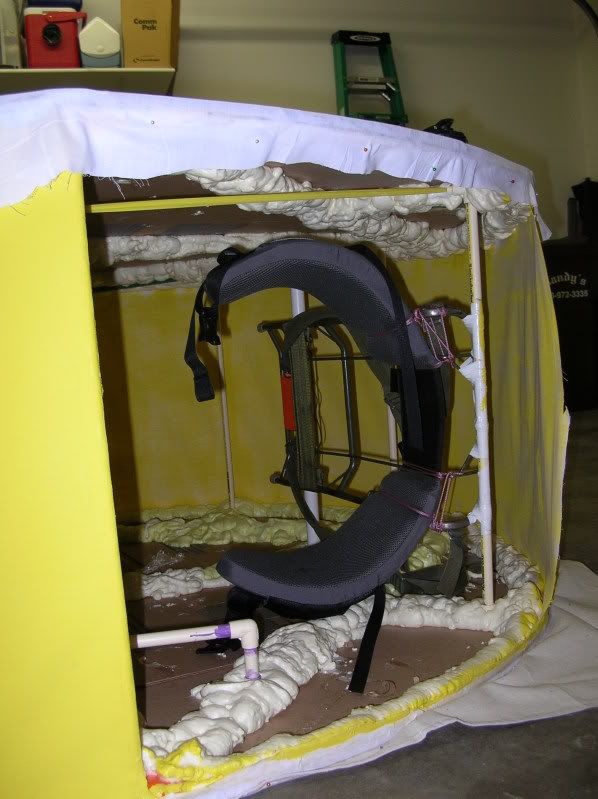
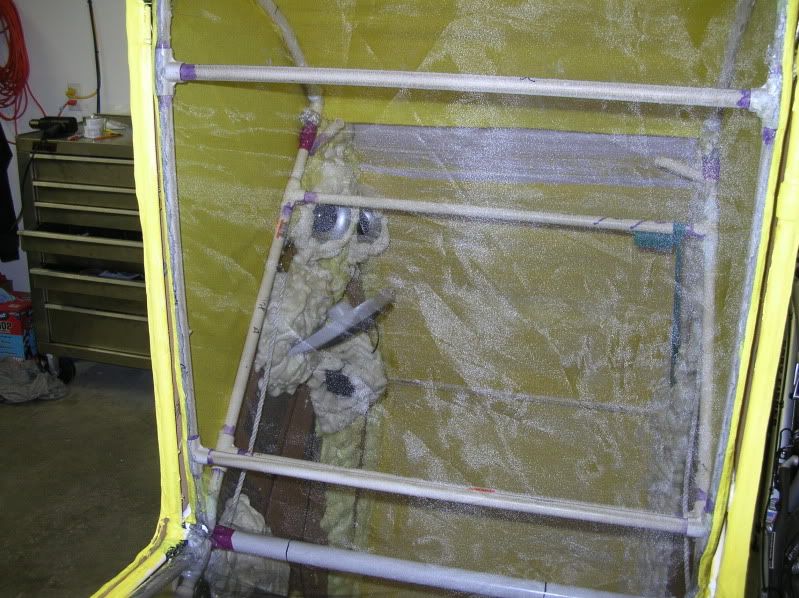
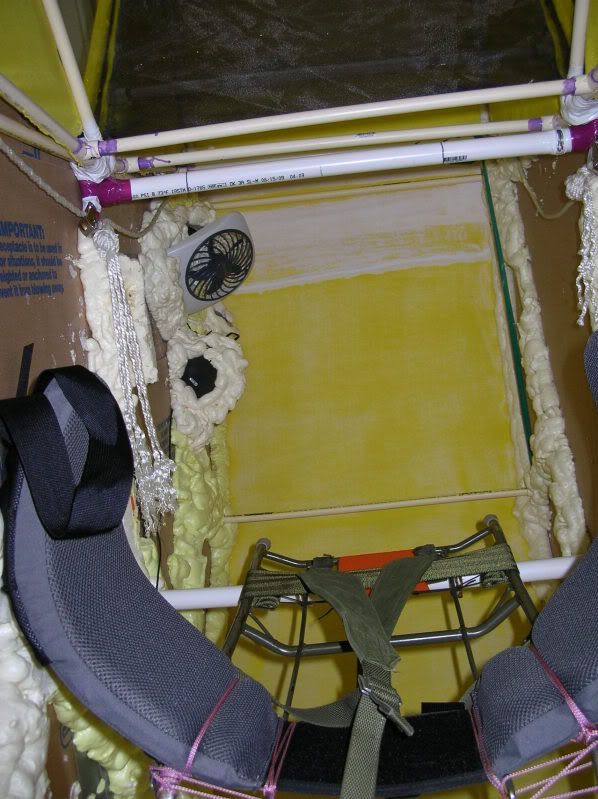
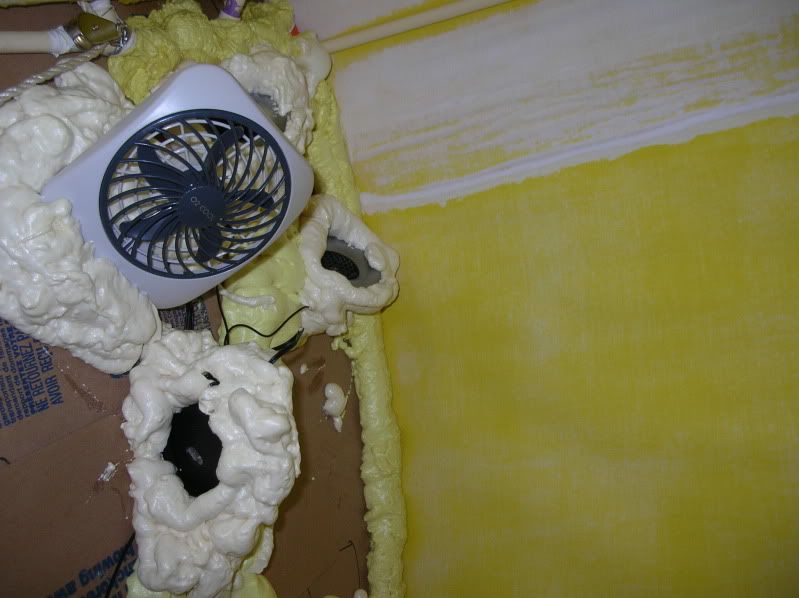
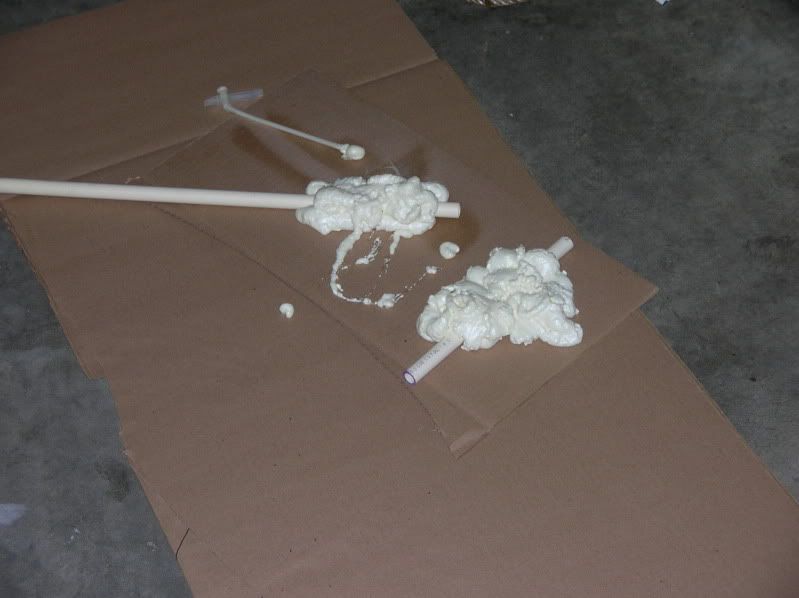
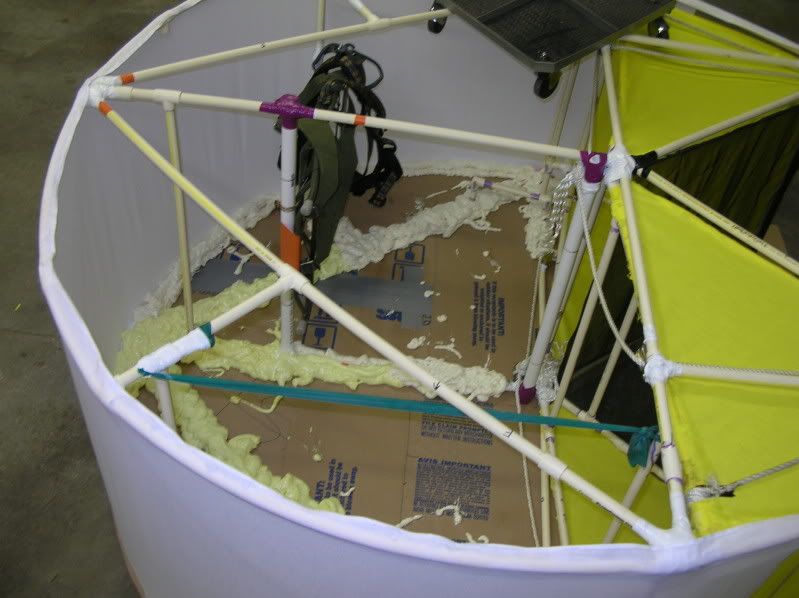
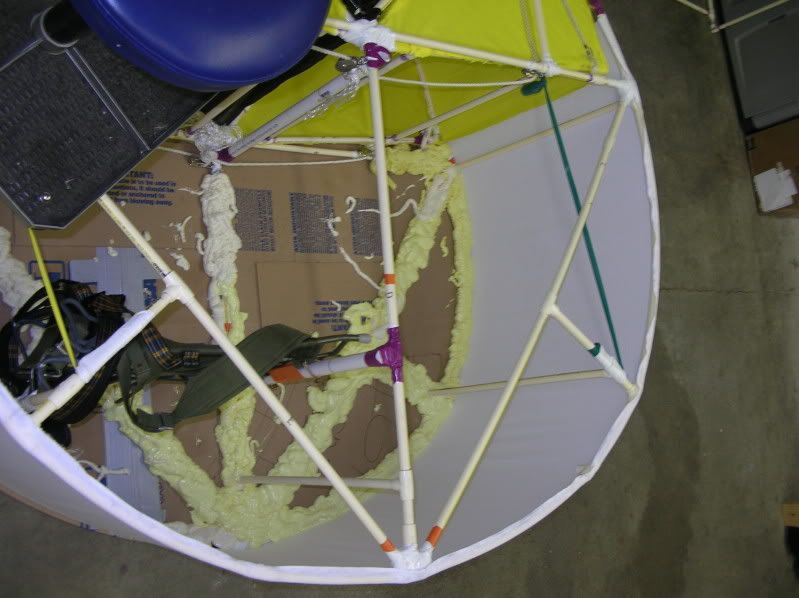
It's crude and overkill, but it seems like expanding foam will work perfectly to attach the cardboard sides to the frame.
The lower jaw completed
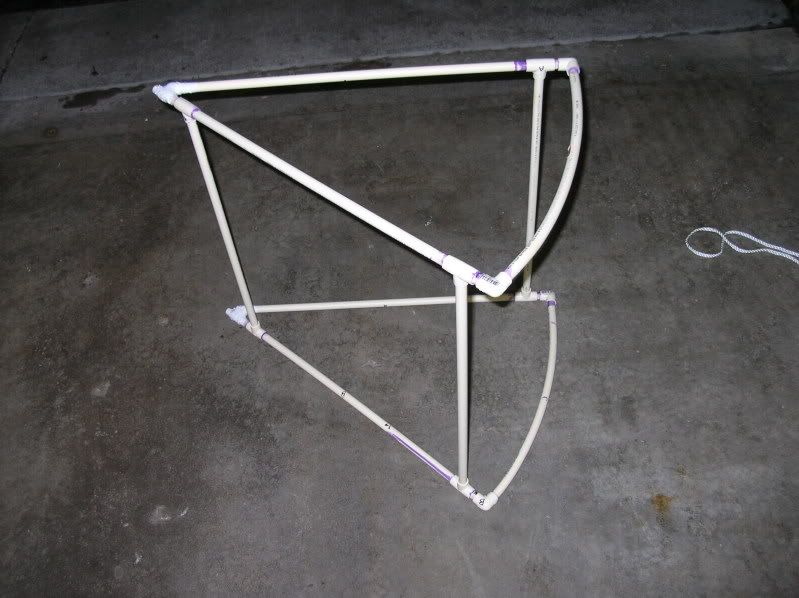
The other jaw in progress
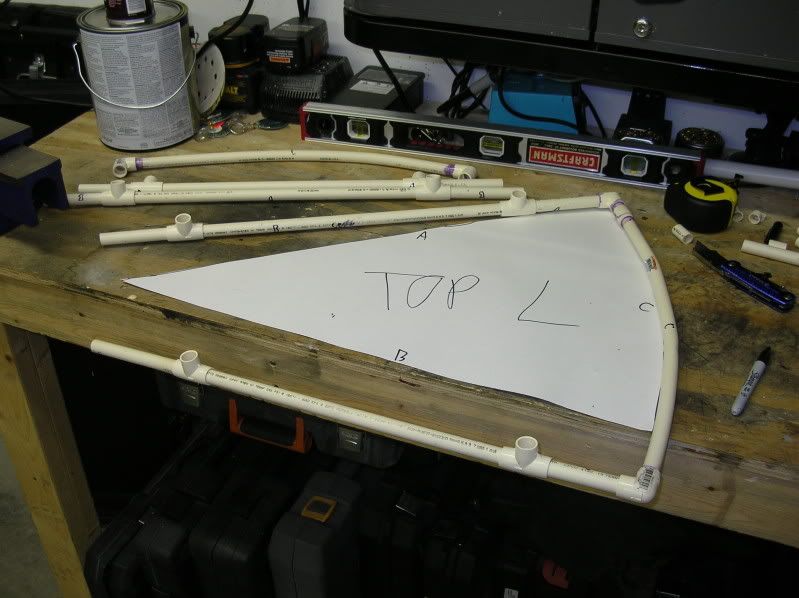
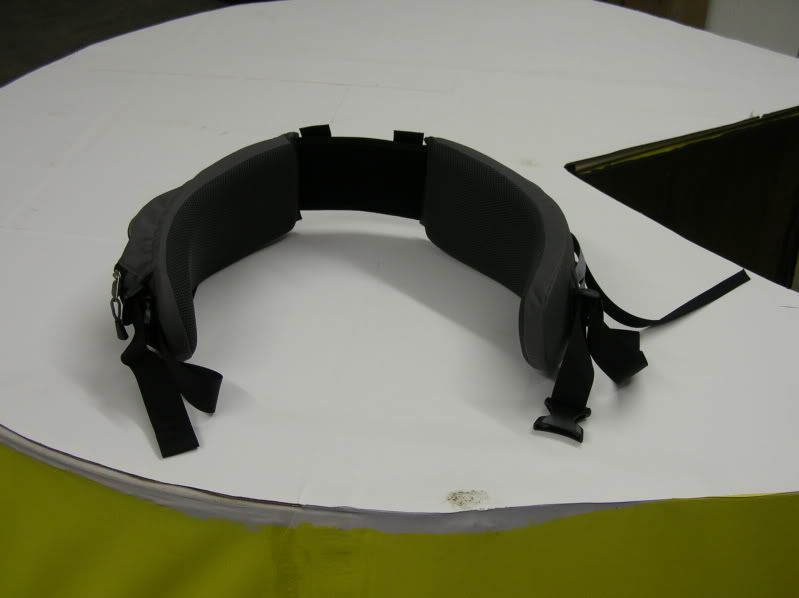
The hip belt installed
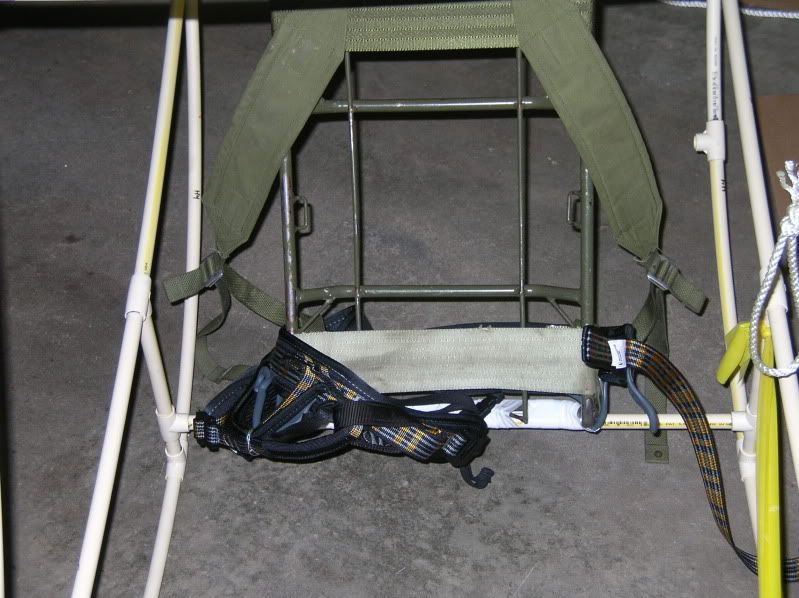
The lower jaw mostly retracted. The yellow thing is a thera-band and I'm using it as tension to make sure the jaw retracts properly. You can also see the extra cross-pipe that I installed as a stopper for the jaw. I want it to close but no farther than the opening in the primary frame. This way there's no way that it can.
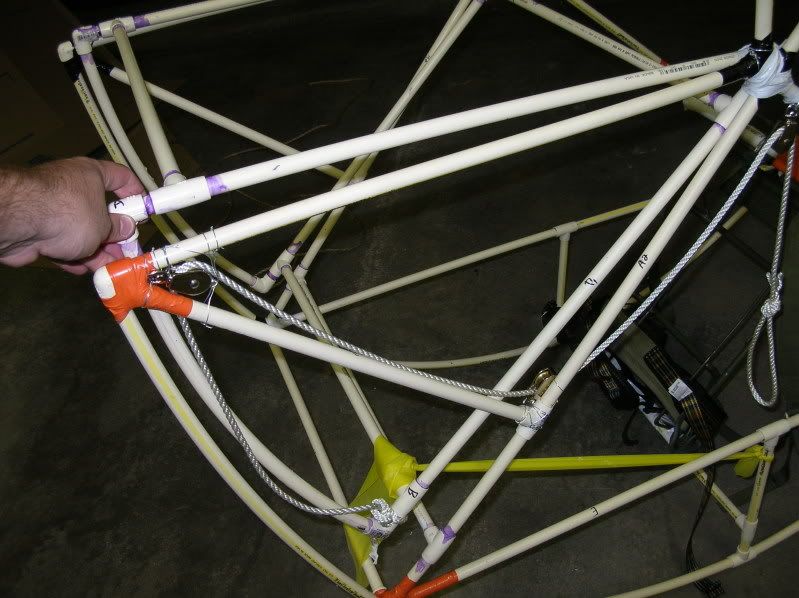
The jaw mostly closed. It closes a little bit more than it is in the picture. I may have to re-mount the hinge point though in order to get both jaws to play nice with each other
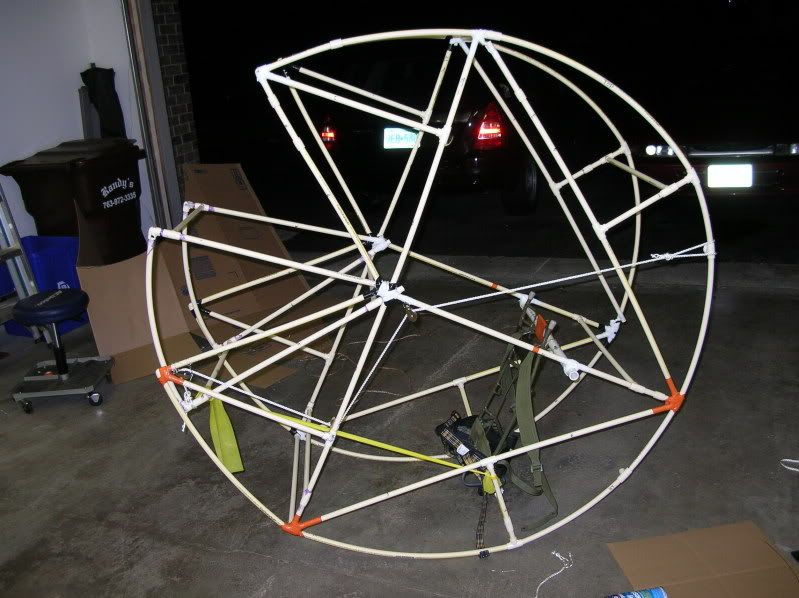
And from the other side. Unfortunately the side with the rope attached pulls up a bit more than the other so it doesn't close quite uniformly. This can be remedied with some cheating on the cardboard side caps.
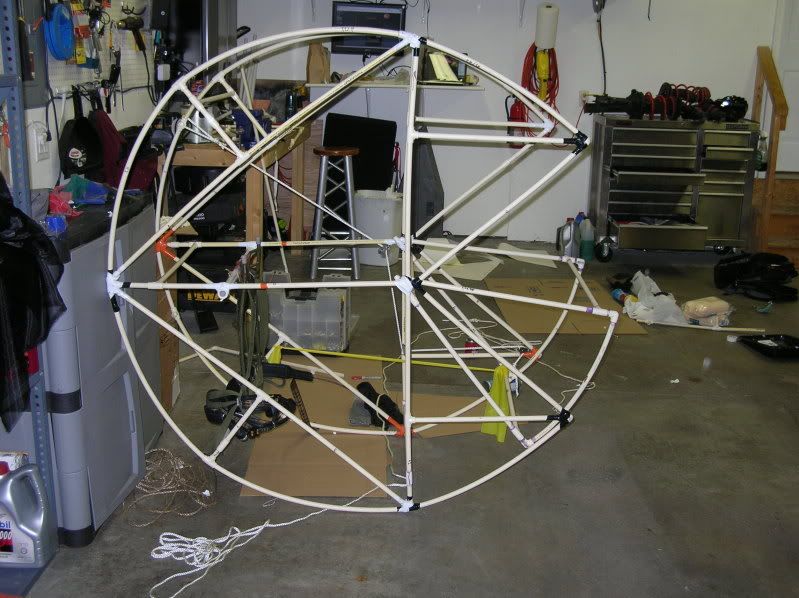
Upper jaw completed. There is still some sussing out to be done as far as the alignment of the jaws and such, but it's all working now. I ended up installing some stoppers to make sure the jaws retract only as far as I want them too.
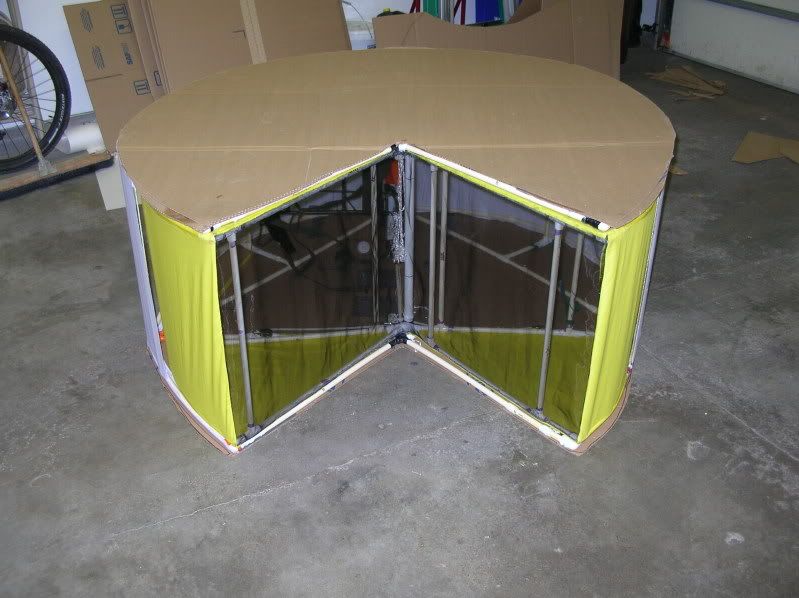
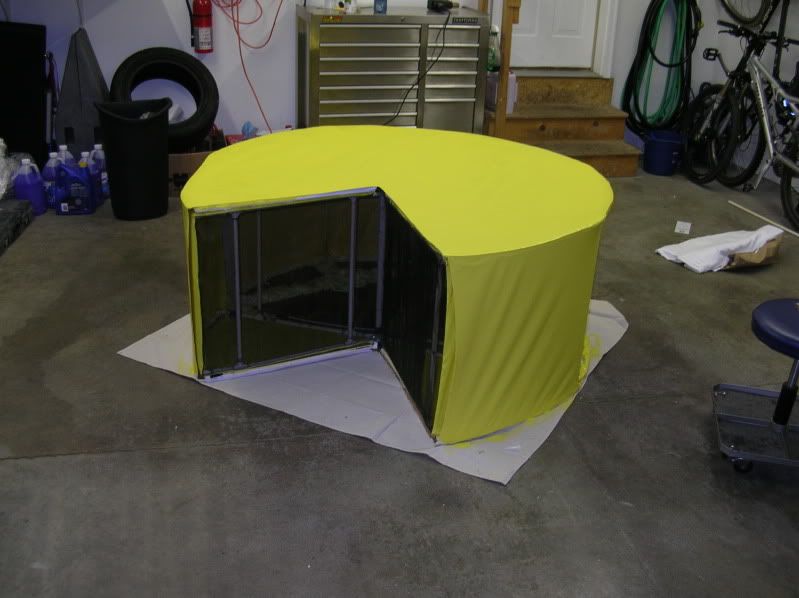
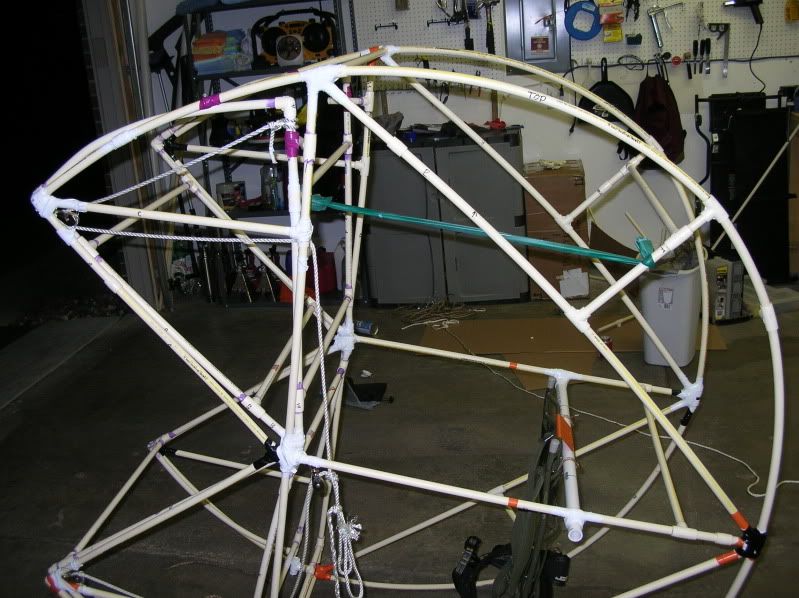
The whole thing
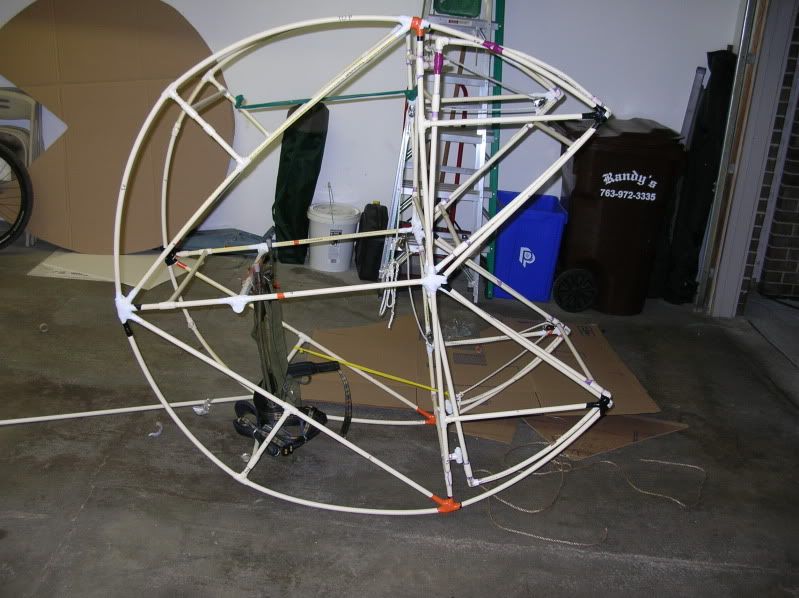
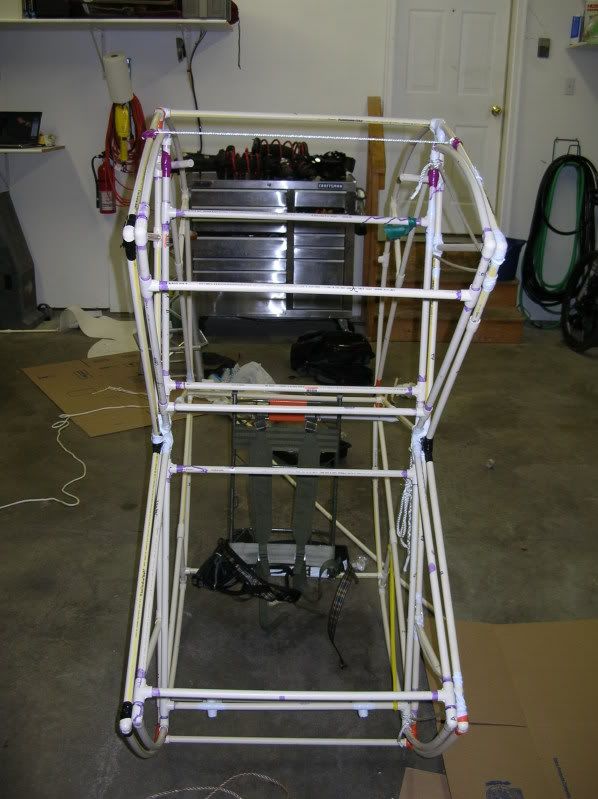
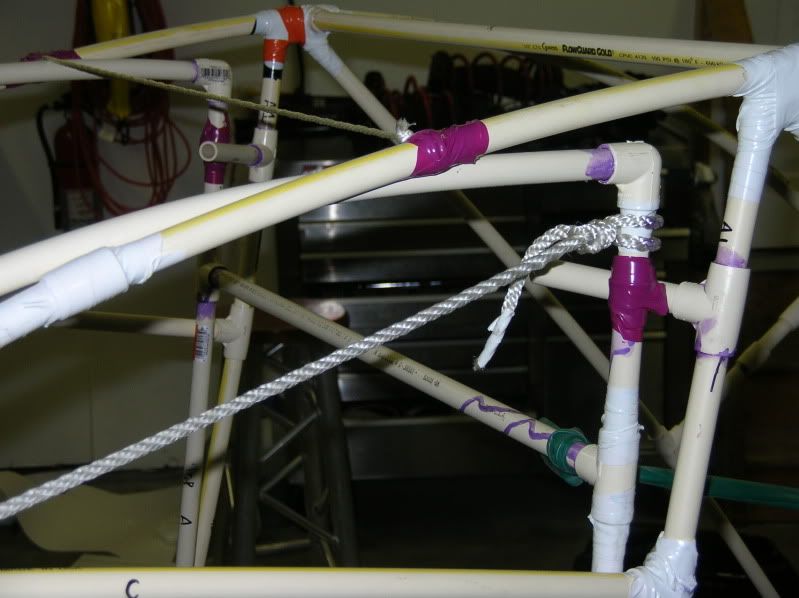
The upper stops
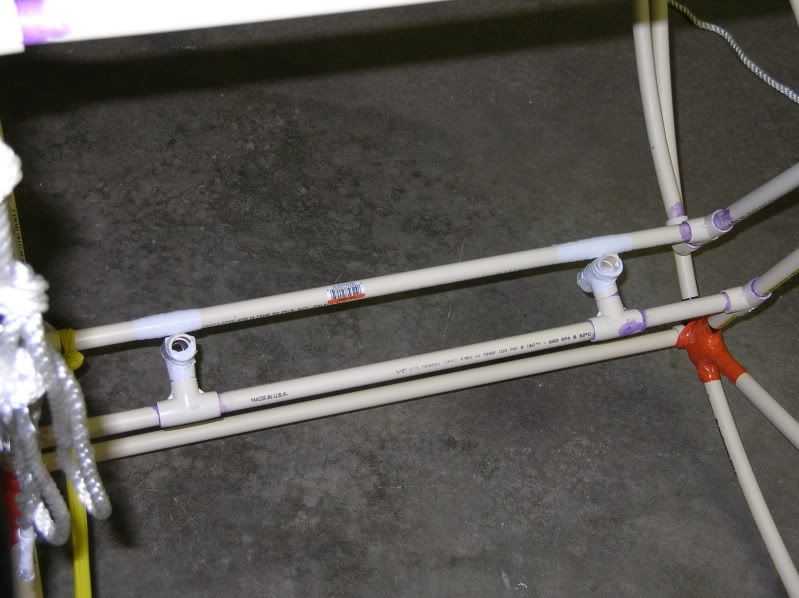
The lower stops
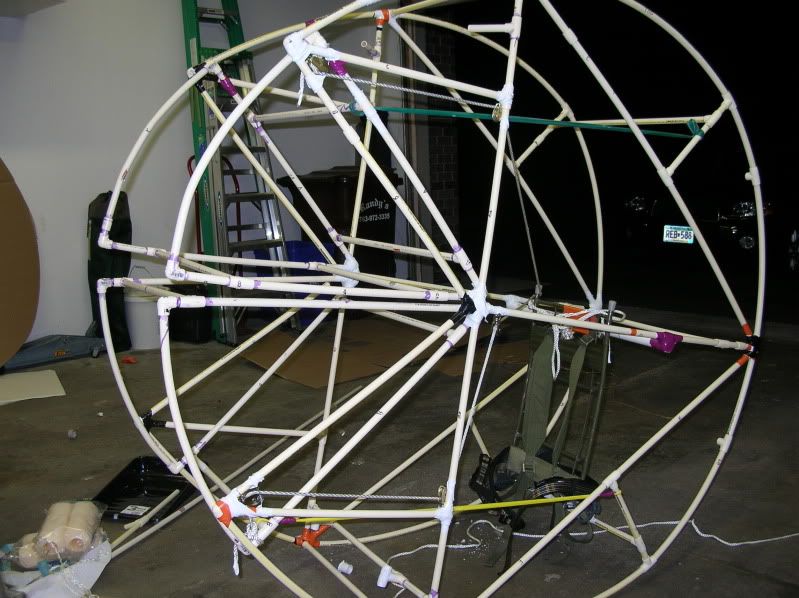
The mouth closed
A little video of the mouth in action
http://www.youtube.com/watch?v=Mzy_F6haX-o
At this point I got a property tax refund and decided to make a ghost to go along with my costume. Same size/scale, so it should be pretty fun. Here’s a sketch of the design
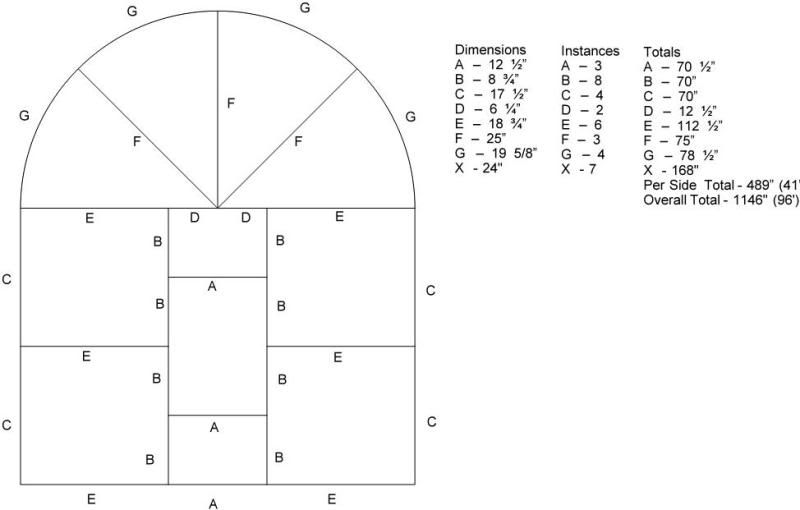
More Ghost pictures
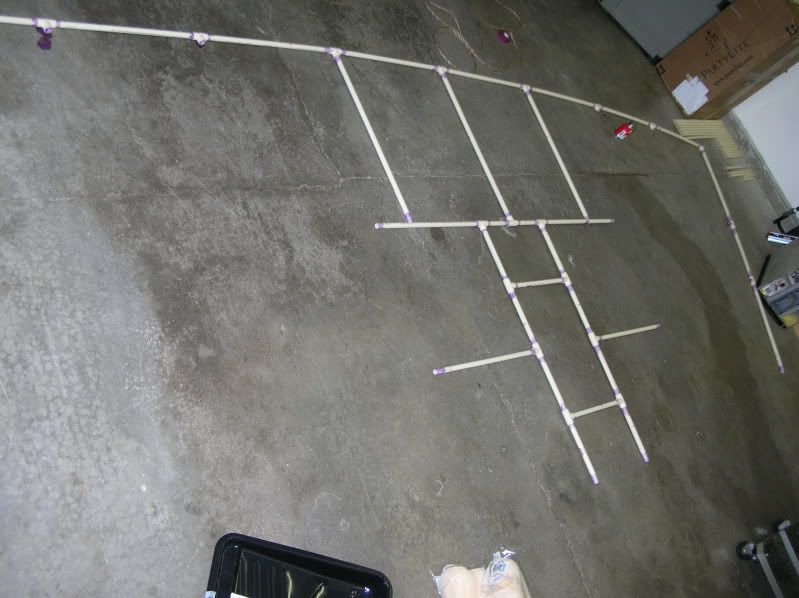
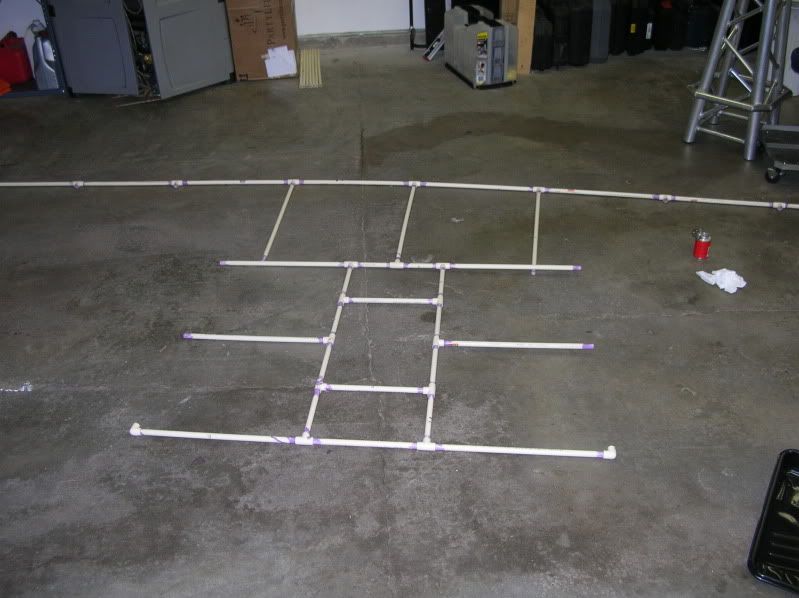
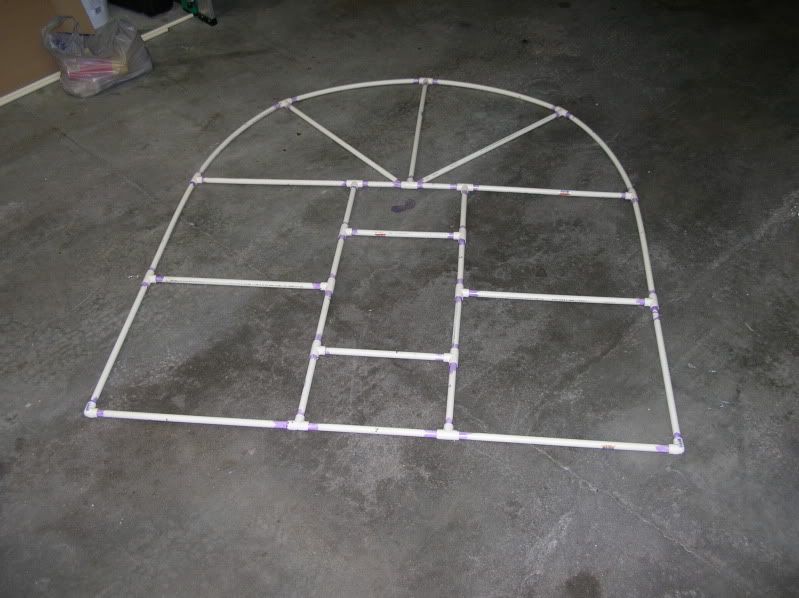
This brings us up to tonight
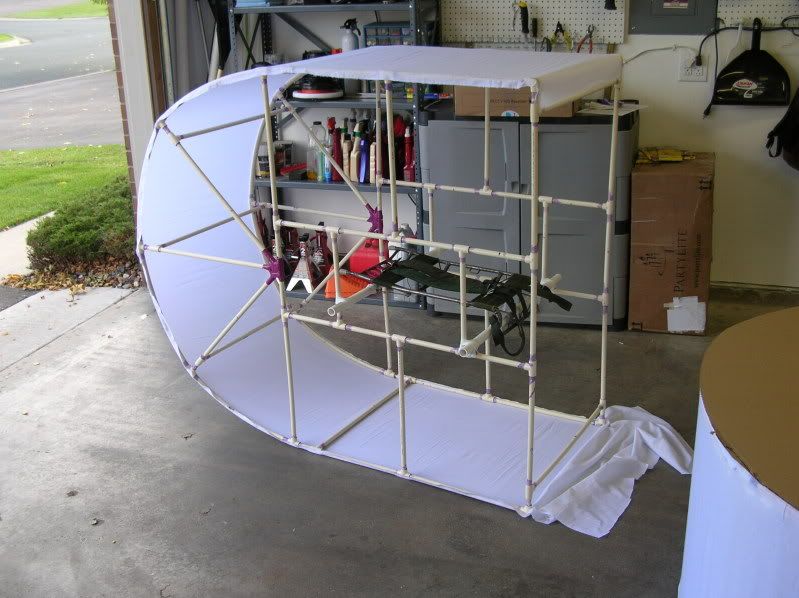
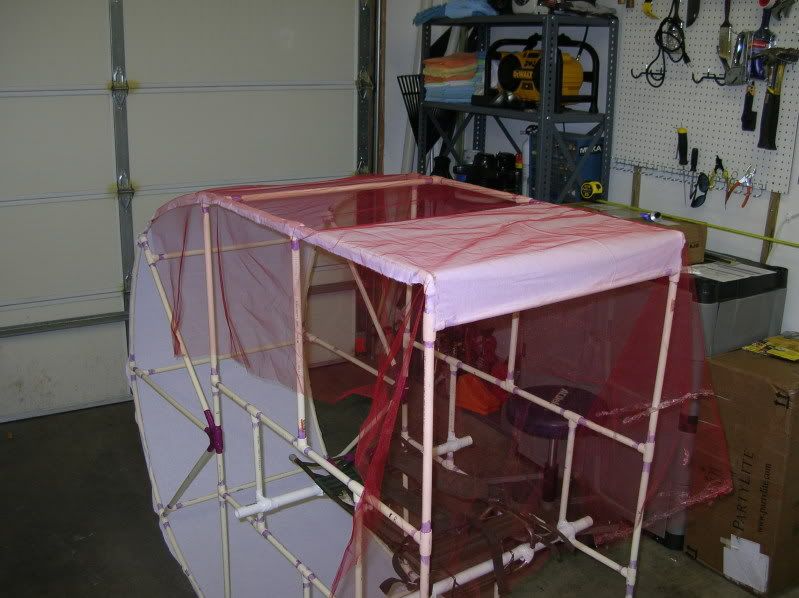
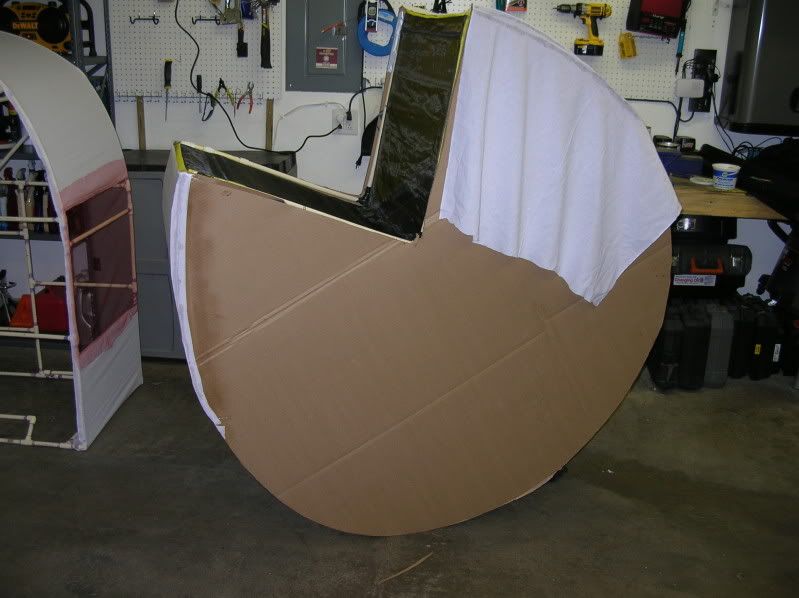
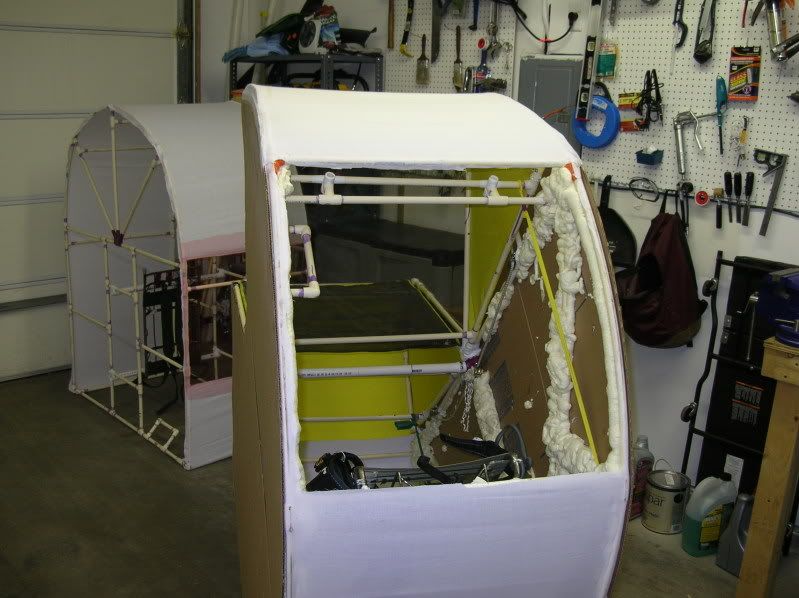
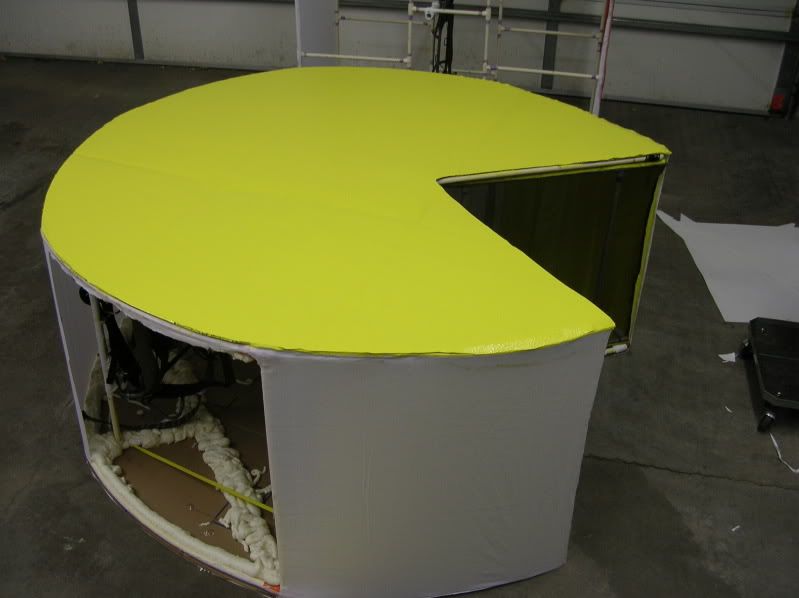
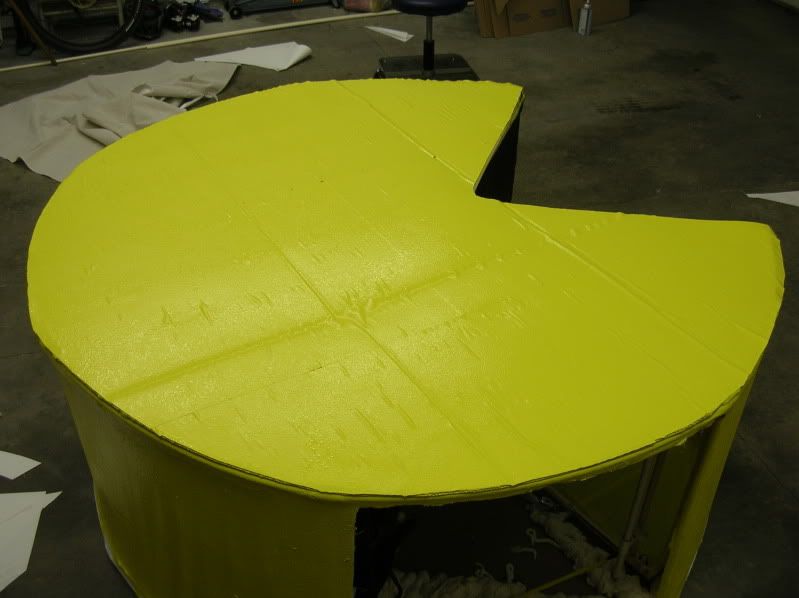
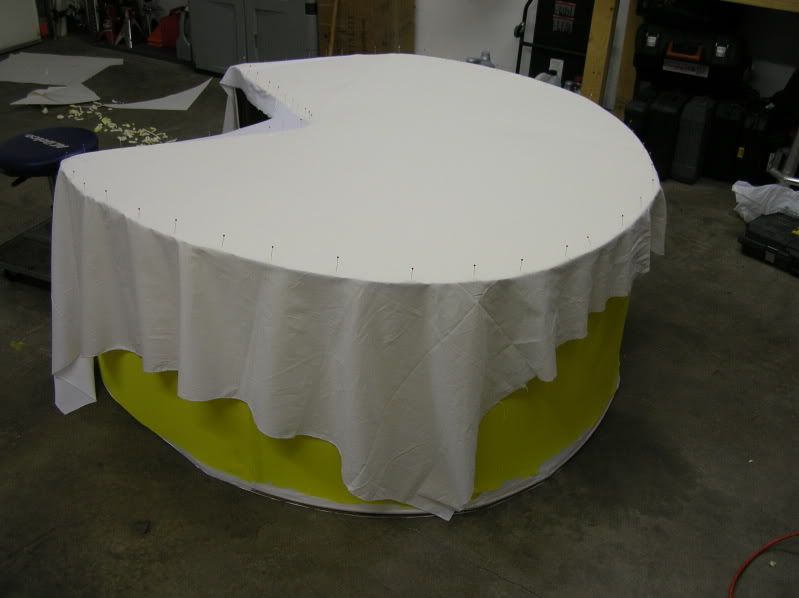
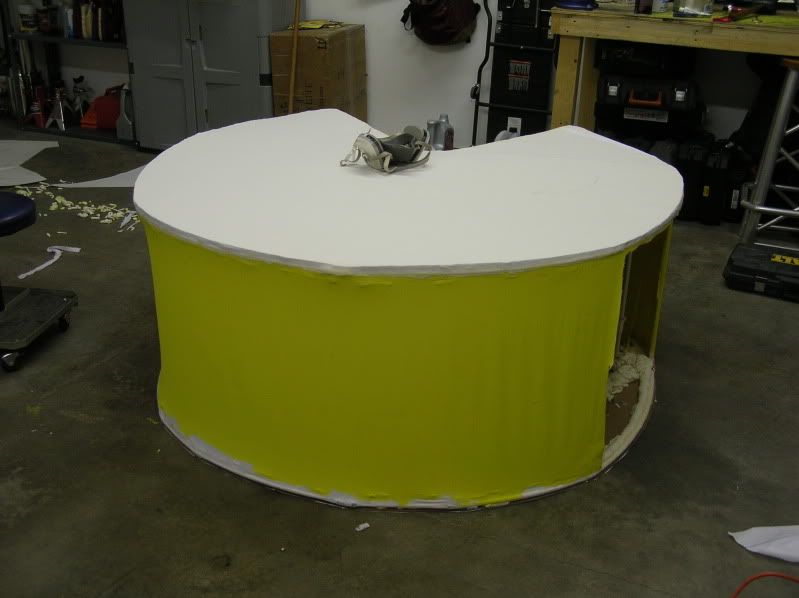
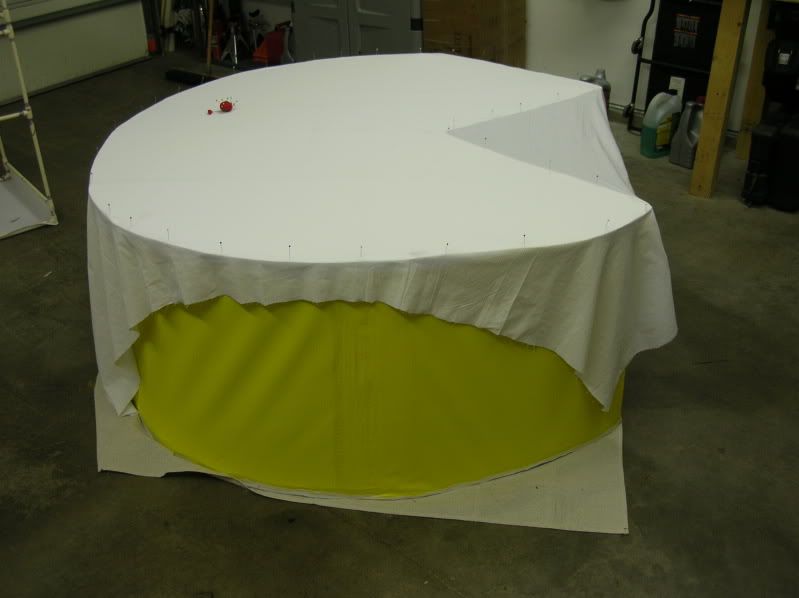
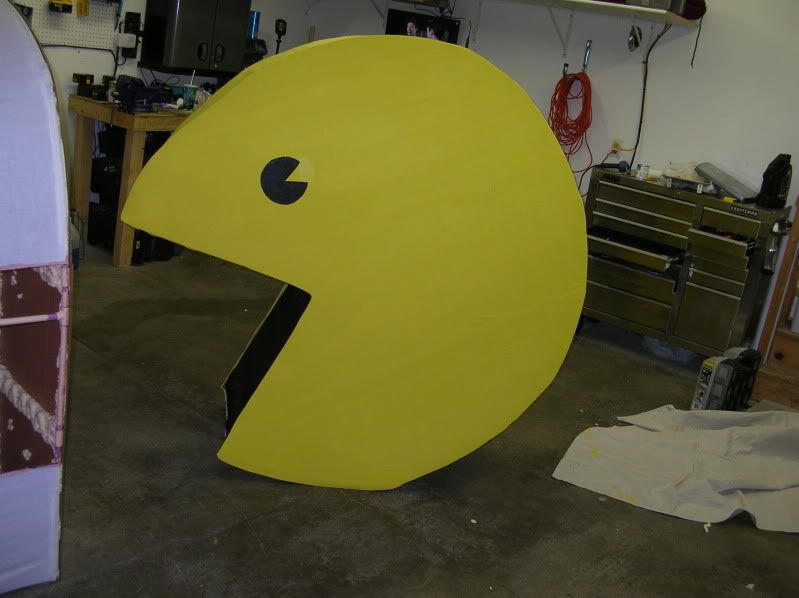
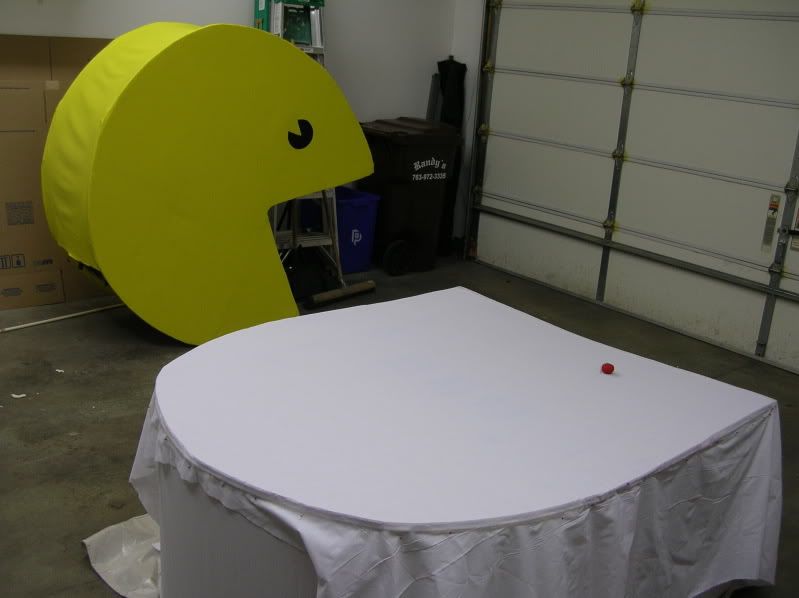
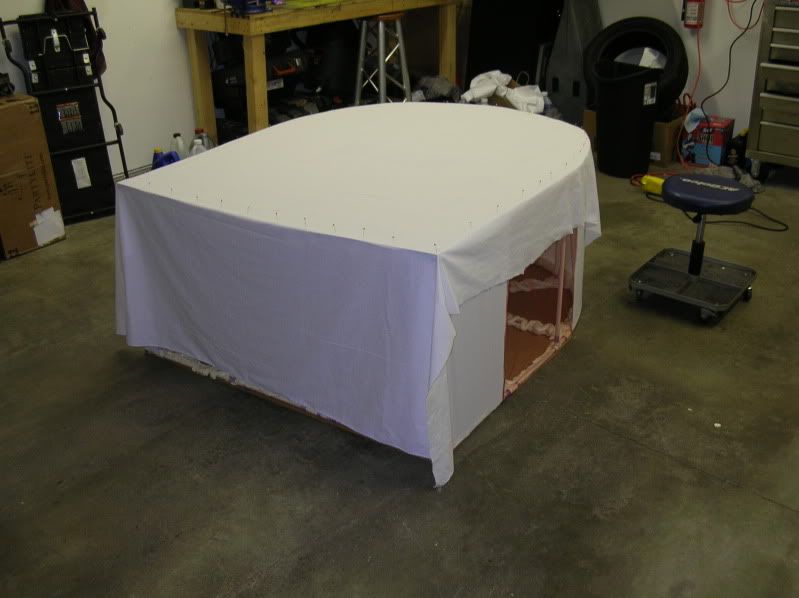
More work done tonight on the PacMan costume. Completed dressing the two mouth sections, got the muslin that goes across the center attached, and one of the two sides is curing as I type this.
Today saw a whole lot of troubleshooting with the mouth mechanism. The fabric created much more friction than I expected, so things weren't working quite the way they were supposed to. I switched from a one rope system to having one pull rope on each side for the mouth. It works much better this way.
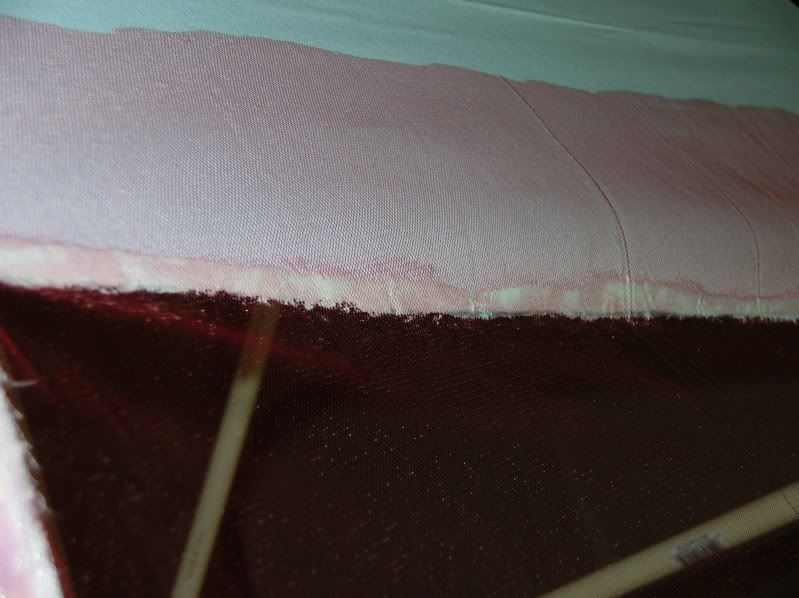
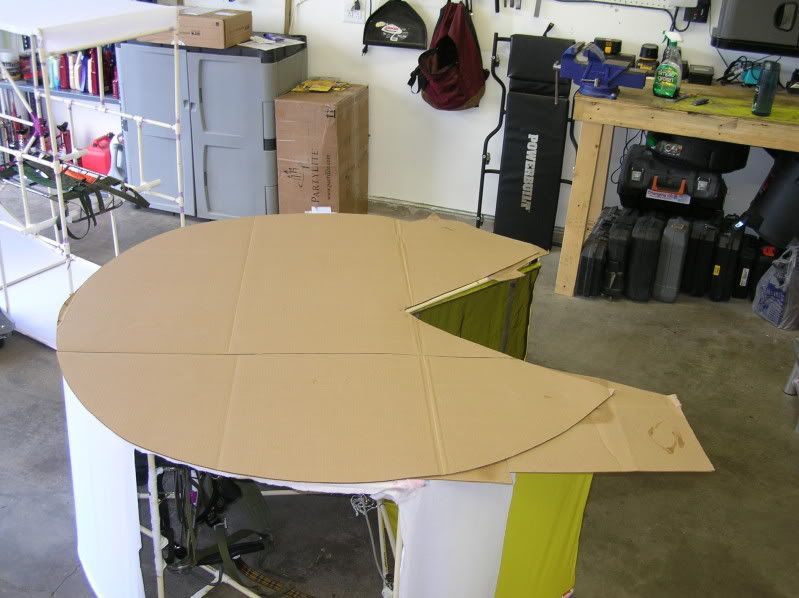
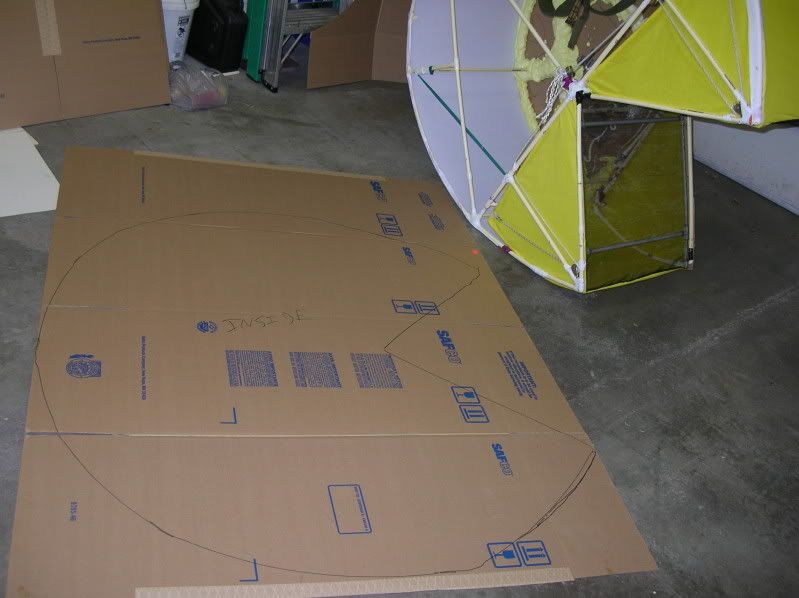
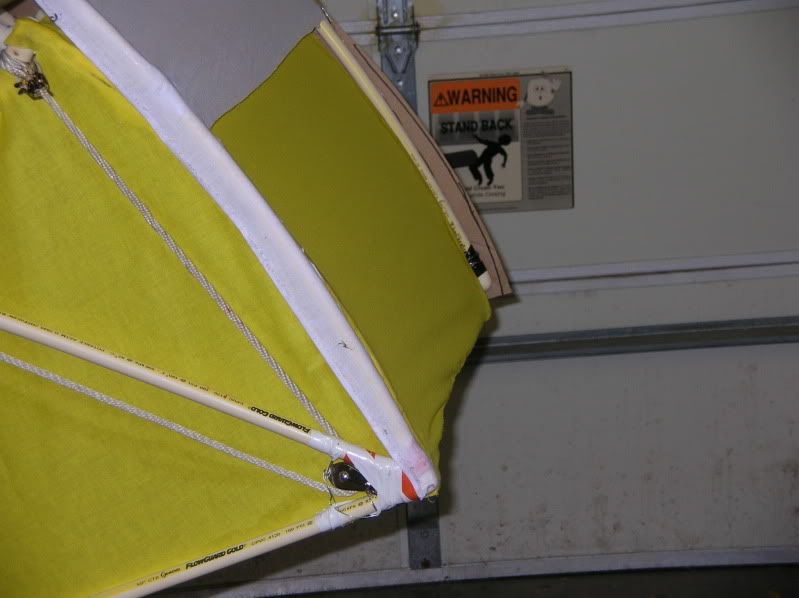
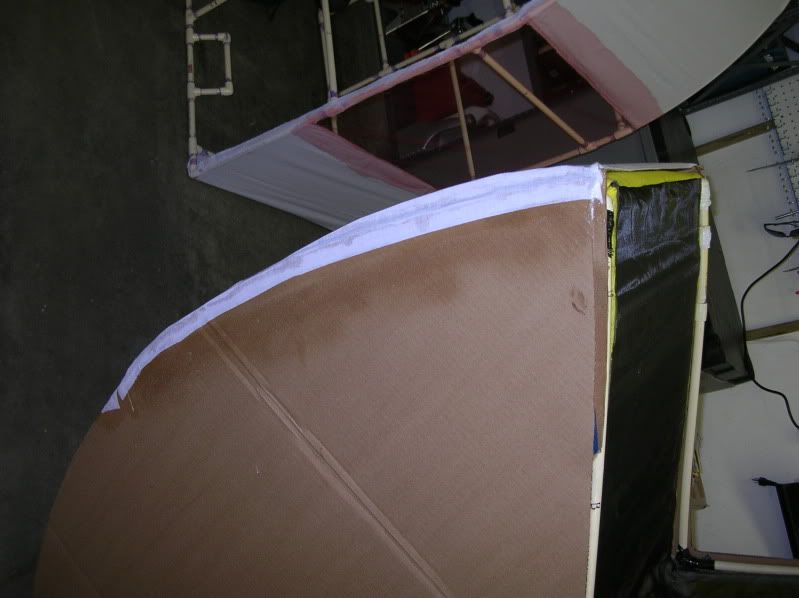
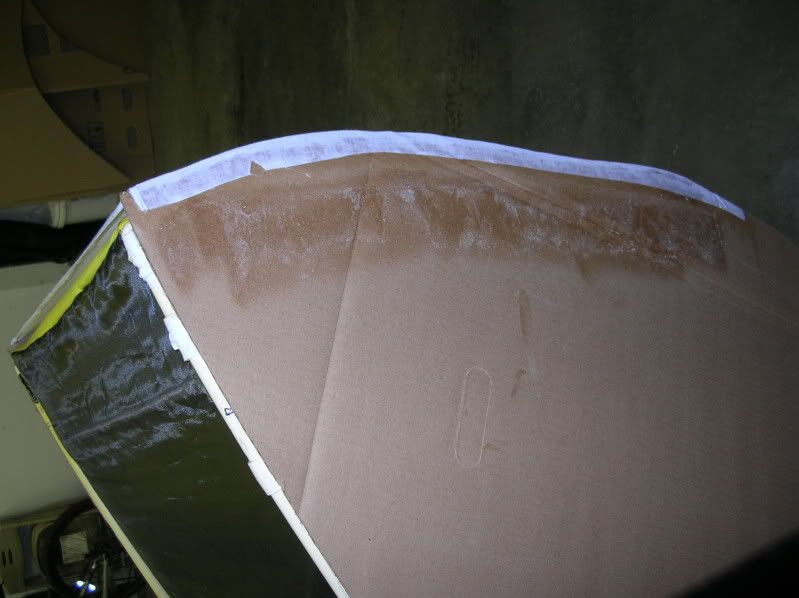
Also, since the mouth pieces weren't formed quite properly (or the frame, not sure which) they stick out from the frame a little bit so I couldn't wrap the whole thing in muslin because it was causing things to not move. I'm extending the cardboard sides in these areas, going to attach muslin to the cardboard once it's cut to sit a little bit above the mouth pieces, glue it into the rest of the fabric and then paint the whole thing. Hopefully it won't stick out too badly.
The respirator has been my friend today. Lots of glue, spray-glue, and expanding foam.
Now for pictures.
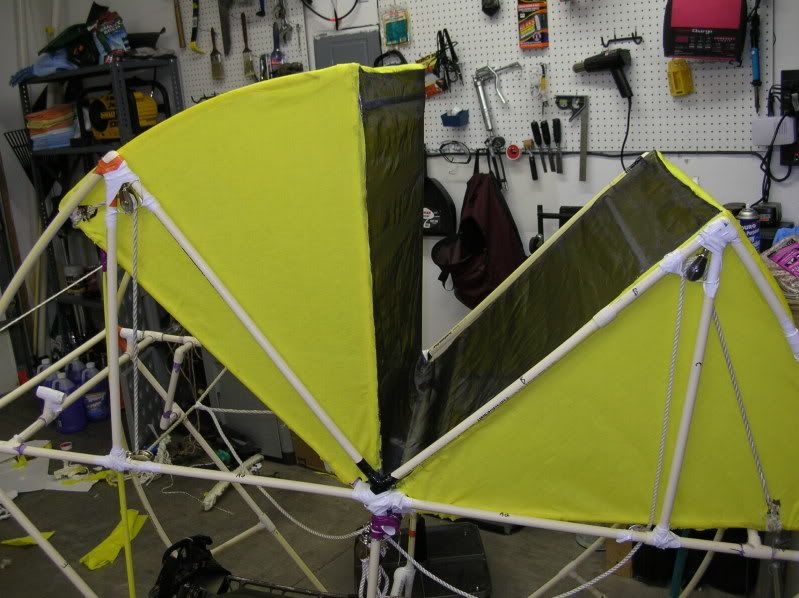
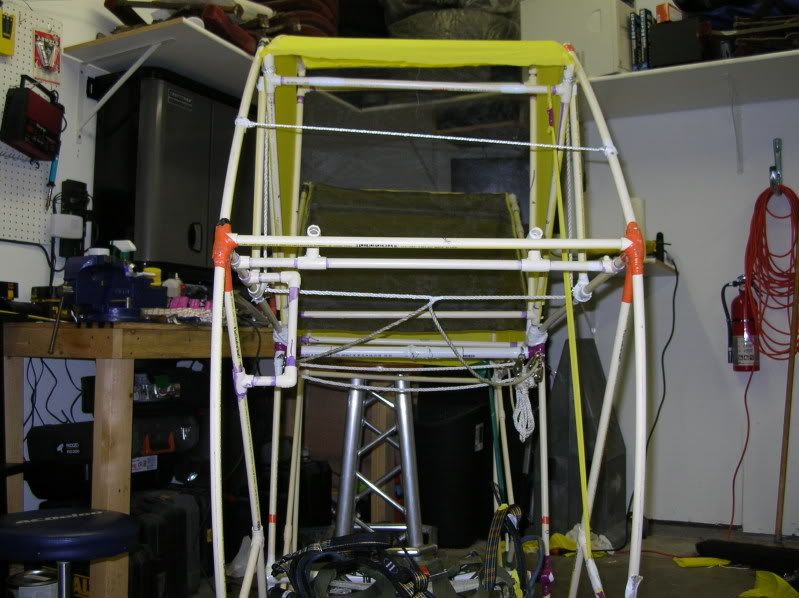
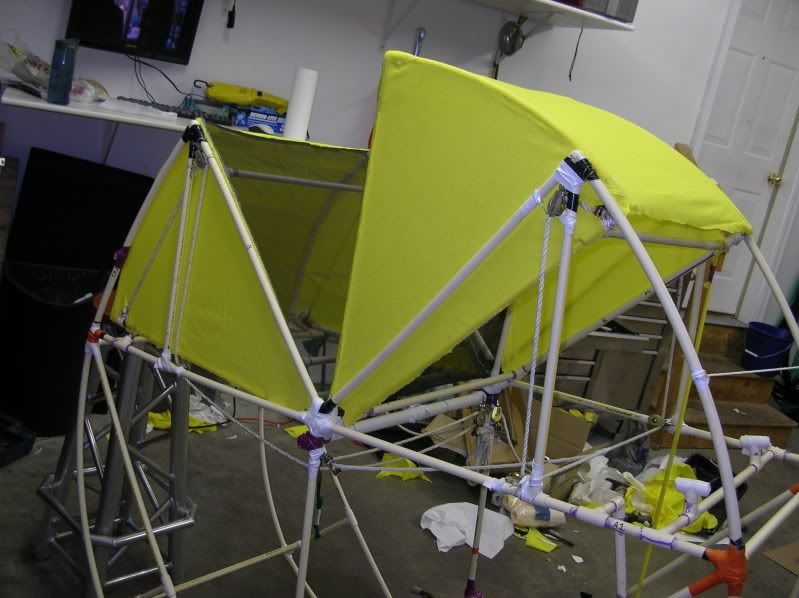
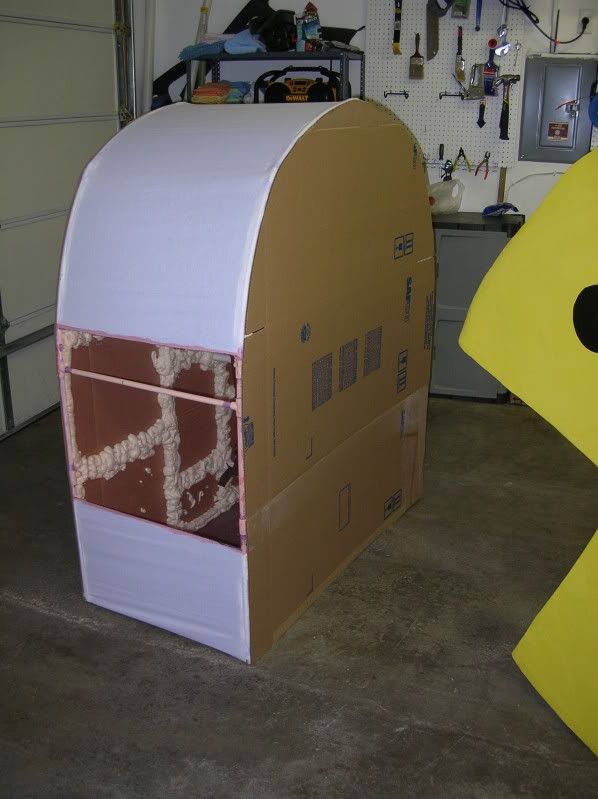
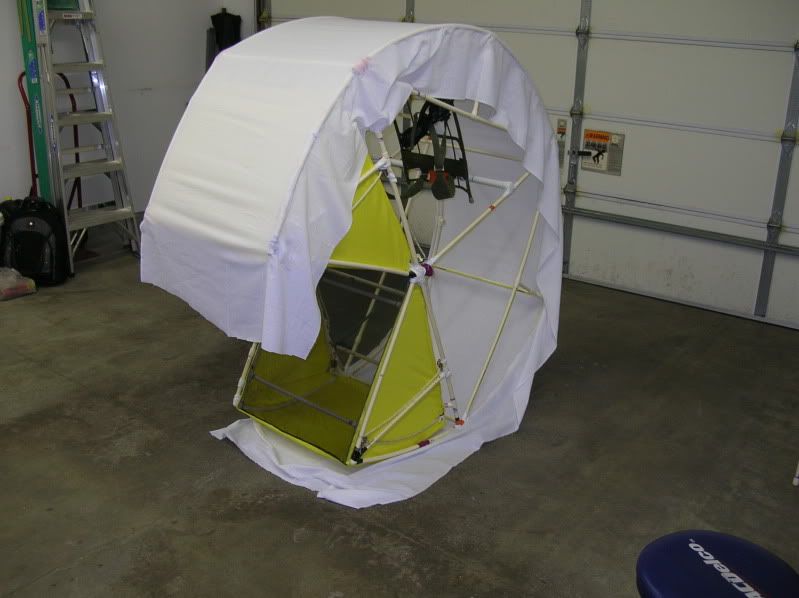
Muslin attached to one side
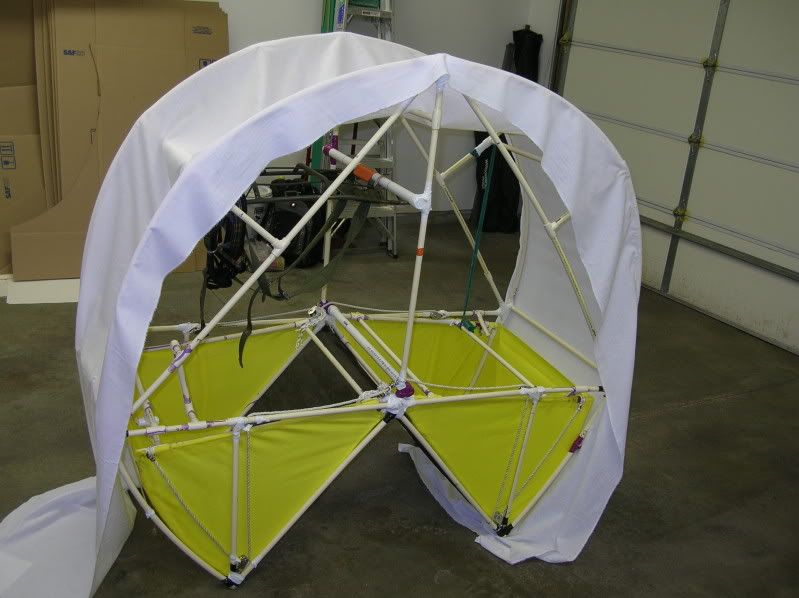
Muslin attached to both sides
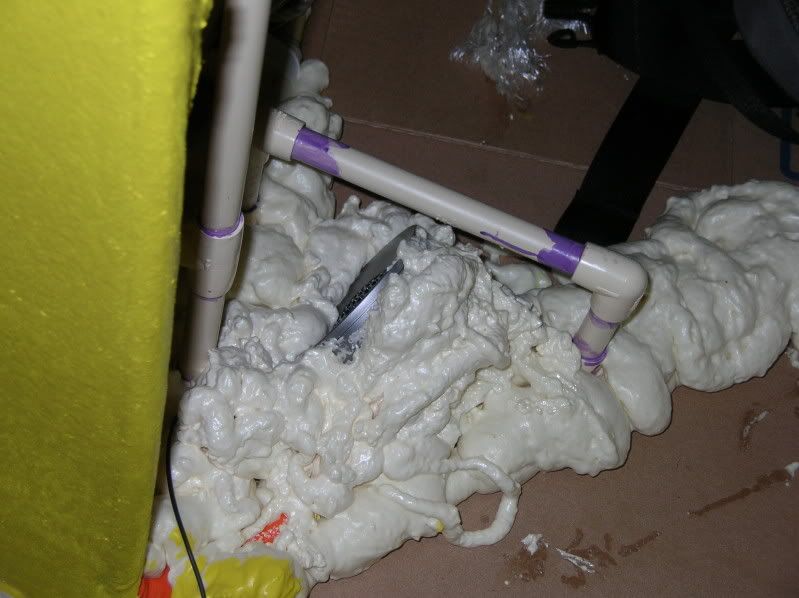
Expanding foam used to mount the cardboard side to the frame
Three years ago I made a giant PacMan costume, but did it kinda by the seat of my pants. The final product was pretty decent, but lacked fit and finish. It was a huge hit so this year I've decided to resurrect it, but make it better!
This year's is going to (hopefully) have a functioning, moving mouth.
Anyway, here are a couple pictures of the old one.

(I'm inside the suit)

This year gets a lot more planning. Here are my plans that I put together.
The extra bracing is there to fix problems I had with flex. You can see it in the frame only picture. There was more flex that happened later as well.
Initial sketch

Put into the computer

Here's the mouth mechanism drawn in

A crappy 3D rendering. It's not actually solid through and through, I'm just not good with CAD software. The blue and teal colors are the mechanism to close the mouth and the elastic material to make it open back up.

Some pictures of it starting to get put together
This is one half of PacMan cut up into nice little pieces. I'm a demented one

Here's that half going together

All put together

Cross-Pieces installed. You can see the other half being put together. I changed the way I was doing this because it was much easier to join the frame at one of the 90 degree bends instead of in the middle of a curve. Much less tension.

The other half about 2/3 done. Sitting on top of the cross bars to get a feel for how things are matching up. I'm going to use little stubby ones to really nail things down.

Once the outer frame was finished I went shopping for military surplus backpack frames to install in the suit.
I picked up yellow fabric for the center section, black sheer fabric for the mouth, and had Lowes color match paint to the yellow fabric for the sides.
Here are some pictures from this night. I made super-short cross bars so that I could make adjustments and get the two halves as close to symmetrical as possible.
Here are the two halves. Pretty darn close to identical


All put together

One more all assembled. The two ladders in the background are a 6' and an 8'. That gives you a point of comparison for size.

I went to a surplus store and picked up a very old military metal-frame backpack. The pack part got thrown out but I'm using the frame to attach the costume to myself. I got the frame mounted and one of the sides put together. I'm not thrilled with the cardboard I'm using since I have to tape multiple parts together, but I don't have a good way to transport larger pieces. I may look into some kind of poster board to lay over the top to make it look a little bit cleaner.
Here are a few more pictures:
The harness mounted


And the side that I got put together. I'm not attaching it until I get everything else in the mouth figured out since the sides will make it much harder to do any work inside.

This night I got the lower jaw of the mouth built, installed, and working. There was a lot of tweaking required as far as the placement, attachment, and whatnot of the pulleys, but as of now it seems to be working very well. I may need to get larger rope though. The stuff I got is a little smaller than what the pulleys are designed for and it has a habit of getting a little off track.
I also picked up some poster board to lay over the top of the cardboard for a nice even surface. They should butt right up against each other leaving minimal lines, unlike the pieces of cardboard taped together.
Here are the pictures
It's crude and overkill, but it seems like expanding foam will work perfectly to attach the cardboard sides to the frame.

The lower jaw completed

The other jaw in progress

The hip belt installed

The lower jaw mostly retracted. The yellow thing is a thera-band and I'm using it as tension to make sure the jaw retracts properly. You can also see the extra cross-pipe that I installed as a stopper for the jaw. I want it to close but no farther than the opening in the primary frame. This way there's no way that it can.

The jaw mostly closed. It closes a little bit more than it is in the picture. I may have to re-mount the hinge point though in order to get both jaws to play nice with each other

And from the other side. Unfortunately the side with the rope attached pulls up a bit more than the other so it doesn't close quite uniformly. This can be remedied with some cheating on the cardboard side caps.

Upper jaw completed. There is still some sussing out to be done as far as the alignment of the jaws and such, but it's all working now. I ended up installing some stoppers to make sure the jaws retract only as far as I want them too.
The whole thing


The upper stops

The lower stops

The mouth closed

A little video of the mouth in action
http://www.youtube.com/watch?v=Mzy_F6haX-o
At this point I got a property tax refund and decided to make a ghost to go along with my costume. Same size/scale, so it should be pretty fun. Here’s a sketch of the design

More Ghost pictures


This brings us up to tonight
More work done tonight on the PacMan costume. Completed dressing the two mouth sections, got the muslin that goes across the center attached, and one of the two sides is curing as I type this.
Today saw a whole lot of troubleshooting with the mouth mechanism. The fabric created much more friction than I expected, so things weren't working quite the way they were supposed to. I switched from a one rope system to having one pull rope on each side for the mouth. It works much better this way.
Also, since the mouth pieces weren't formed quite properly (or the frame, not sure which) they stick out from the frame a little bit so I couldn't wrap the whole thing in muslin because it was causing things to not move. I'm extending the cardboard sides in these areas, going to attach muslin to the cardboard once it's cut to sit a little bit above the mouth pieces, glue it into the rest of the fabric and then paint the whole thing. Hopefully it won't stick out too badly.
The respirator has been my friend today. Lots of glue, spray-glue, and expanding foam.
Now for pictures.


Muslin attached to one side

Muslin attached to both sides

Expanding foam used to mount the cardboard side to the frame


