My PacMan costume

Chat about your costumes
Techy101
Zombie
Posts: 12
Joined: Wed Oct 07, 2009 5:11 am
What is the highest number?: 10992

My PacMan costume

Post by Techy101 » Wed Oct 07, 2009 5:17 am

I'm new around these parts, but am looking for a place to show off a bit of hard work. This project started about a month and a half ago as an idea, about a month from the initial design sketches. (Pardon any grammatical mistakes, I'm copying/pasting/editing multiple postings from a car forum I'm on)

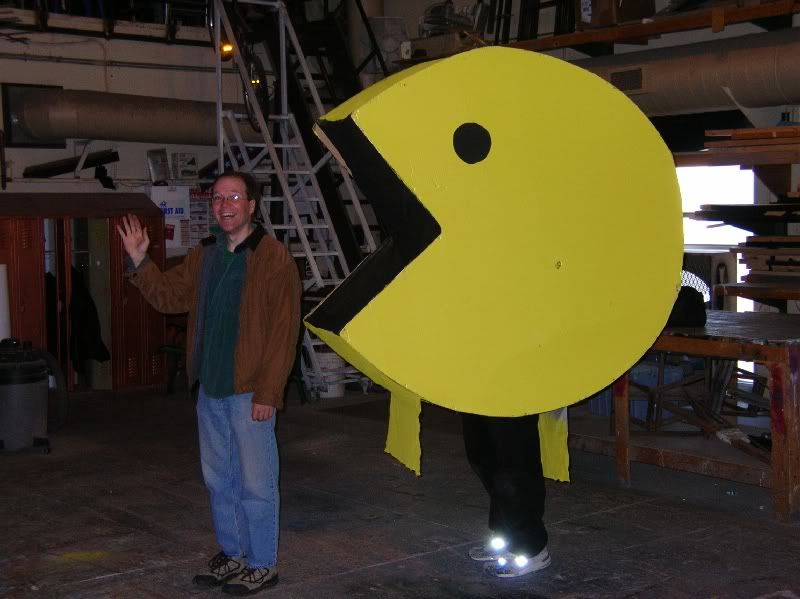
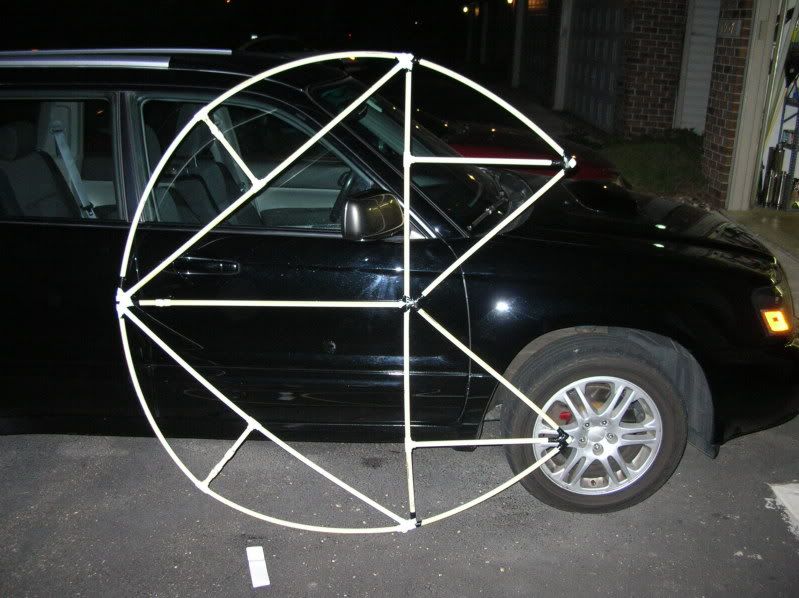
Three years ago I made a giant PacMan costume, but did it kinda by the seat of my pants. The final product was pretty decent, but lacked fit and finish. It was a huge hit so this year I've decided to resurrect it, but make it better!

This year's is going to (hopefully) have a functioning, moving mouth.

Anyway, here are a couple pictures of the old one.
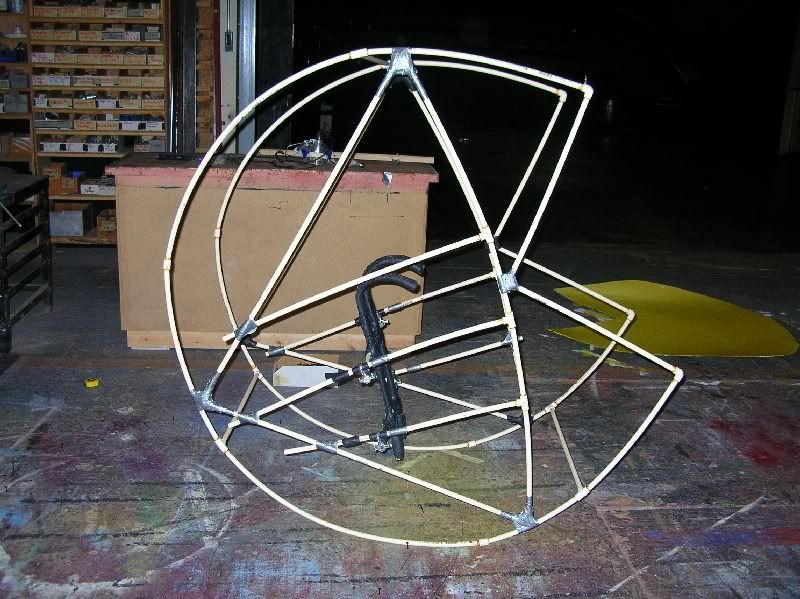
Image

(I'm inside the suit)
Image


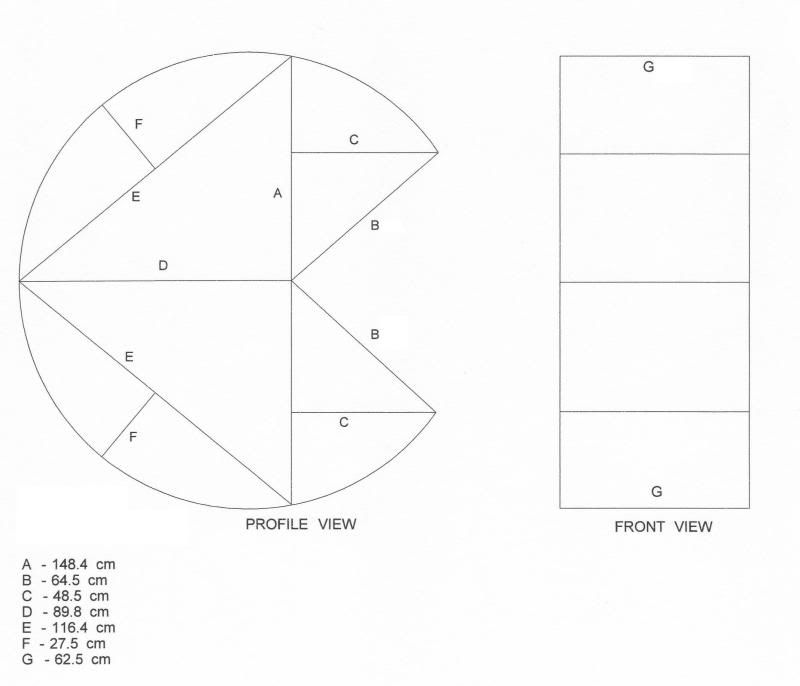
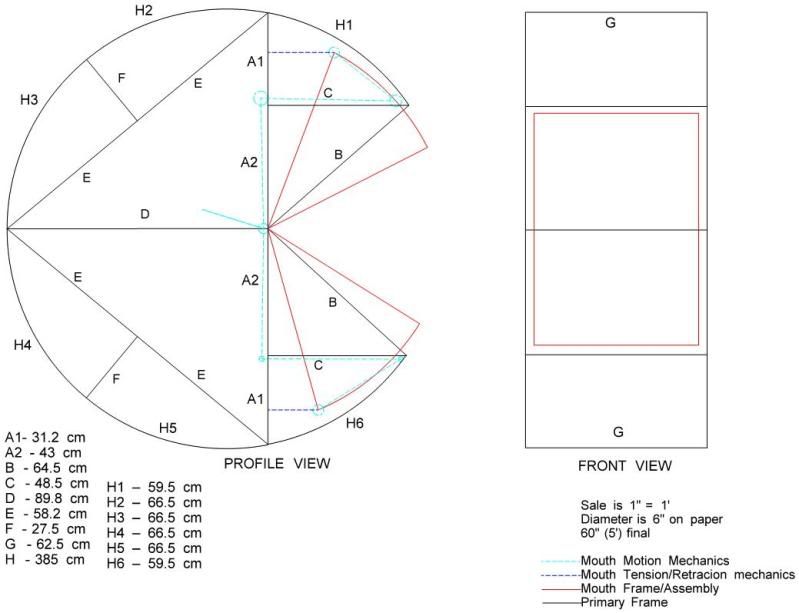
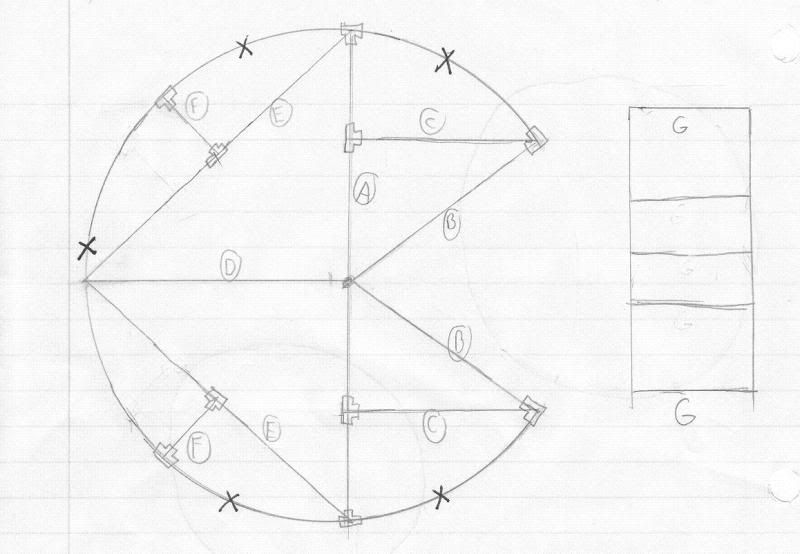
This year gets a lot more planning. Here are my plans that I put together.

The extra bracing is there to fix problems I had with flex. You can see it in the frame only picture. There was more flex that happened later as well.

Initial sketch
Image

Put into the computer
Image

Here's the mouth mechanism drawn in
Image

A crappy 3D rendering. It's not actually solid through and through, I'm just not good with CAD software. The blue and teal colors are the mechanism to close the mouth and the elastic material to make it open back up.
Image


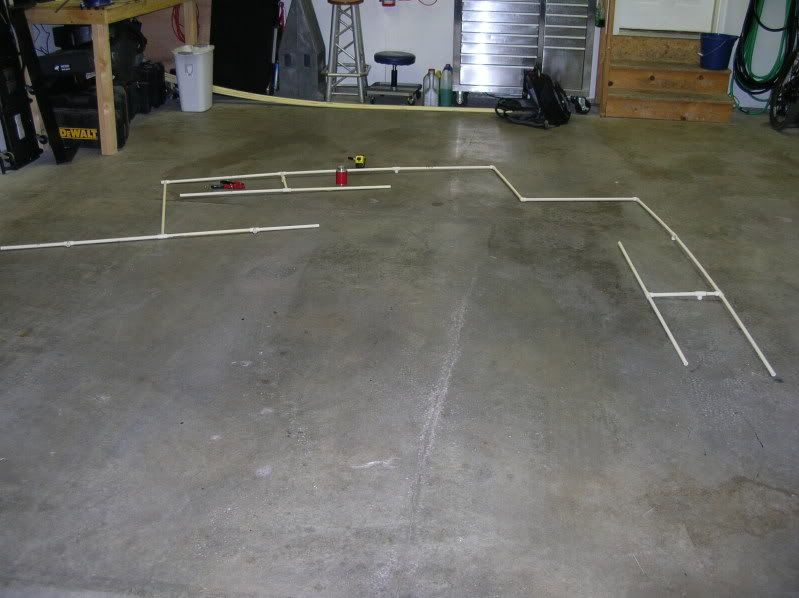
Some pictures of it starting to get put together

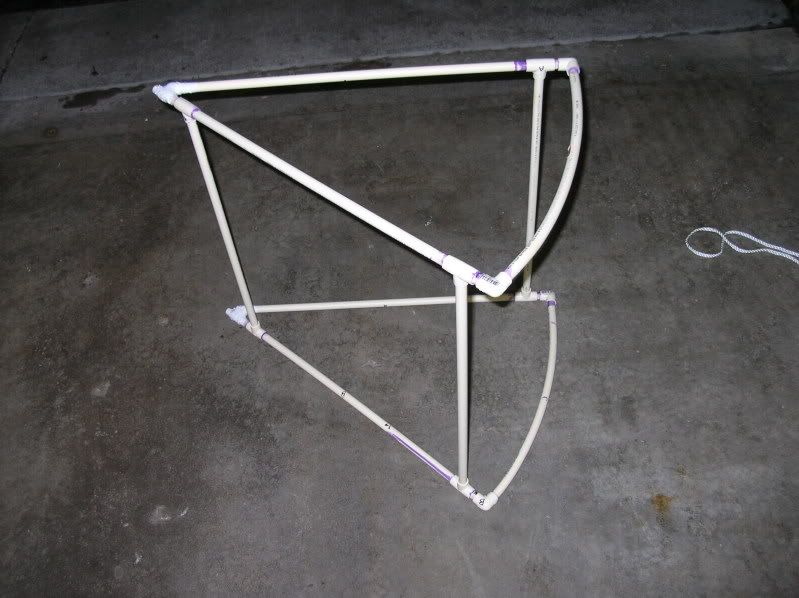
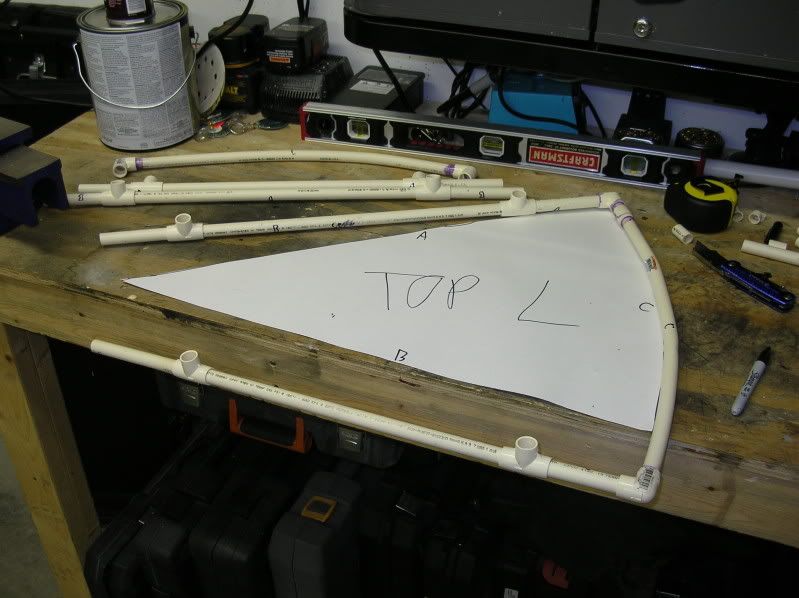
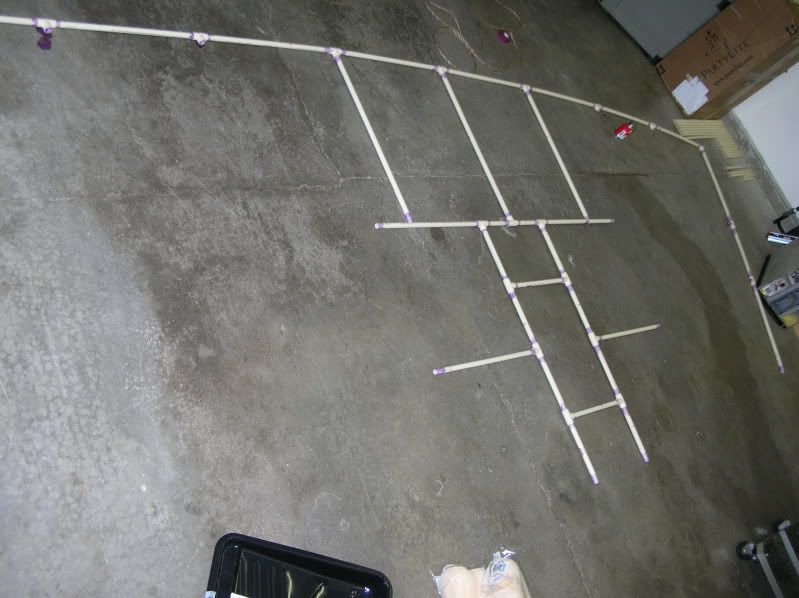
This is one half of PacMan cut up into nice little pieces. I'm a demented one ;)
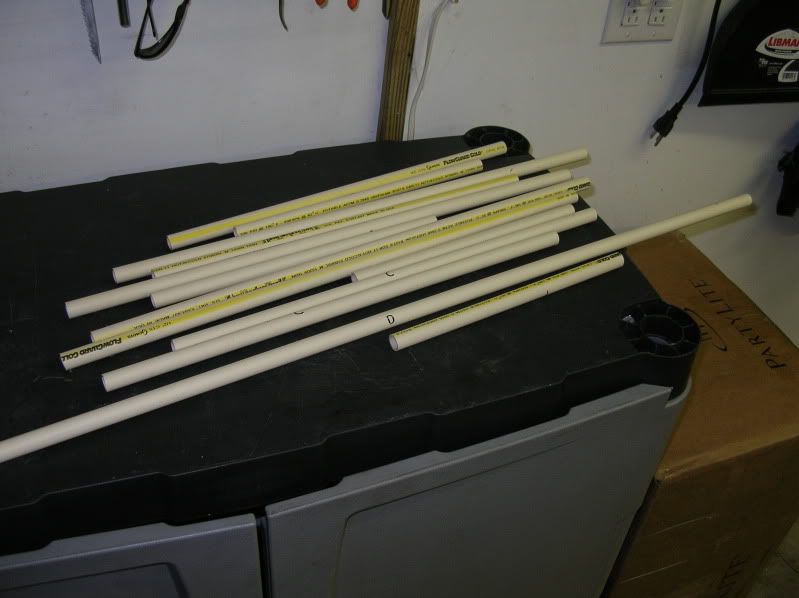
Image

Here's that half going together
Image

All put together
Image
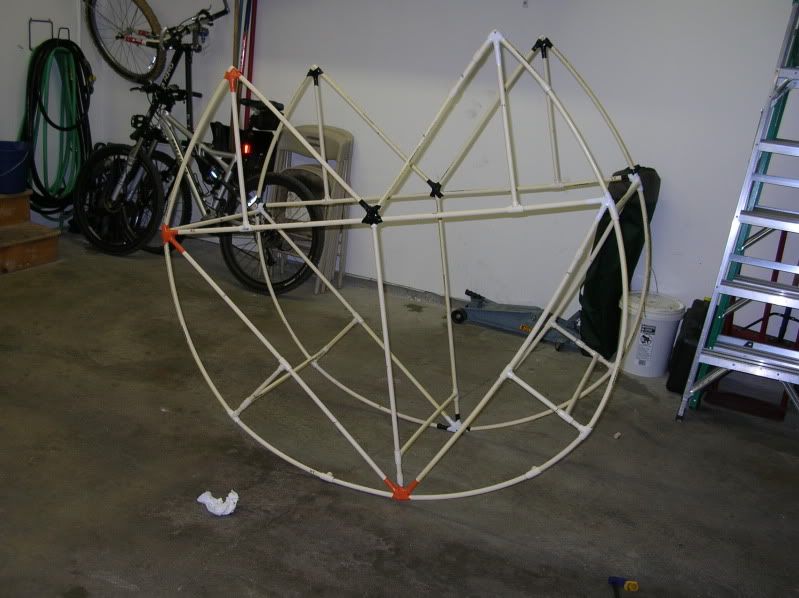
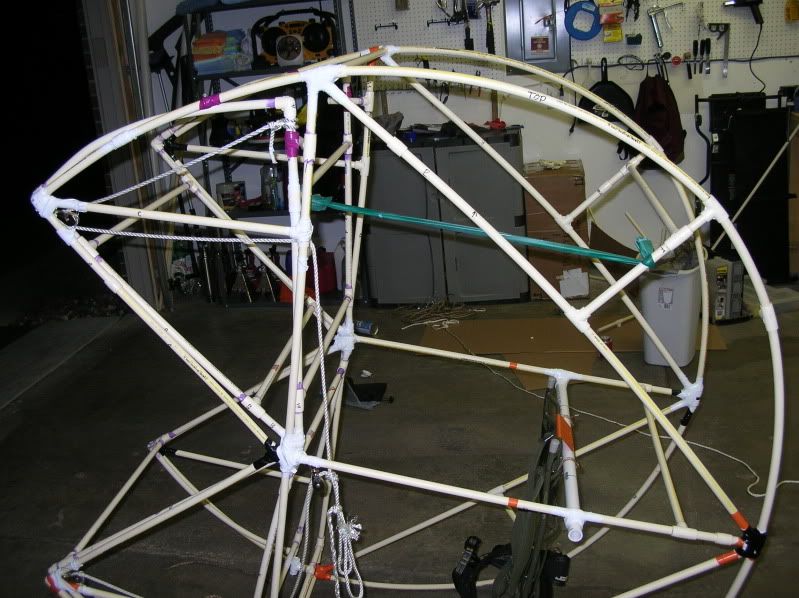
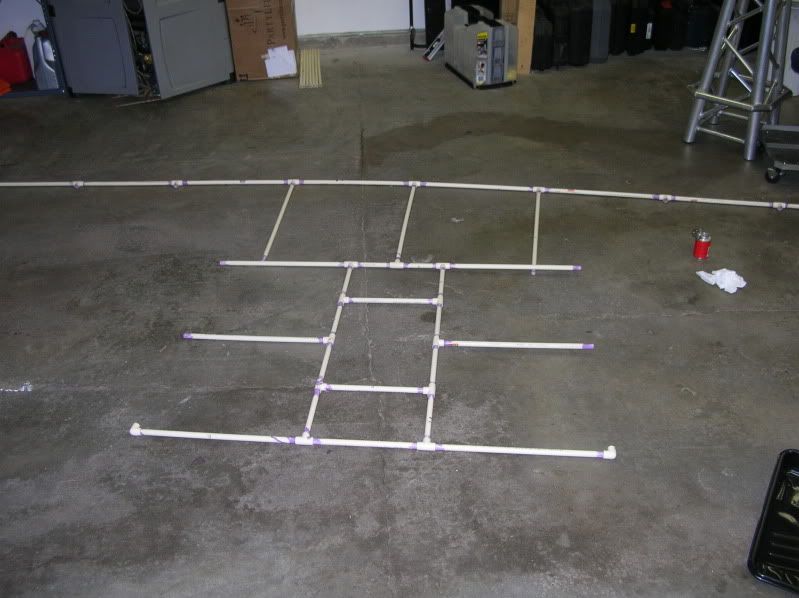
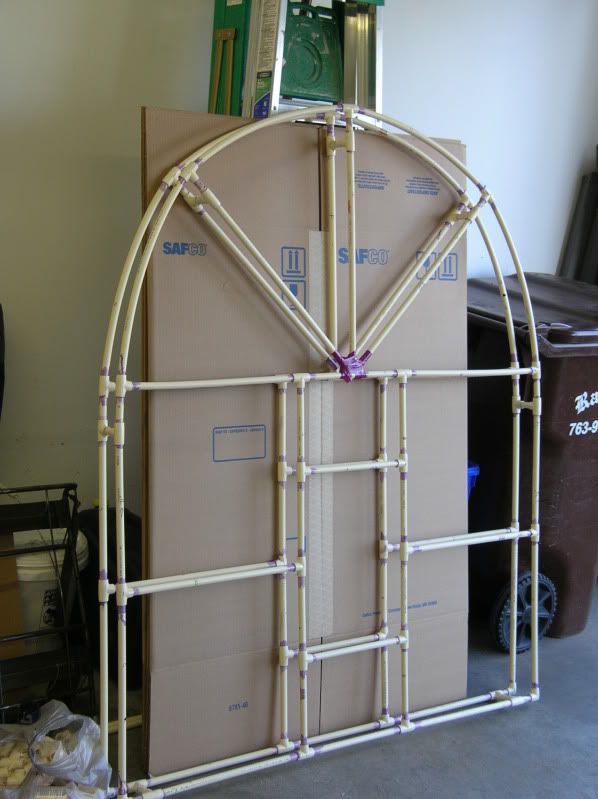
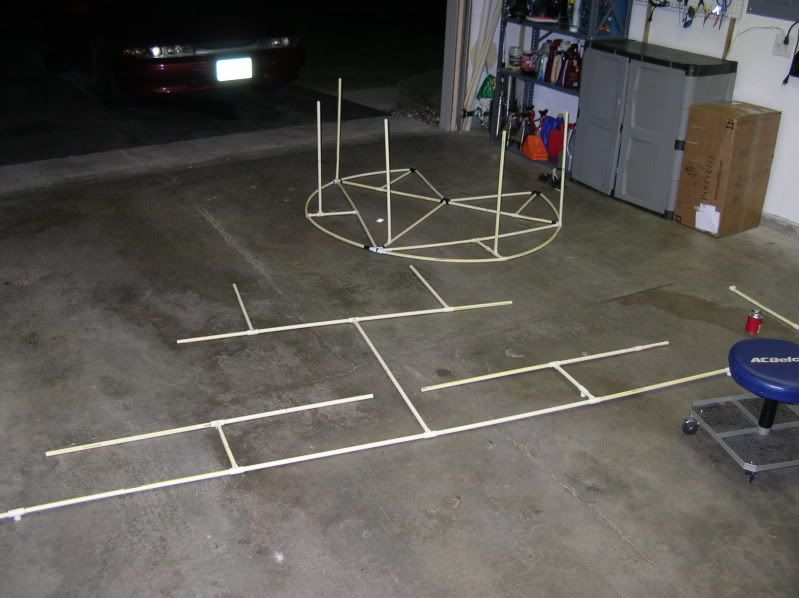
Cross-Pieces installed. You can see the other half being put together. I changed the way I was doing this because it was much easier to join the frame at one of the 90 degree bends instead of in the middle of a curve. Much less tension.
Image

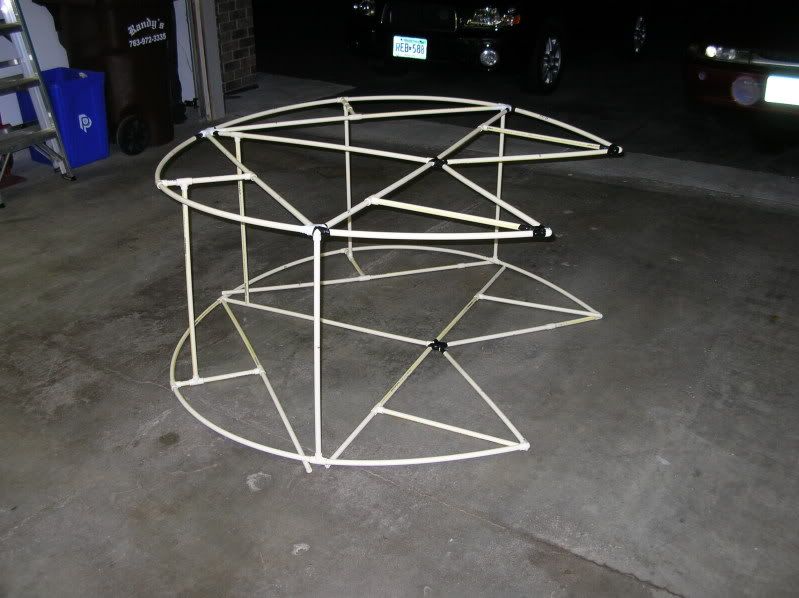
The other half about 2/3 done. Sitting on top of the cross bars to get a feel for how things are matching up. I'm going to use little stubby ones to really nail things down.
Image


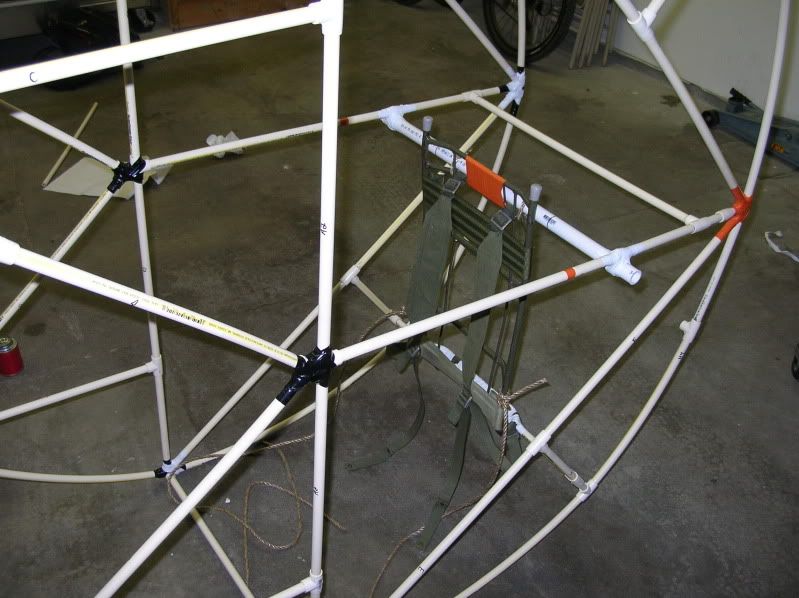
Once the outer frame was finished I went shopping for military surplus backpack frames to install in the suit.

I picked up yellow fabric for the center section, black sheer fabric for the mouth, and had Lowes color match paint to the yellow fabric for the sides.

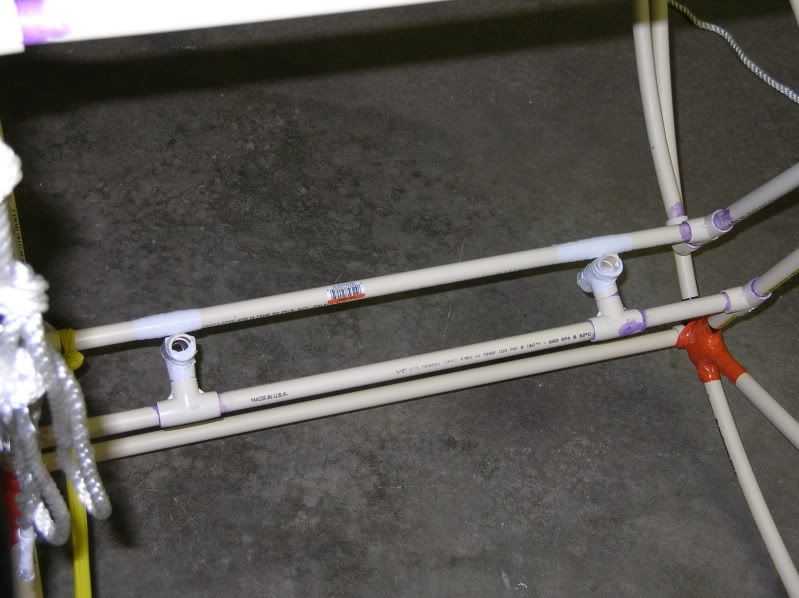
Here are some pictures from this night. I made super-short cross bars so that I could make adjustments and get the two halves as close to symmetrical as possible.

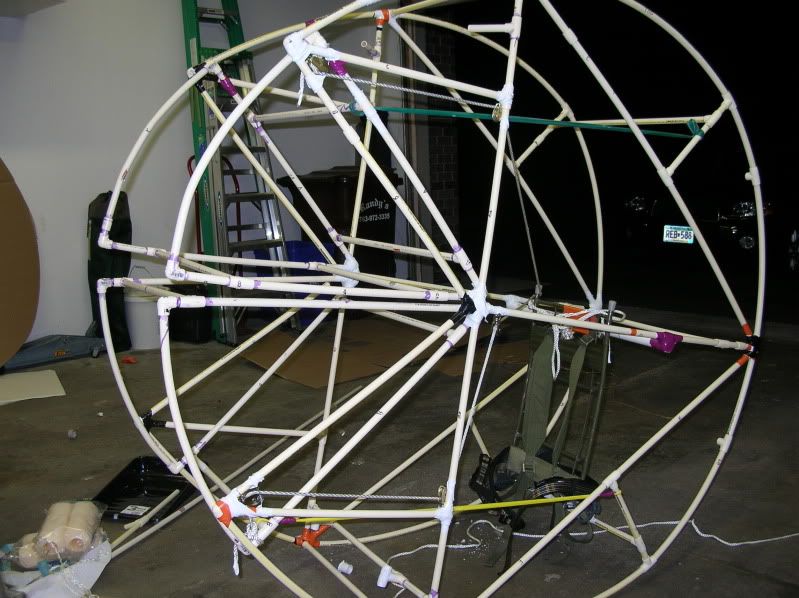
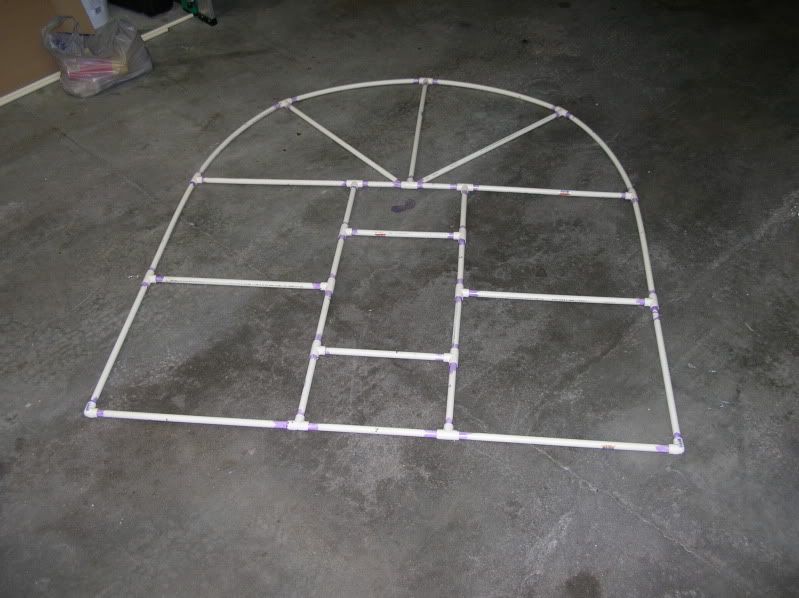
Here are the two halves. Pretty darn close to identical
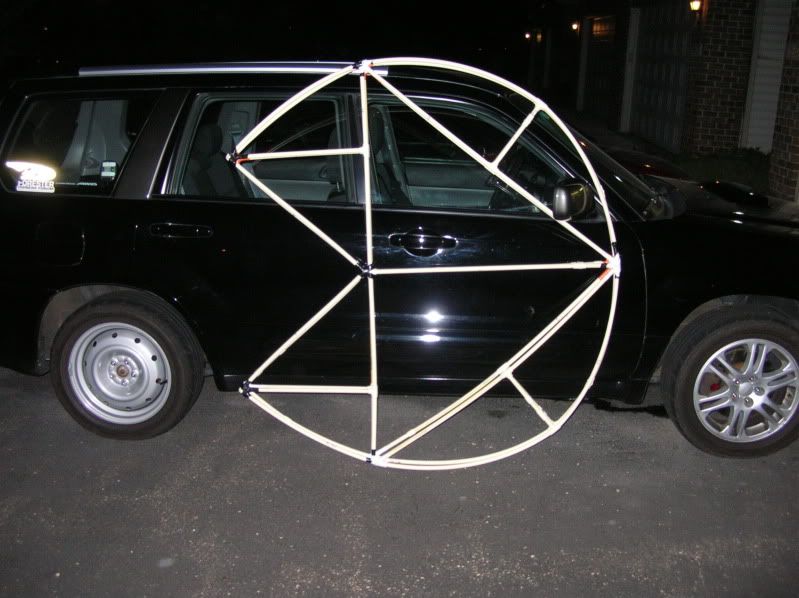
Image

Image

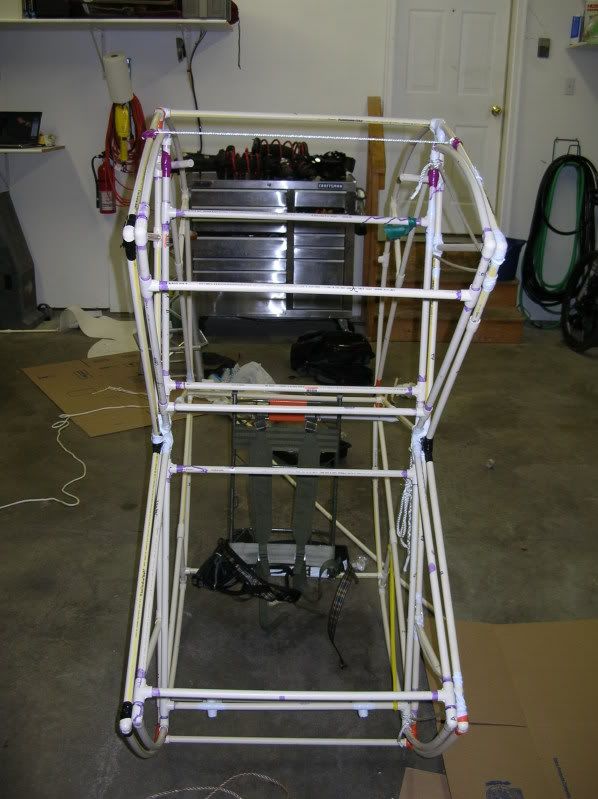
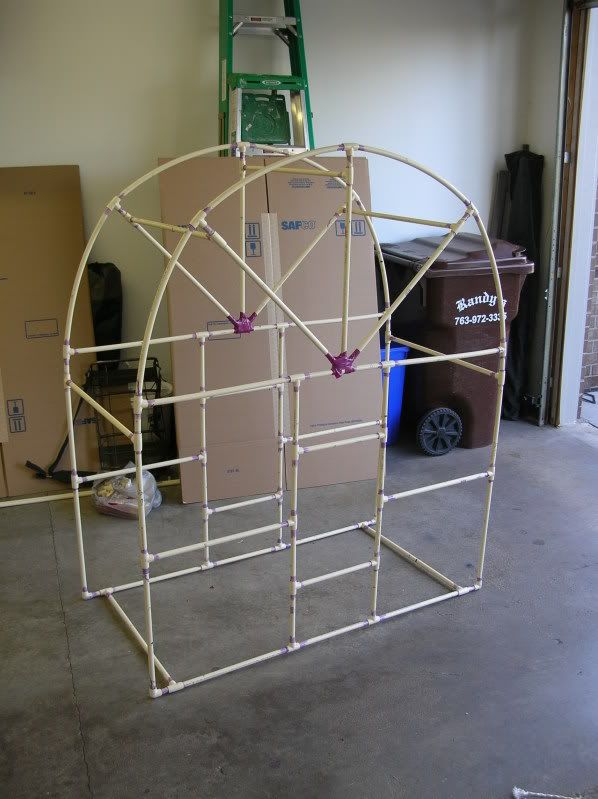
All put together
Image


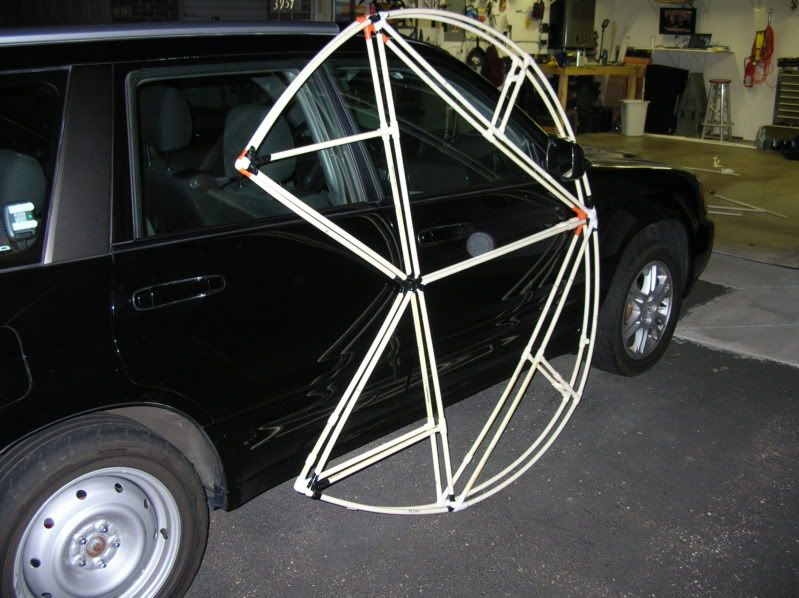
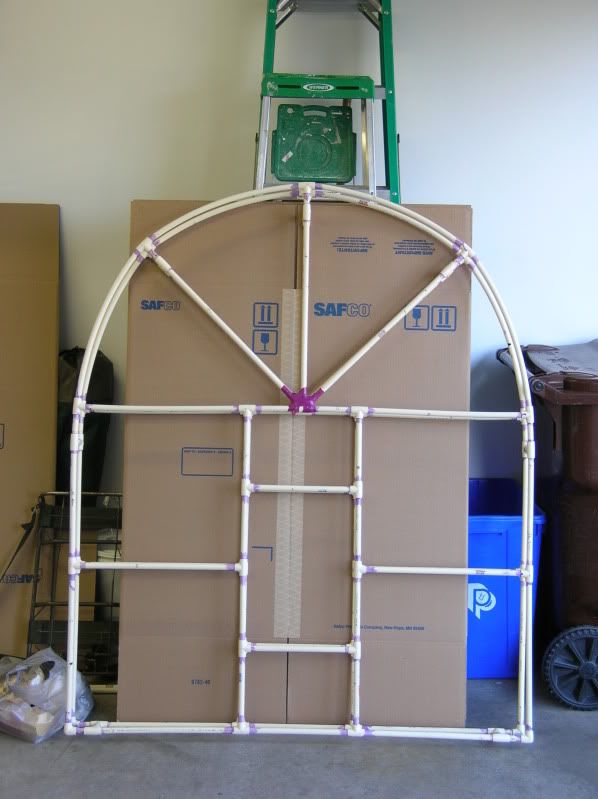
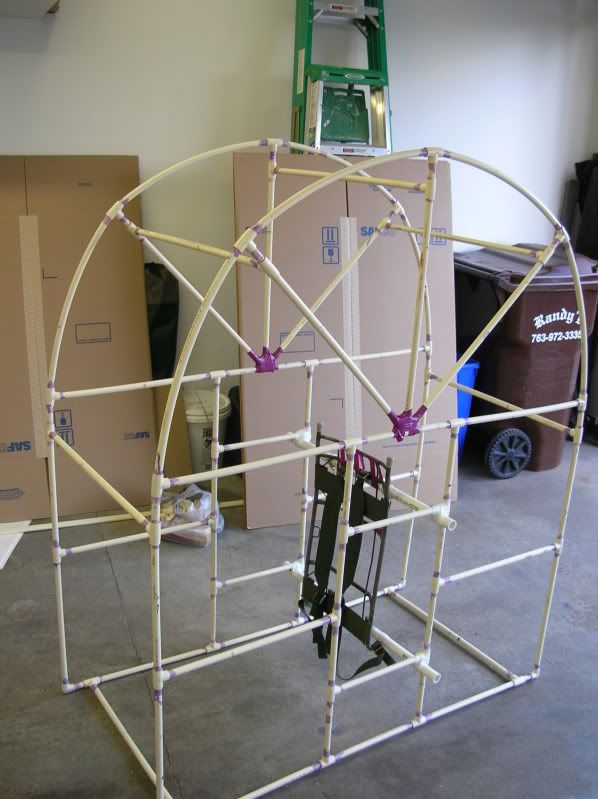
One more all assembled. The two ladders in the background are a 6' and an 8'. That gives you a point of comparison for size.
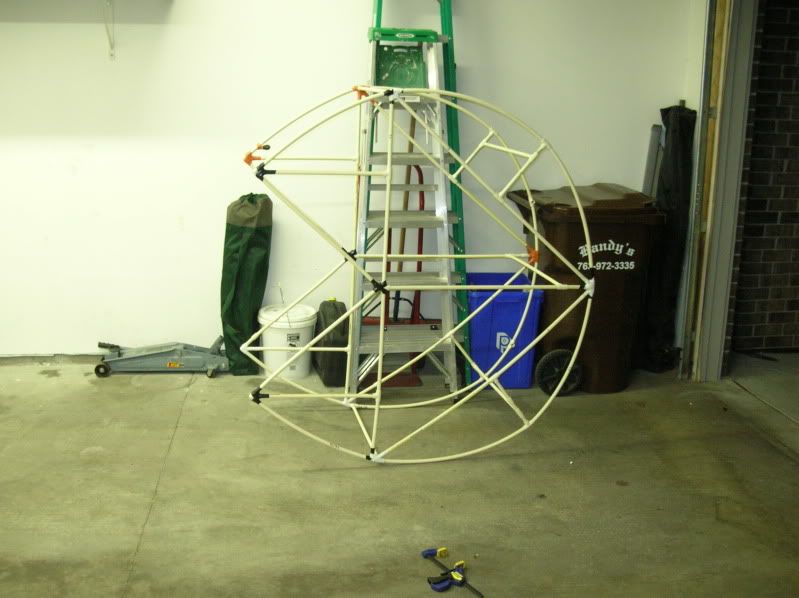
Image
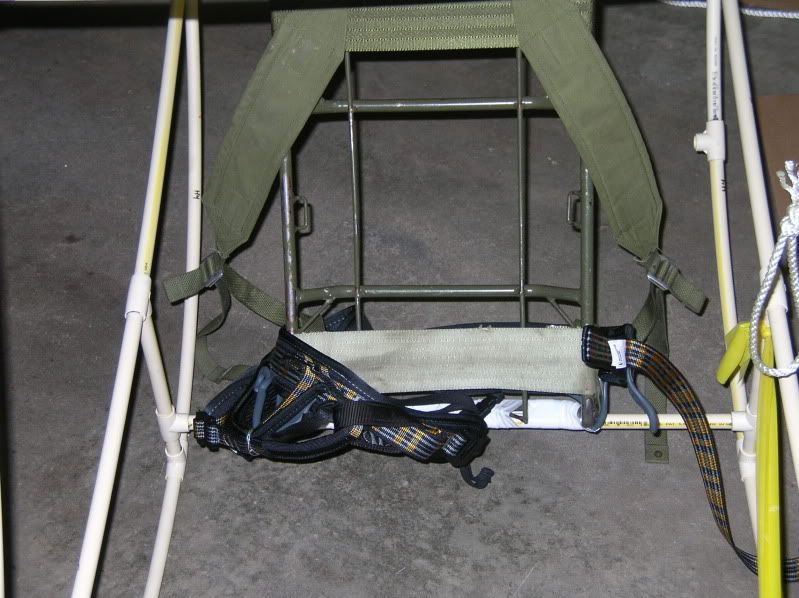
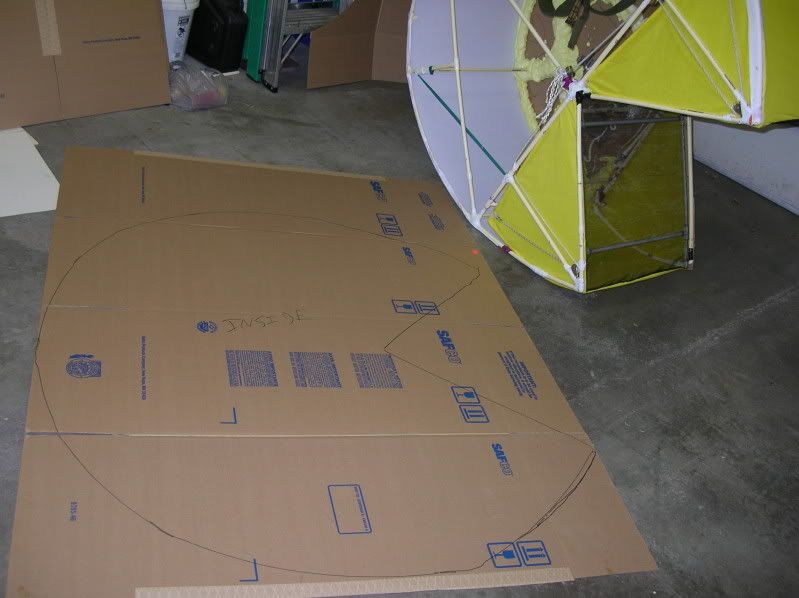
I went to a surplus store and picked up a very old military metal-frame backpack. The pack part got thrown out but I'm using the frame to attach the costume to myself. I got the frame mounted and one of the sides put together. I'm not thrilled with the cardboard I'm using since I have to tape multiple parts together, but I don't have a good way to transport larger pieces. I may look into some kind of poster board to lay over the top to make it look a little bit cleaner.

Here are a few more pictures:

The harness mounted
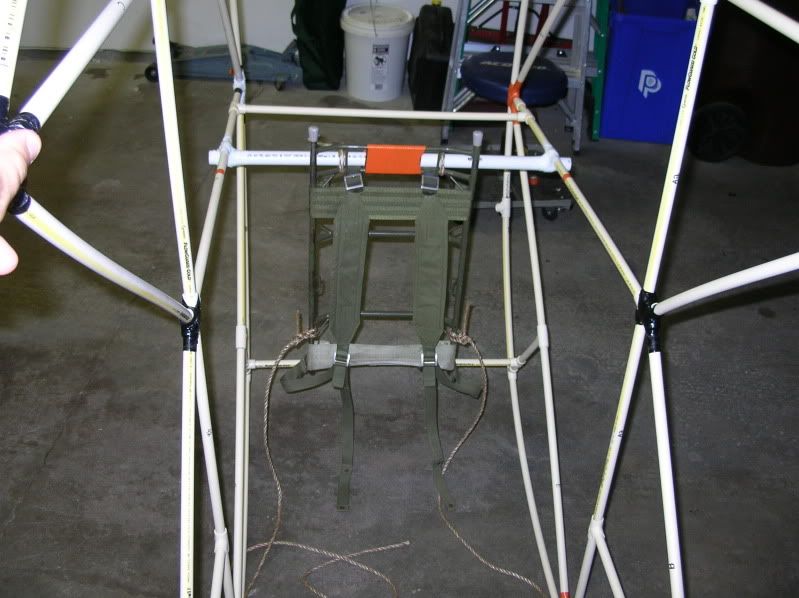
Image

Image


And the side that I got put together. I'm not attaching it until I get everything else in the mouth figured out since the sides will make it much harder to do any work inside.
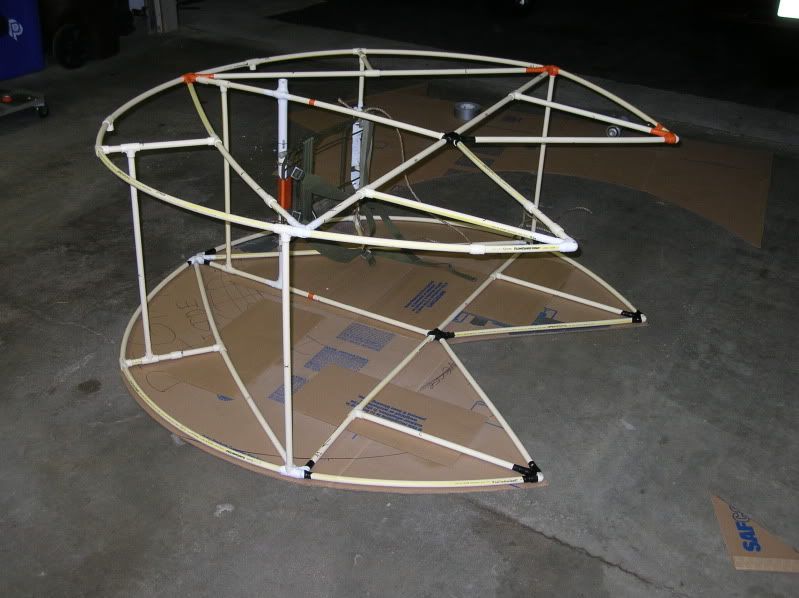
Image

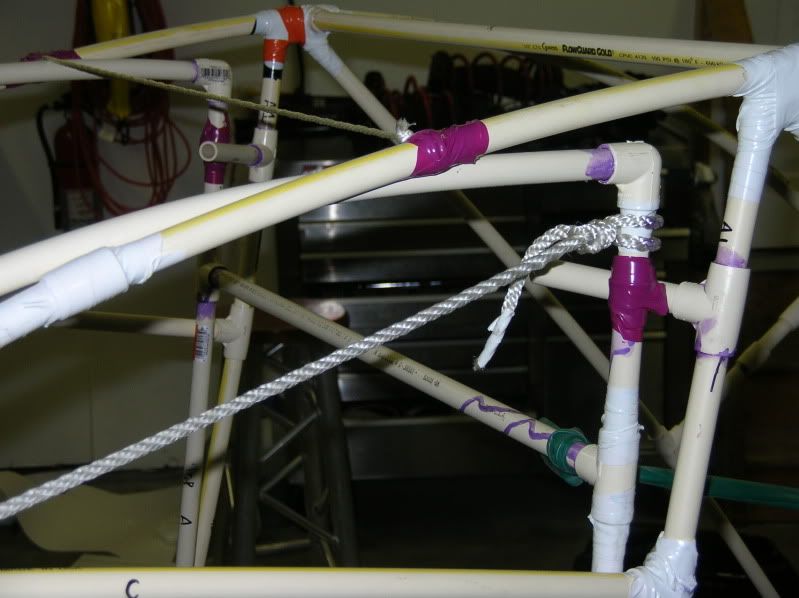
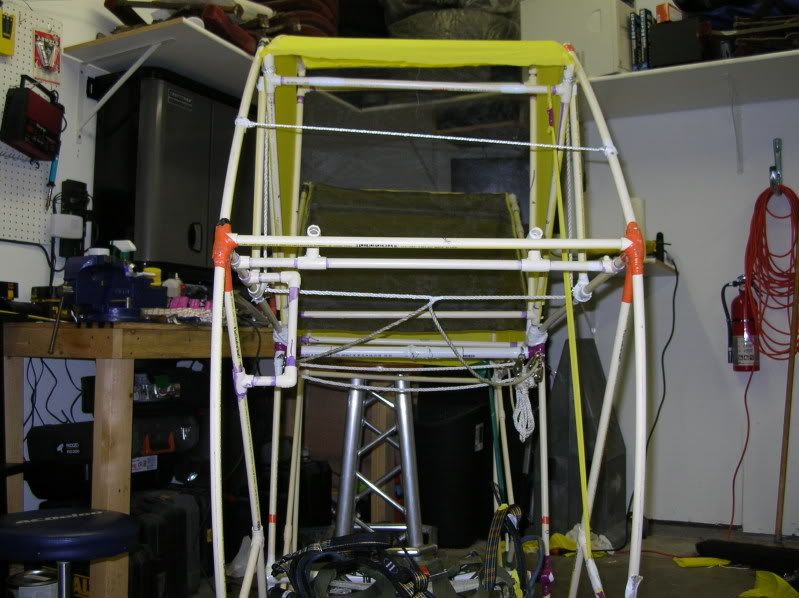
This night I got the lower jaw of the mouth built, installed, and working. There was a lot of tweaking required as far as the placement, attachment, and whatnot of the pulleys, but as of now it seems to be working very well. I may need to get larger rope though. The stuff I got is a little smaller than what the pulleys are designed for and it has a habit of getting a little off track.

I also picked up some poster board to lay over the top of the cardboard for a nice even surface. They should butt right up against each other leaving minimal lines, unlike the pieces of cardboard taped together.

Here are the pictures

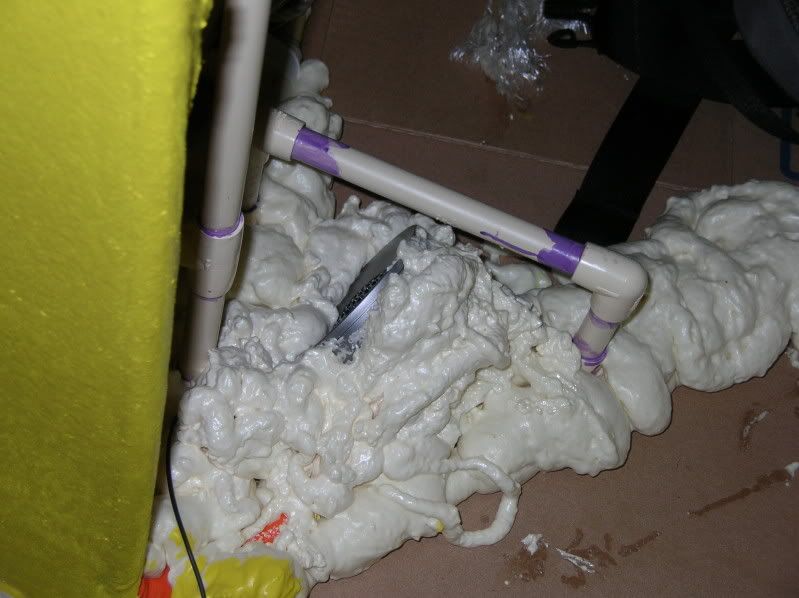
It's crude and overkill, but it seems like expanding foam will work perfectly to attach the cardboard sides to the frame.
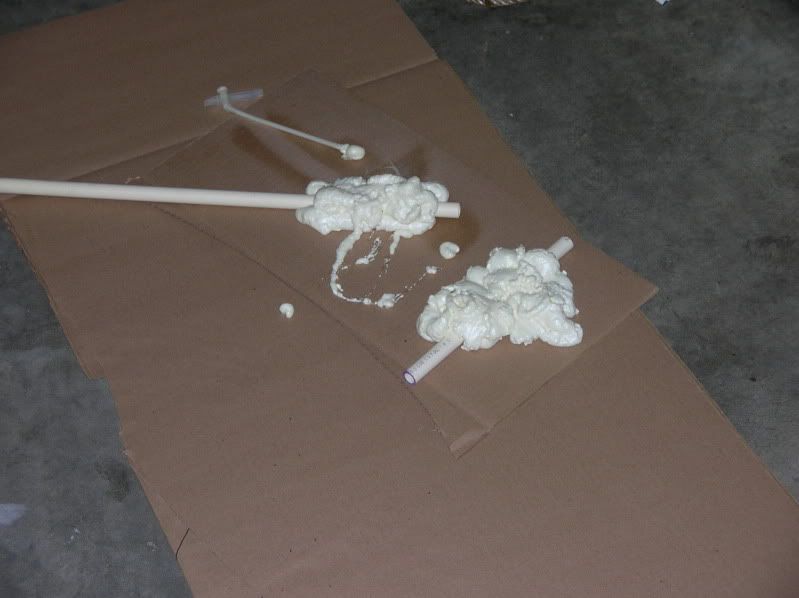
Image

The lower jaw completed
Image

The other jaw in progress
Image

The hip belt installed
Image

The lower jaw mostly retracted. The yellow thing is a thera-band and I'm using it as tension to make sure the jaw retracts properly. You can also see the extra cross-pipe that I installed as a stopper for the jaw. I want it to close but no farther than the opening in the primary frame. This way there's no way that it can.
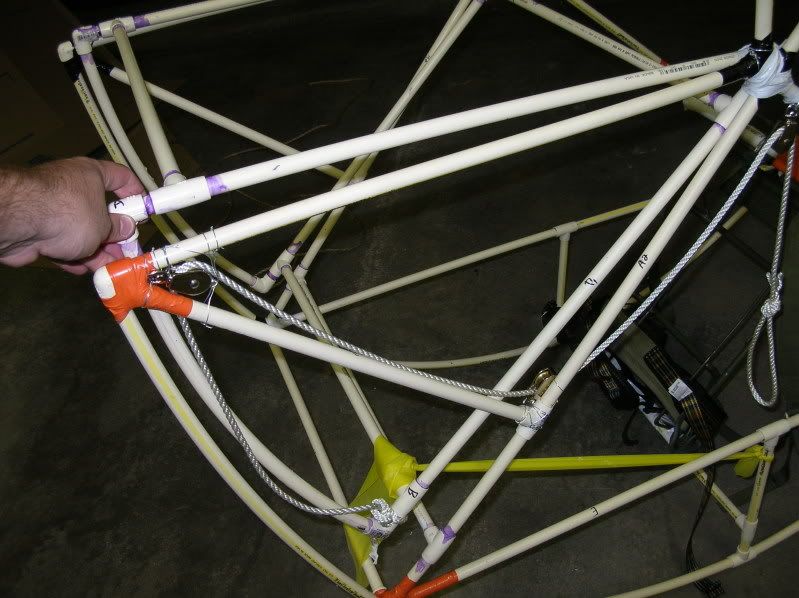
Image

The jaw mostly closed. It closes a little bit more than it is in the picture. I may have to re-mount the hinge point though in order to get both jaws to play nice with each other
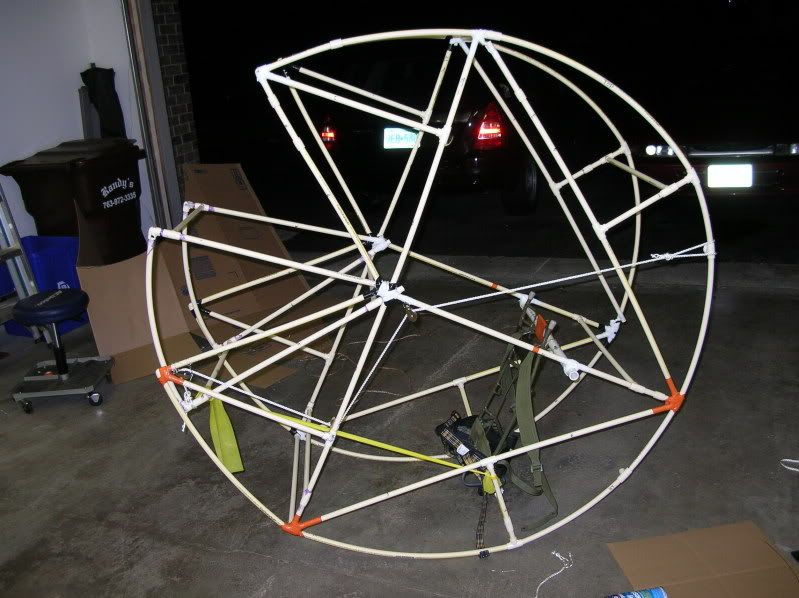
Image

And from the other side. Unfortunately the side with the rope attached pulls up a bit more than the other so it doesn't close quite uniformly. This can be remedied with some cheating on the cardboard side caps.
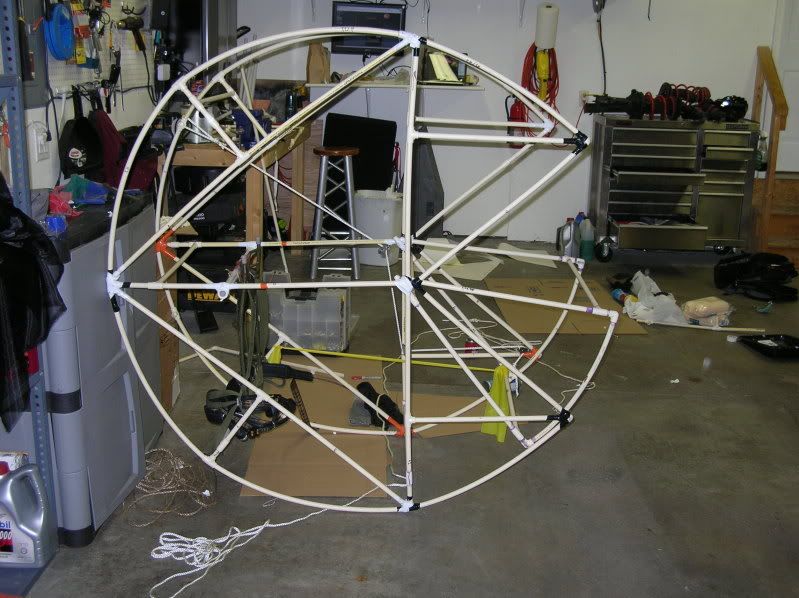
Image

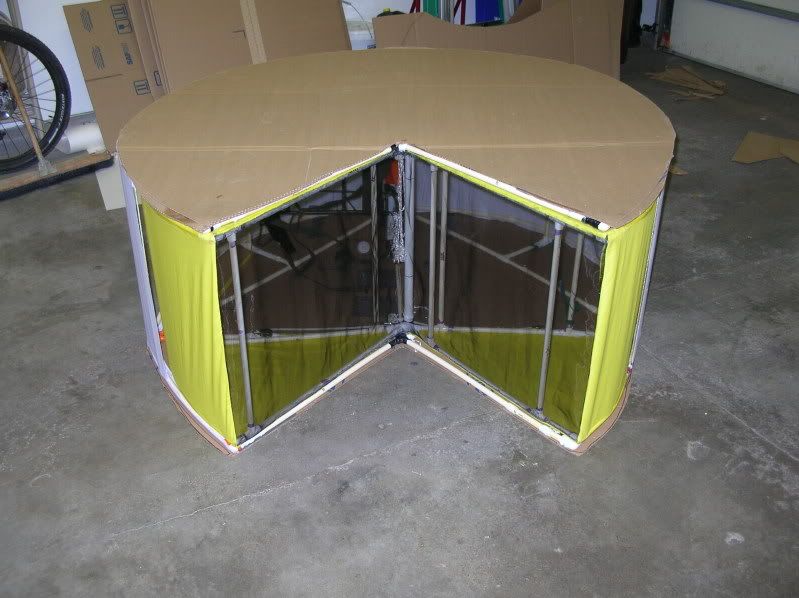
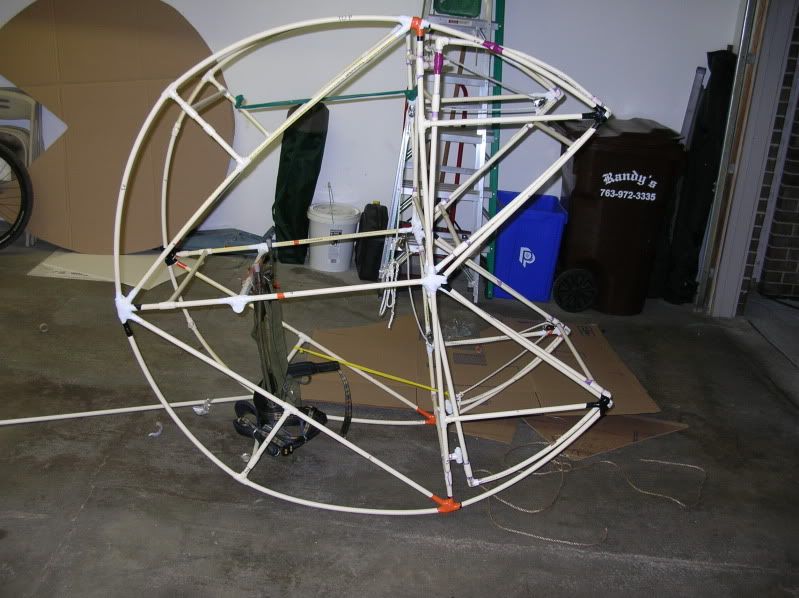
Upper jaw completed. There is still some sussing out to be done as far as the alignment of the jaws and such, but it's all working now. I ended up installing some stoppers to make sure the jaws retract only as far as I want them too.

The whole thing
Image

Image

Image

The upper stops
Image

The lower stops
Image


The mouth closed
Image


A little video of the mouth in action
http://www.youtube.com/watch?v=Mzy_F6haX-o


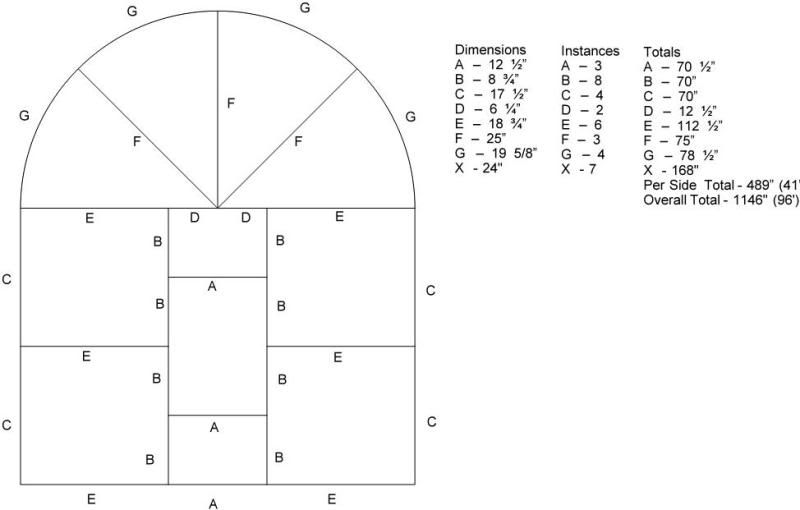
At this point I got a property tax refund and decided to make a ghost to go along with my costume. Same size/scale, so it should be pretty fun. Here’s a sketch of the design
Image
More Ghost pictures

Image

Image

Image

Image

Image

Image

Image

This brings us up to tonight
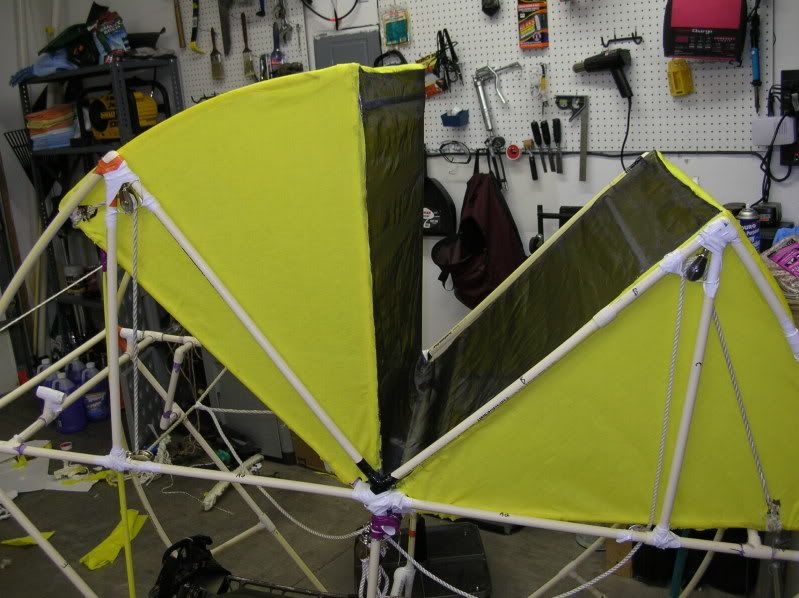
More work done tonight on the PacMan costume. Completed dressing the two mouth sections, got the muslin that goes across the center attached, and one of the two sides is curing as I type this.

Today saw a whole lot of troubleshooting with the mouth mechanism. The fabric created much more friction than I expected, so things weren't working quite the way they were supposed to. I switched from a one rope system to having one pull rope on each side for the mouth. It works much better this way.

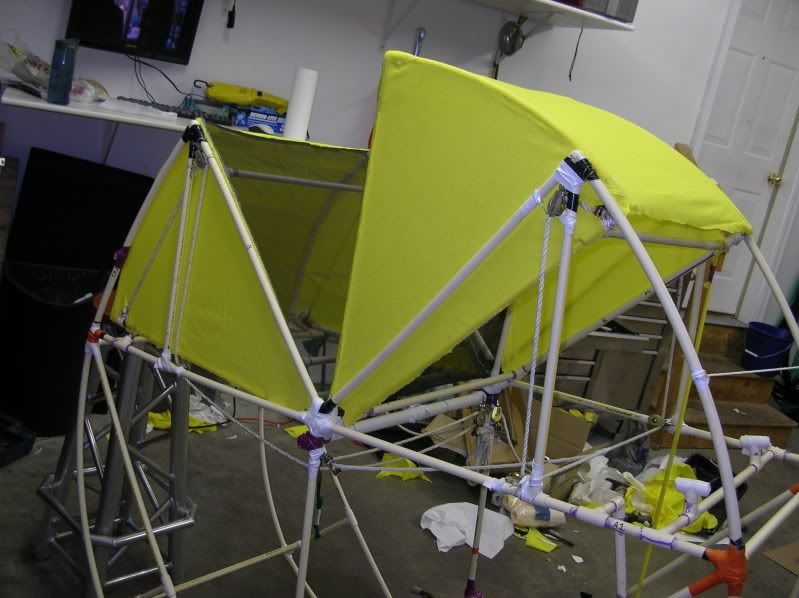
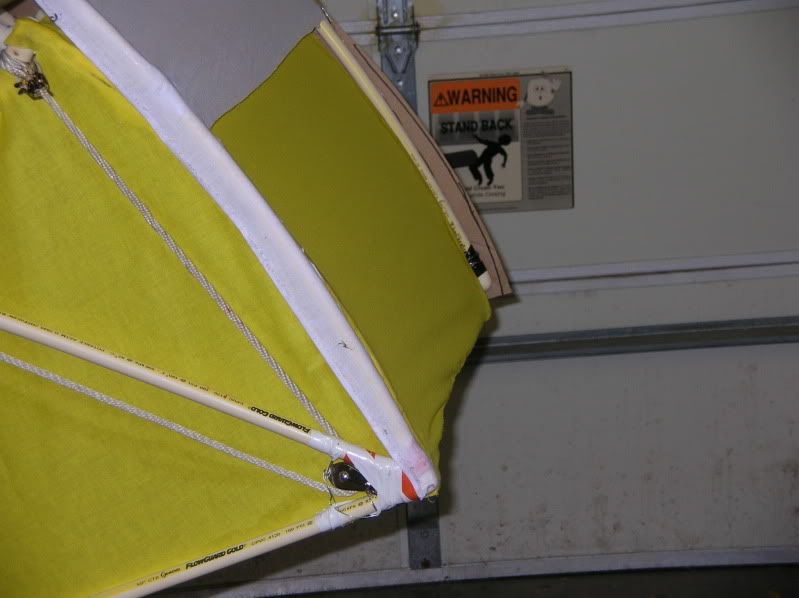
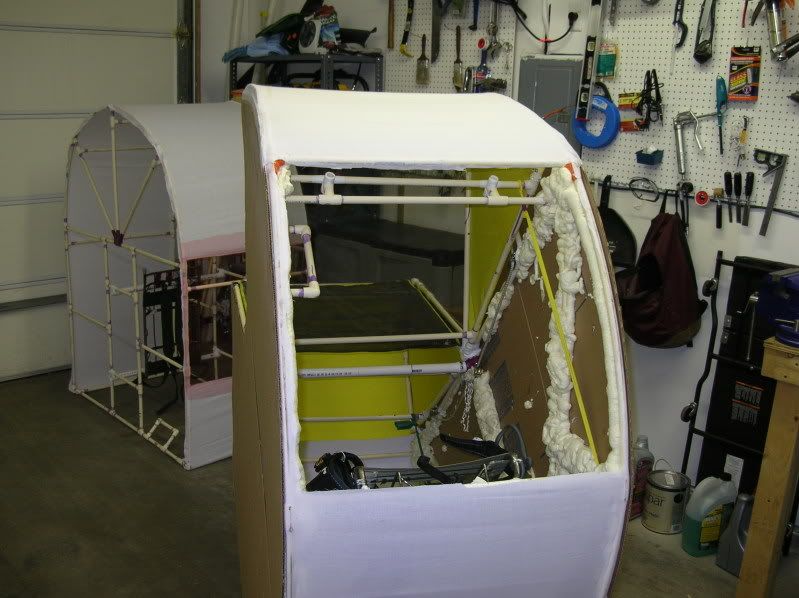
Also, since the mouth pieces weren't formed quite properly (or the frame, not sure which) they stick out from the frame a little bit so I couldn't wrap the whole thing in muslin because it was causing things to not move. I'm extending the cardboard sides in these areas, going to attach muslin to the cardboard once it's cut to sit a little bit above the mouth pieces, glue it into the rest of the fabric and then paint the whole thing. Hopefully it won't stick out too badly.

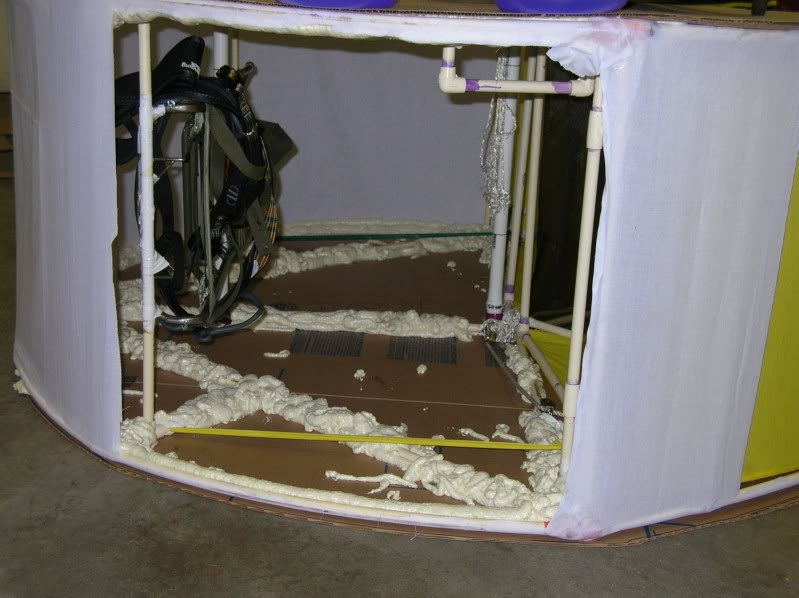
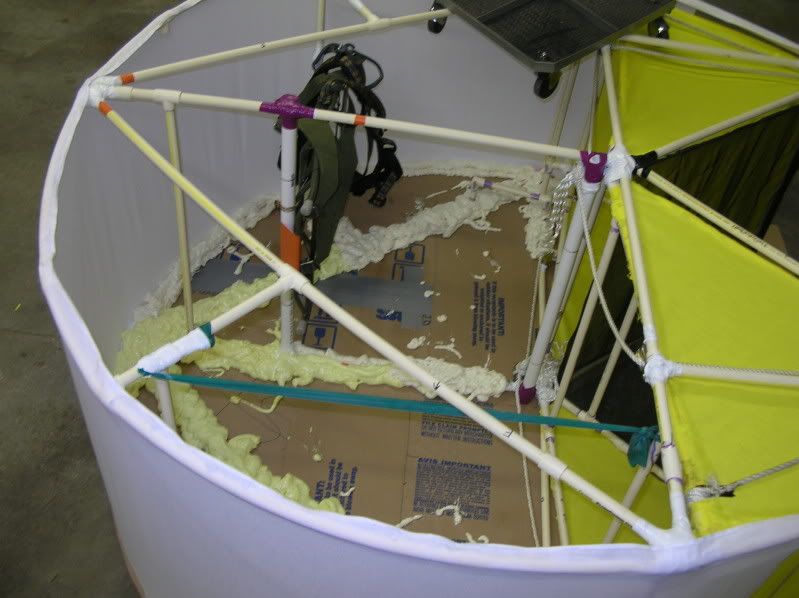
The respirator has been my friend today. Lots of glue, spray-glue, and expanding foam.

Now for pictures.
Image

Image

Image

Muslin attached to one side
Image

Muslin attached to both sides
Image

Expanding foam used to mount the cardboard side to the frame
Image

Image

User avatar
adrian
Halloween Master
Posts: 6231
Joined: Fri Oct 17, 2008 9:55 pm
What is the highest number?: 10992
Location: Buice Manor in Beulah AL

Re: My PacMan costume

Post by adrian » Wed Oct 07, 2009 7:12 am

wow you've really put a lot of work into it :) great job!! i watched the video and the mouth moves GREAT
Last night 'twas witching Hallowe'en
Dearest; an apple russet- brown
I pared, and thrice above my crown
Whirled the long skin; they watched in keen;
I flung it far; they laughed and cried me shame
Dearest, there lay the letter of your name!

User avatar
Spookymufu
Halloween Master
Posts: 9373
Joined: Fri Sep 25, 2009 8:42 pm
What is the highest number?: 10992
Location: Somewhere in south Texas
Contact:

Re: My PacMan costume

Post by Spookymufu » Wed Oct 07, 2009 9:47 am

you must be an engineer, thats a lot of effort for a costume, very cool!

cant wait to see them both completed
http://theyard.netii.net/
"You can catch more flies with honey than vinegar but if you pull their wings off they'll eat whatever you give them!"

User avatar
jadewik
Halloween Master
Posts: 1426
Joined: Tue Aug 21, 2007 7:11 pm
What is the highest number?: 10992
Location: Arizona, USA
Contact:

Re: My PacMan costume

Post by jadewik » Wed Oct 07, 2009 11:44 am

Spooky-- don't you know the rule about jobs? People who do a particular job IRL never do it in their free-time. *jokes*

Your costume looks great! I like the step-by-step walkthrough and the progress photos. It's always nice to see how people get from start to finish.

Techy101
Zombie
Posts: 12
Joined: Wed Oct 07, 2009 5:11 am
What is the highest number?: 10992

Re: My PacMan costume

Post by Techy101 » Wed Oct 07, 2009 12:50 pm

I'm actually professional theatre technician by trade, but in the recent economic downturn have started back at school for electrical engineering. I've actually run this by one of my professors for some extra credit, I'm not sure if he'll go for it, but there's been a ton of design work, troubleshooting, re-working, etc... put into this; so hopefully he'll bite.

User avatar
adrian
Halloween Master
Posts: 6231
Joined: Fri Oct 17, 2008 9:55 pm
What is the highest number?: 10992
Location: Buice Manor in Beulah AL

Re: My PacMan costume

Post by adrian » Wed Oct 07, 2009 12:52 pm

i hope he does :) you deserve it... it looks like you've put a TON of work into it! i can't wait to see the finished product
Last night 'twas witching Hallowe'en
Dearest; an apple russet- brown
I pared, and thrice above my crown
Whirled the long skin; they watched in keen;
I flung it far; they laughed and cried me shame
Dearest, there lay the letter of your name!

Techy101
Zombie
Posts: 12
Joined: Wed Oct 07, 2009 5:11 am
What is the highest number?: 10992

Re: My PacMan costume

Post by Techy101 » Wed Oct 07, 2009 1:28 pm

I've also got some battery-powered speakers that I'll be installing somewhere in this thing, as well as the wakka wakka sound that repeats for 10 minutes (enough to make anyone insane) and 2.5 minutes of PacMan game play audio.

User avatar
adrian
Halloween Master
Posts: 6231
Joined: Fri Oct 17, 2008 9:55 pm
What is the highest number?: 10992
Location: Buice Manor in Beulah AL

Re: My PacMan costume

Post by adrian » Wed Oct 07, 2009 1:36 pm

HAHAHAHAHAHAHA perfect :)
Last night 'twas witching Hallowe'en
Dearest; an apple russet- brown
I pared, and thrice above my crown
Whirled the long skin; they watched in keen;
I flung it far; they laughed and cried me shame
Dearest, there lay the letter of your name!

Techy101
Zombie
Posts: 12
Joined: Wed Oct 07, 2009 5:11 am
What is the highest number?: 10992

Re: My PacMan costume

Post by Techy101 » Fri Oct 09, 2009 3:05 am

A little bit more progress.

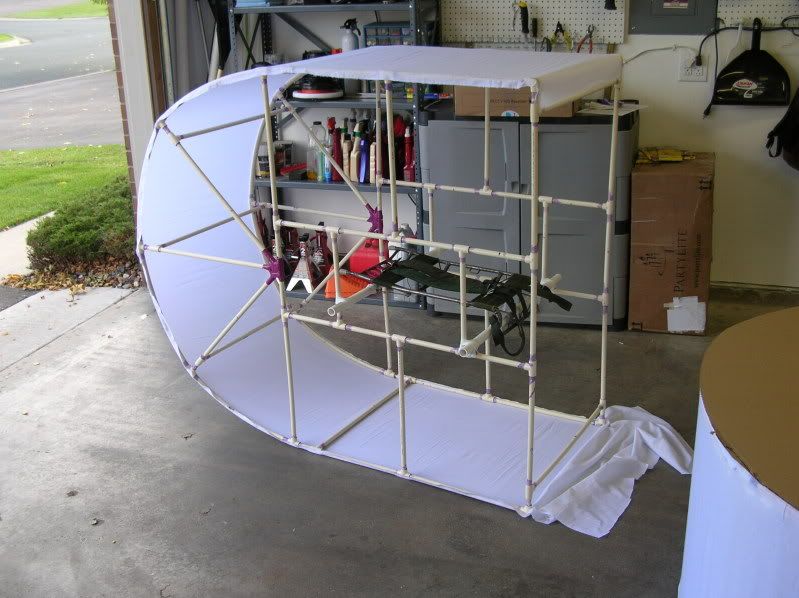
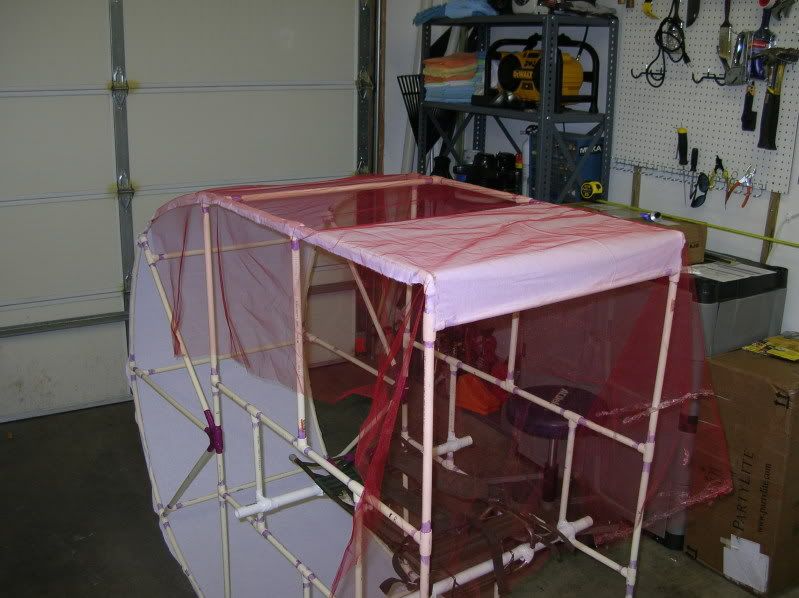
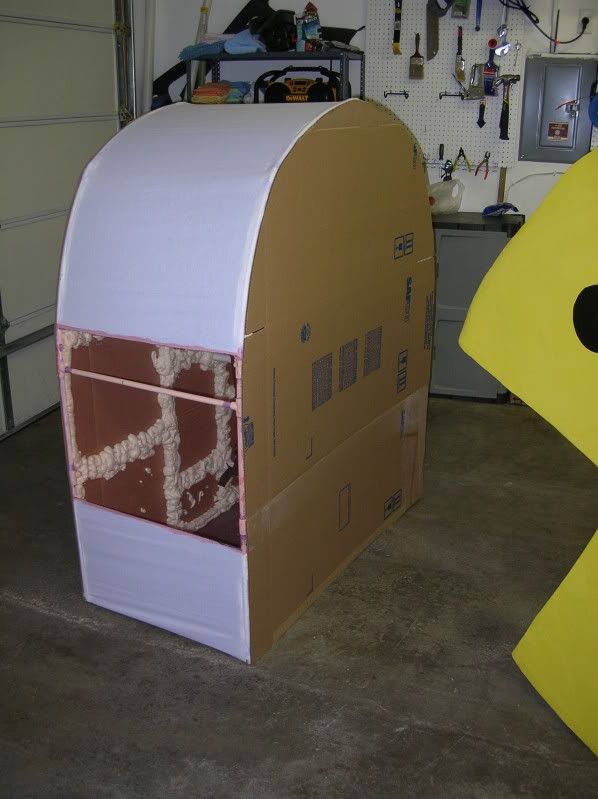
The ghost is wrapped and I just got the red sheer fabric installed so that someone can see out of it. It needs some more trimming where it's glued into the muslin, but that can't happen until the glue dries.

The PacMan also got one side trimmed down so I can cover the place where the mouth sticks out of the frame and the other side has been attached. It's just drying now.
Image

Image

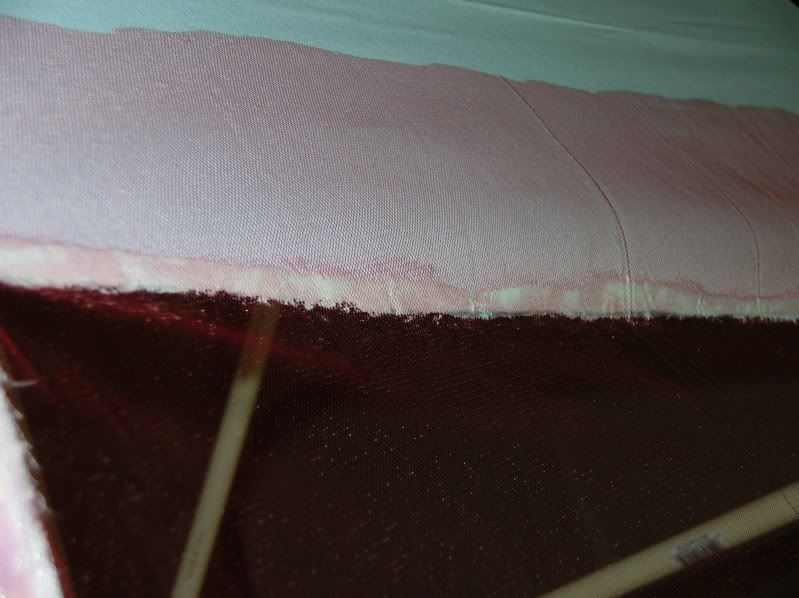
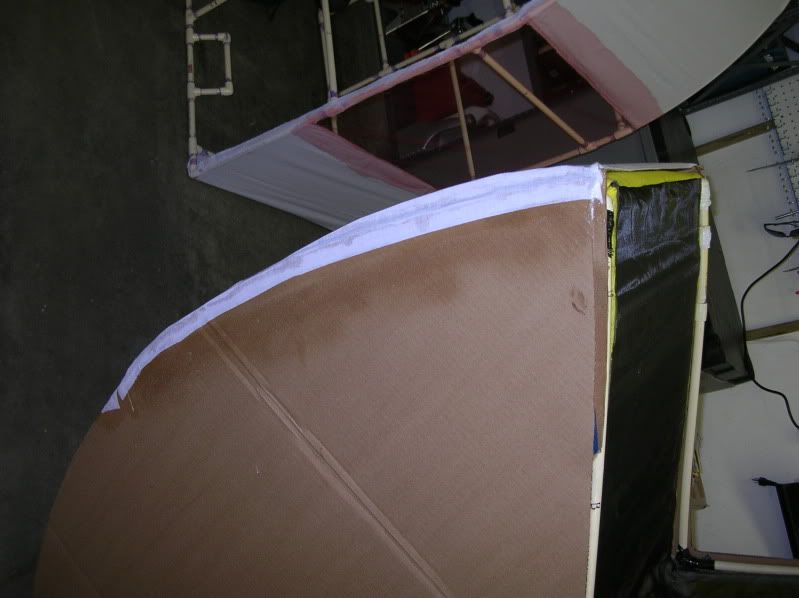
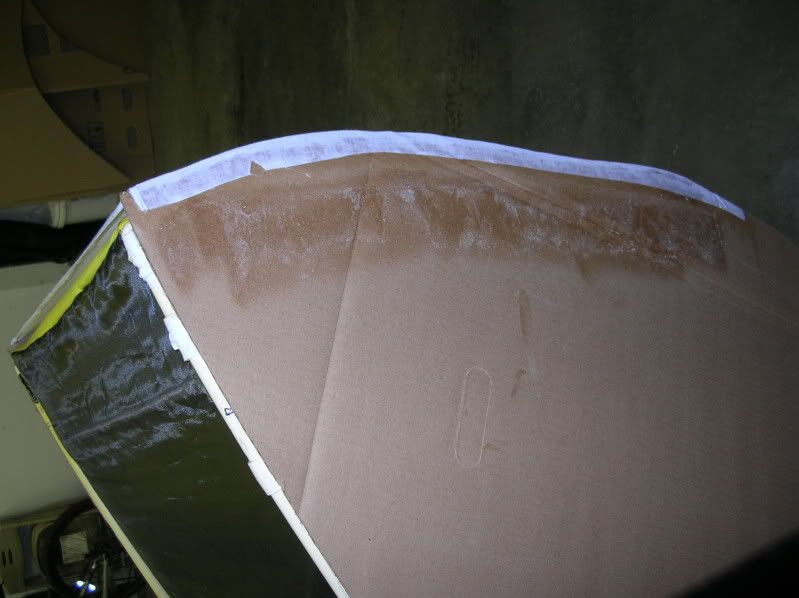
The seam. It'll get trimmed way down and then the paint should help the seam blend into the muslin, I hope.
Image


PacMan

The side before it was trimmed
Image

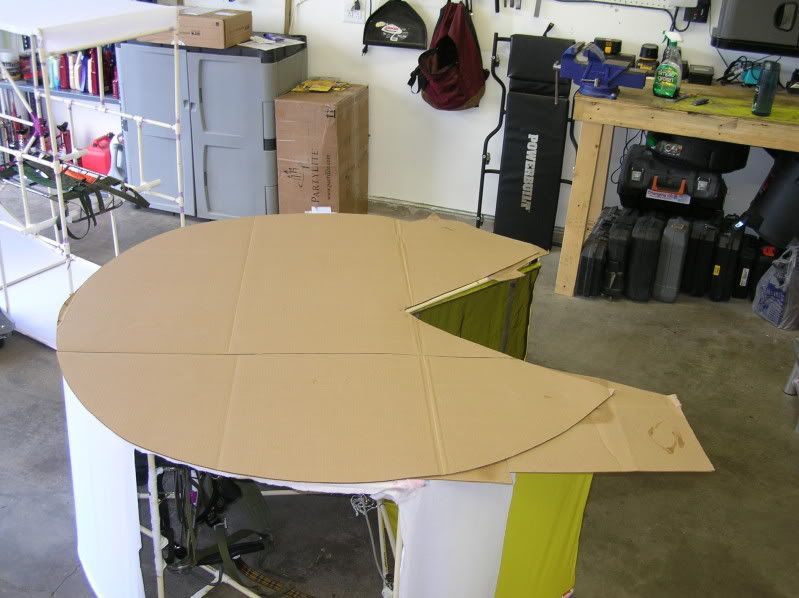
The other side traced
Image

The first side trimmed down. You can see it how the cardboard sticks out over the main frame. The muslin will wrap around this so the mouth has clearance to move.
Image

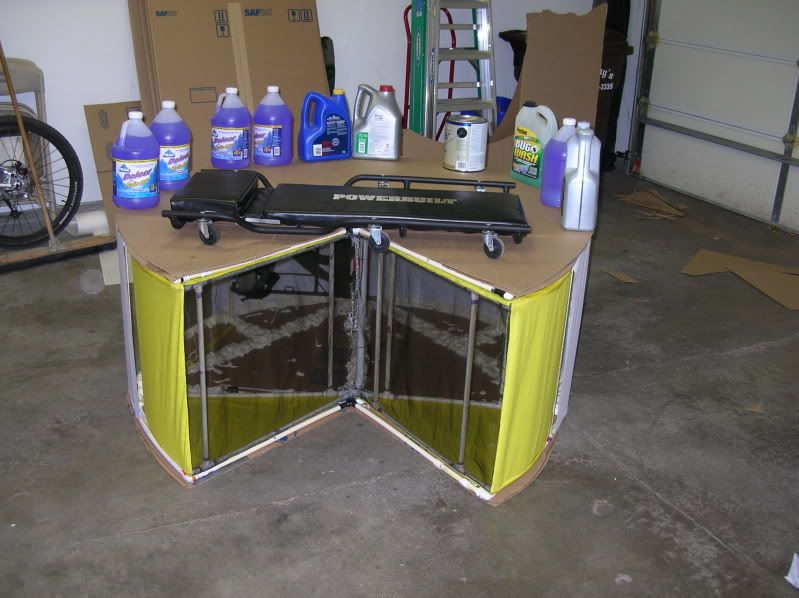
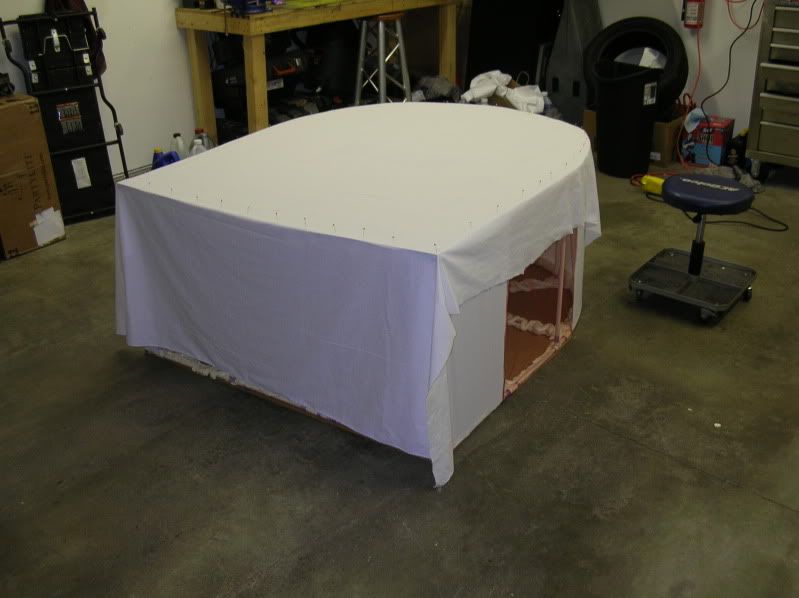
The frame sitting on top of the other side. Not attached yet
Image

Foam put in
Image

My winter washer fluid stock and assorted stuff used as weights to hold the frame down
Image

User avatar
adrian
Halloween Master
Posts: 6231
Joined: Fri Oct 17, 2008 9:55 pm
What is the highest number?: 10992
Location: Buice Manor in Beulah AL

Re: My PacMan costume

Post by adrian » Sat Oct 10, 2009 5:33 pm

the work you're doing is unbelievable lol
Last night 'twas witching Hallowe'en
Dearest; an apple russet- brown
I pared, and thrice above my crown
Whirled the long skin; they watched in keen;
I flung it far; they laughed and cried me shame
Dearest, there lay the letter of your name!

Techy101
Zombie
Posts: 12
Joined: Wed Oct 07, 2009 5:11 am
What is the highest number?: 10992

Re: My PacMan costume

Post by Techy101 » Sat Oct 17, 2009 1:25 am

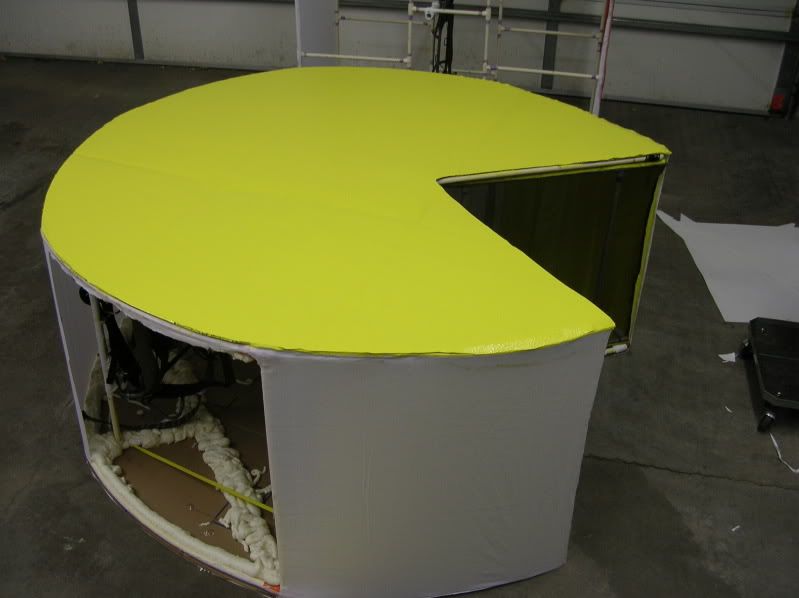
A little bit more work done yesterday and today. I had an issue with the mouth pieces getting stuck on the outer fabric, so I cut it away, extended the cardboard sides and re-wrapped those sections with muslin.

Here’s one side done, the other in process
Image

One side done
Image

The other
Image

The lower section re-done
Image


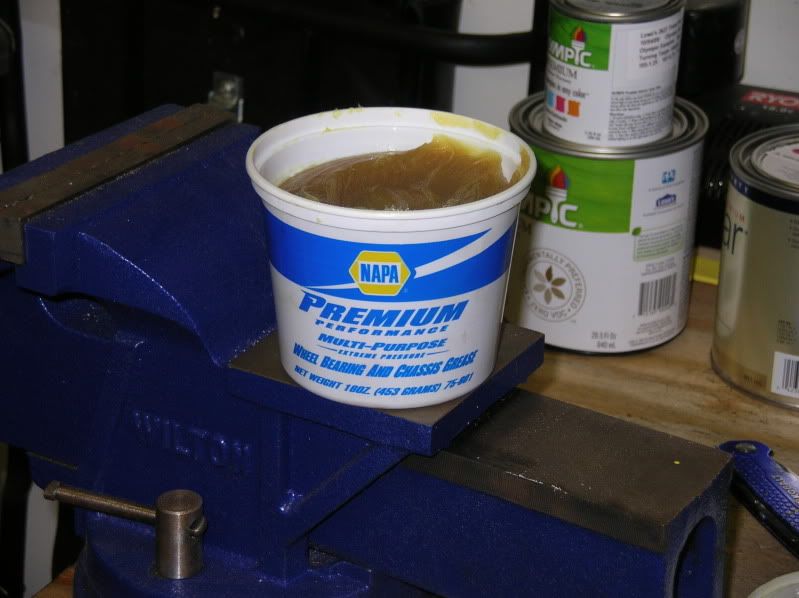
These addition caused the mouth pieces to begin sticking on the sides because of the increased tension. A little wheel bearing grease goes a long way to help! Also, bending the cardboard over to loosen things up made things start moving again.
Image


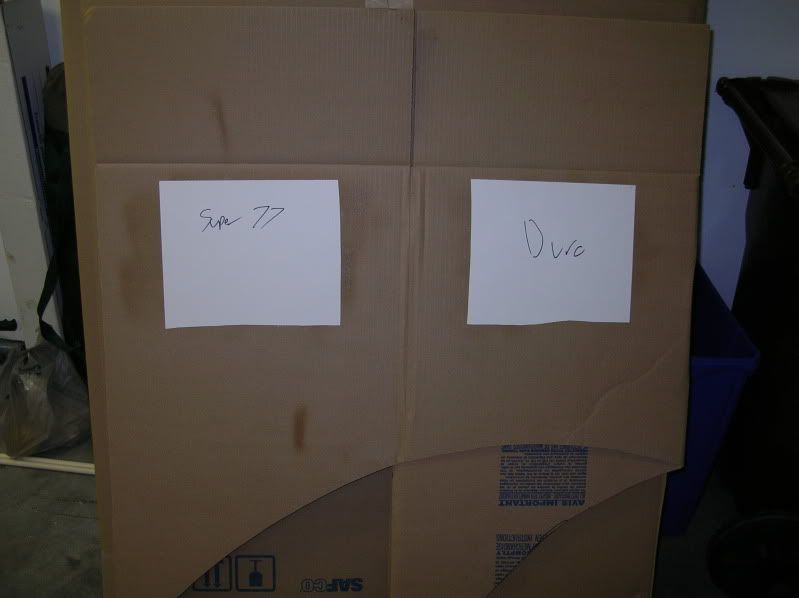
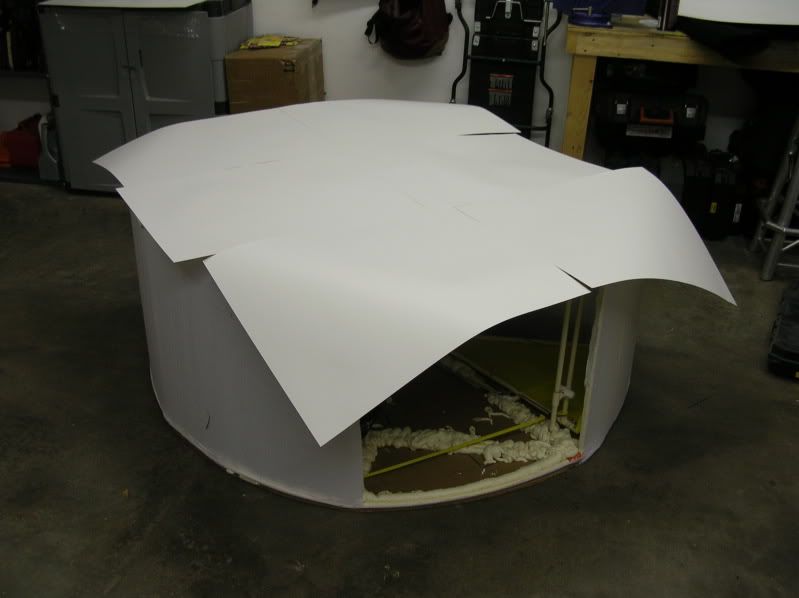
My plan had been to cover the cardboard with poster board that I could mate up nicely and make the sides look much cleaner than the cardboard on its own. I have two types of spray-glue, so some test patches were in order.
Image


Testing the best way to fit the poster board on
Image


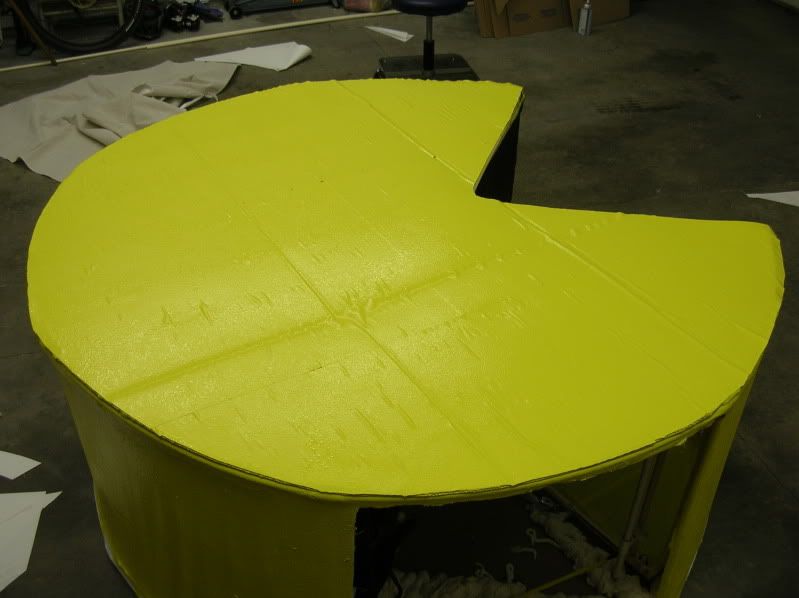
I was really excited because it was looking great, especially when I painted it.
Image


Fast Forward about ten minutes and the paint over-saturated the poster board and it swelled, bubbled, and molted itself to the cardboard underneath, and thus looked terrible. It looked a lot worse in person than even in the picture.
Image

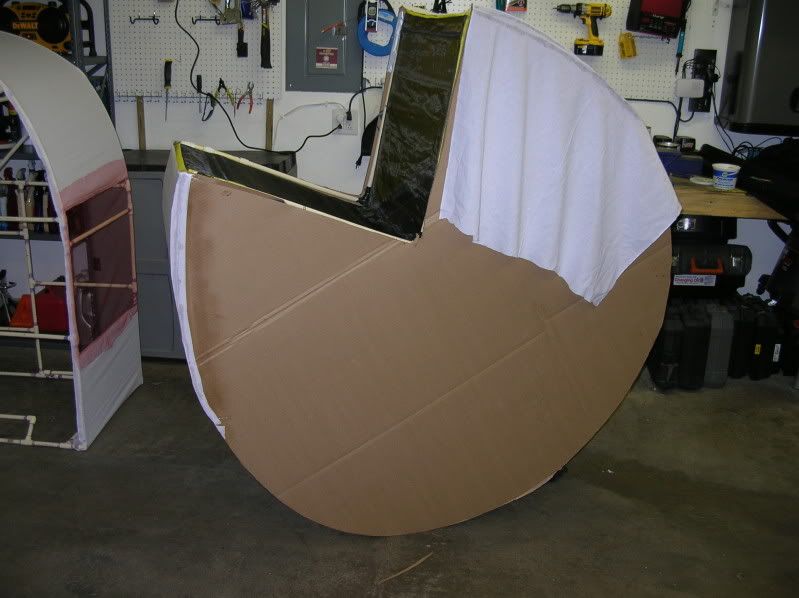
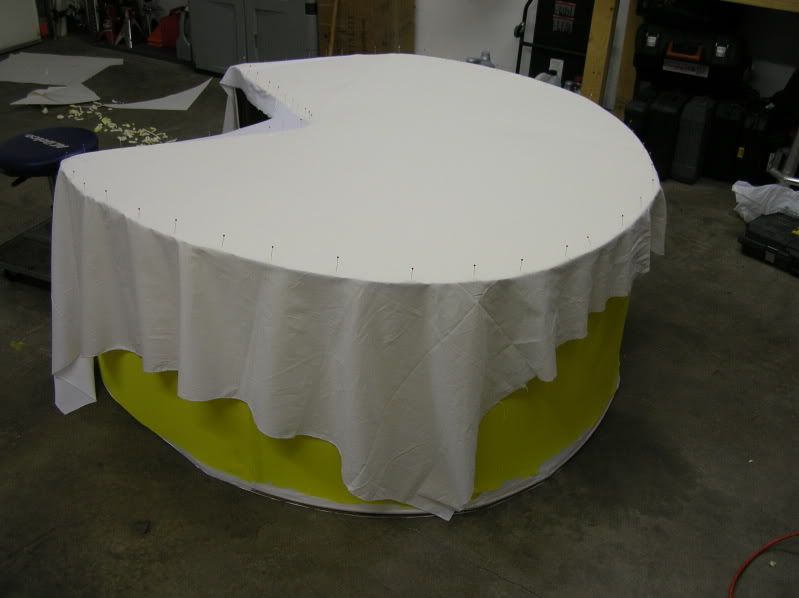
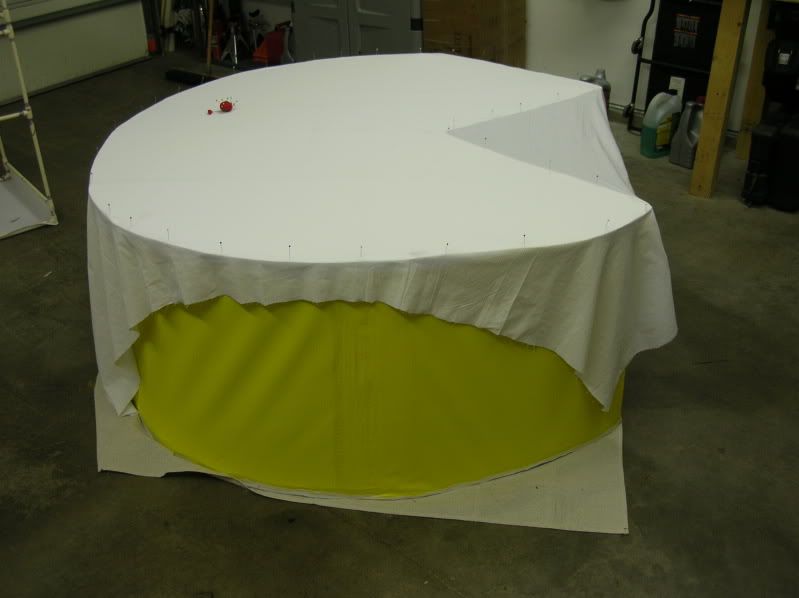
Then today I decided to stretch muslin over the sides as well. I picked up some 90” wide bleached muslin from Jo-Ann’s. Pins helped hold everything in place while I was gluing stuff down.
Image

The fabric stretched and glued down
Image


The other side
Image


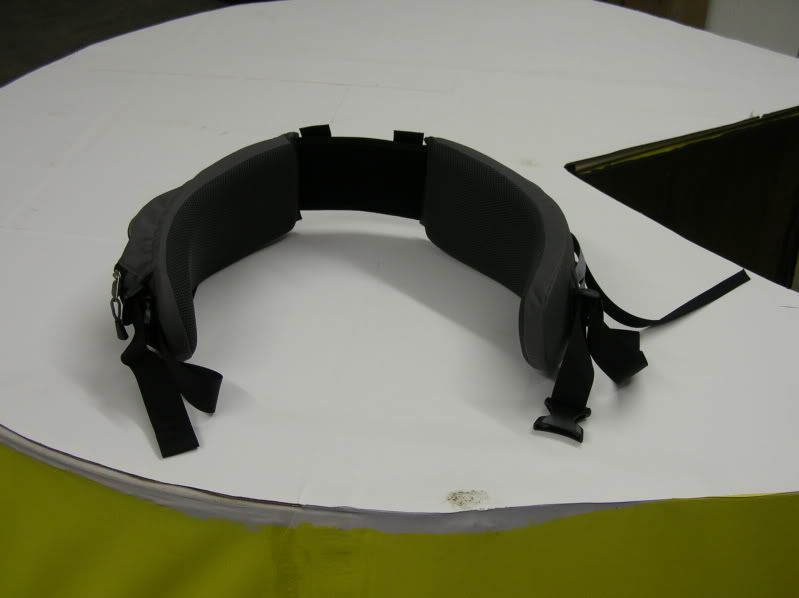
I also gave up on using my climbing harness as a hip-belt, it was too hard to get buckled and really dug in. So today I also went to REI and picked up a real hip-belt and lashed it into the pack frame that I’ve already got installed.
Image

Image


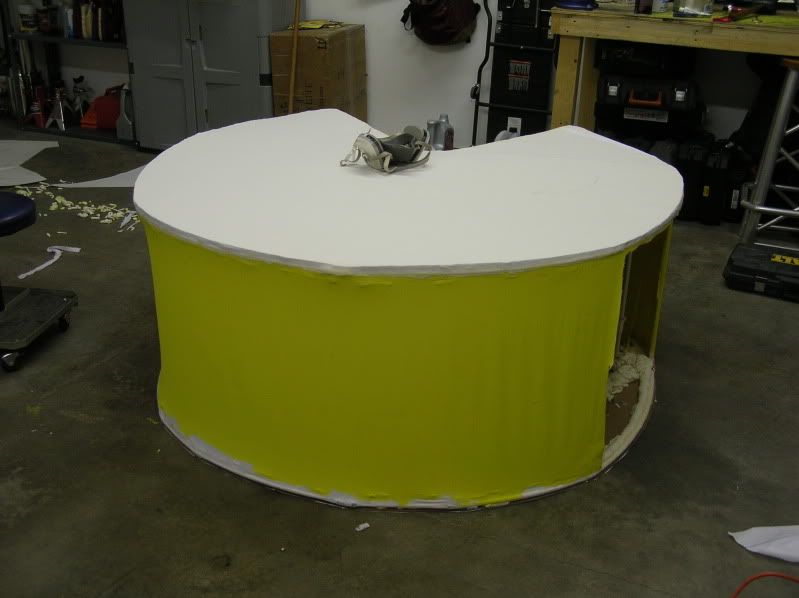
Now with fabric covering everything and 2/3 of it painted. Tomorrow once this is all dry I’ll flip it over and do the other side.
Image


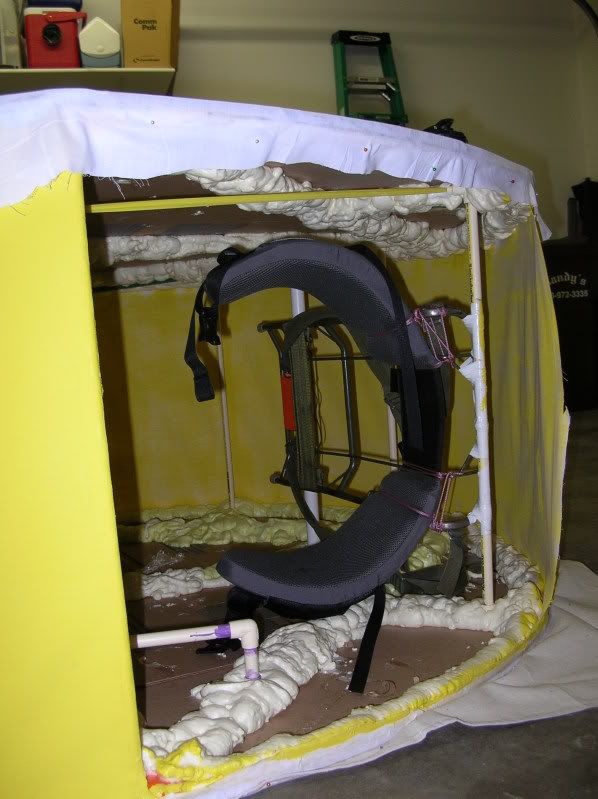
I also just foamed-in the first of the two speakers. It’s kind of hard to see, but it’s surely not going anywhere. The Pac-Man noises are sure to drive me nuts by the end of the weekend.
Image

Techy101
Zombie
Posts: 12
Joined: Wed Oct 07, 2009 5:11 am
What is the highest number?: 10992

Re: My PacMan costume

Post by Techy101 » Thu Oct 22, 2009 6:00 pm

By the way... The suit weights 37lbs now that's it's totally done. Thing is freaking heavy to lug around, and I don't think it'd be doable without the hip belt.


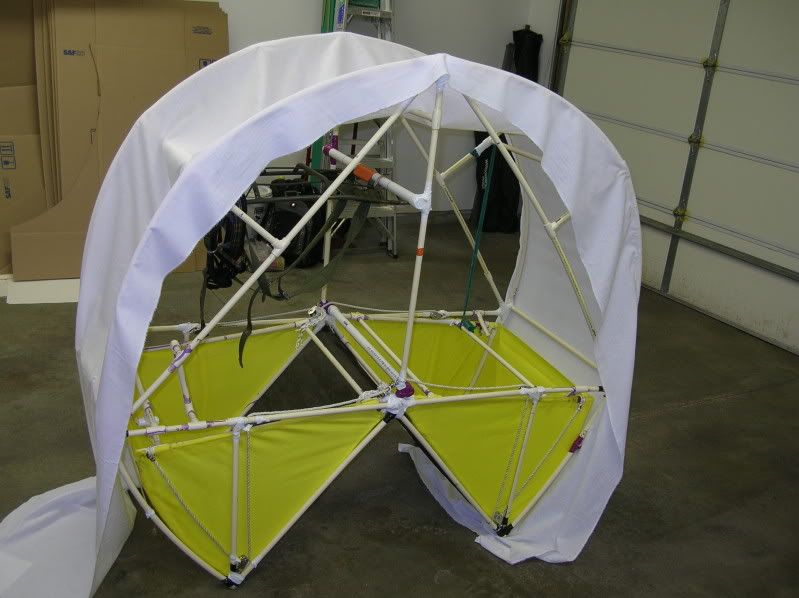
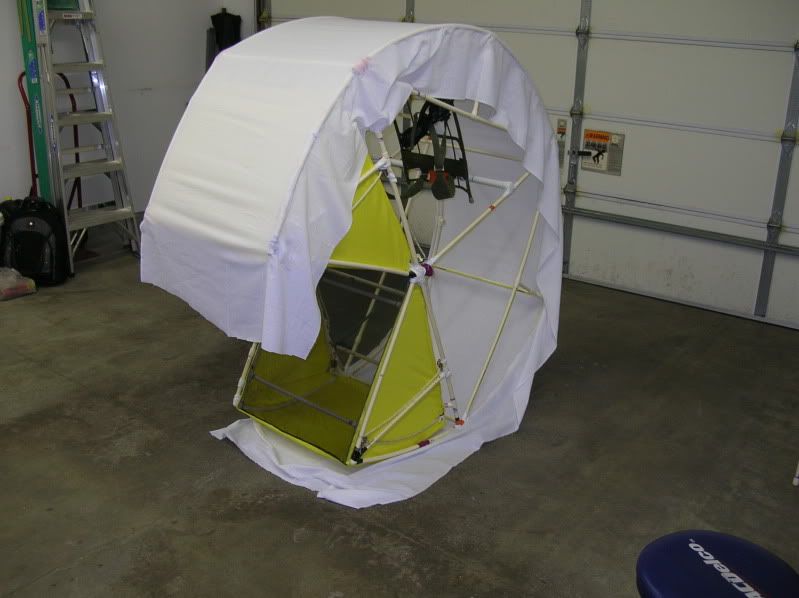
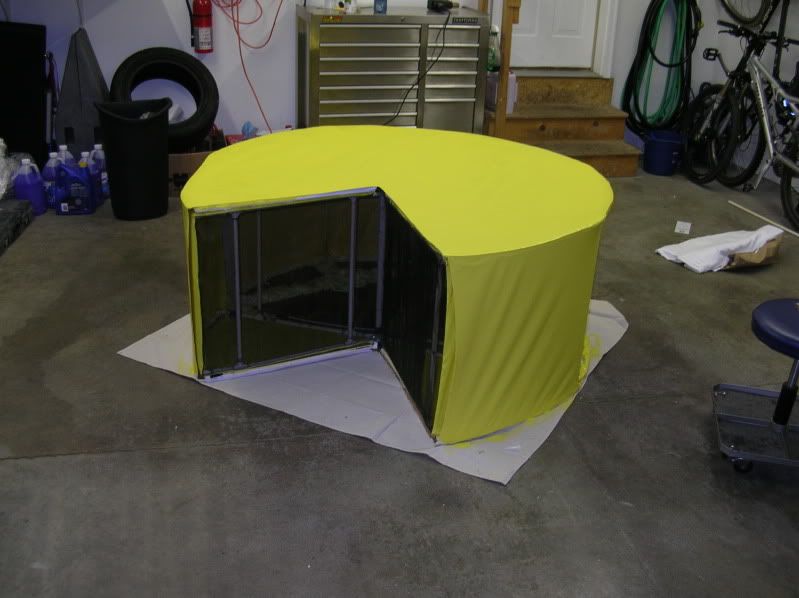
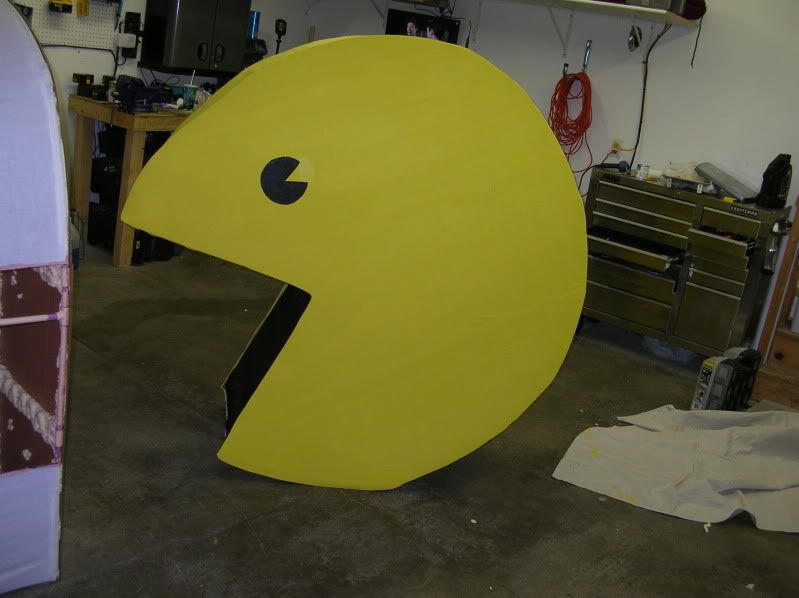
A few delays, but PacMan himself is done. I need to snap a picture of the inside since it has changed a fair bit. As of now I have the little battery module and the two small speakers it runs installed at the top shooting out the mouth as well as a battery operated fan aimed at my face. Hopefully the foam holds up to all of the abuse and nothing falls off!

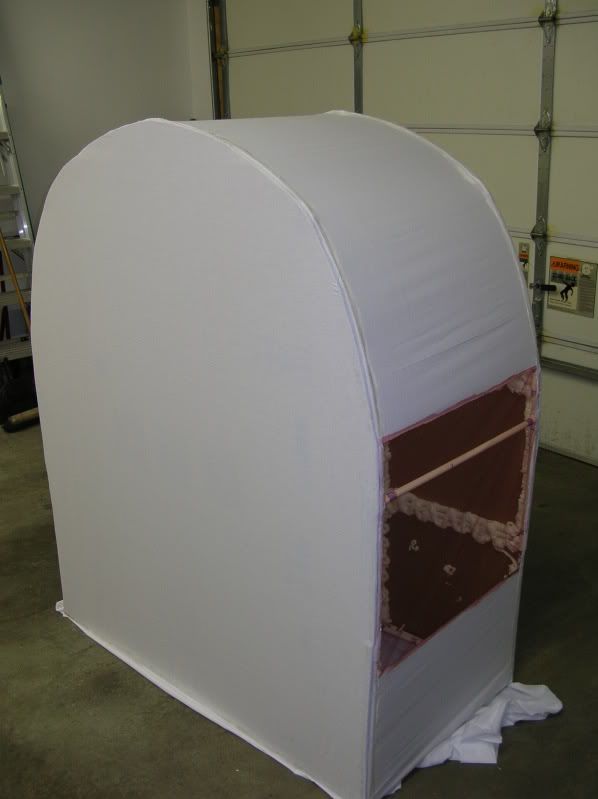
It hasn’t turned out nearly as round as I would have liked. I think that I really would need to have a ring roller in order to get the thing super round. Plus the mouth pieces sticking out too far caused me to have to give extra room by misshaping the front of the suit.

Image

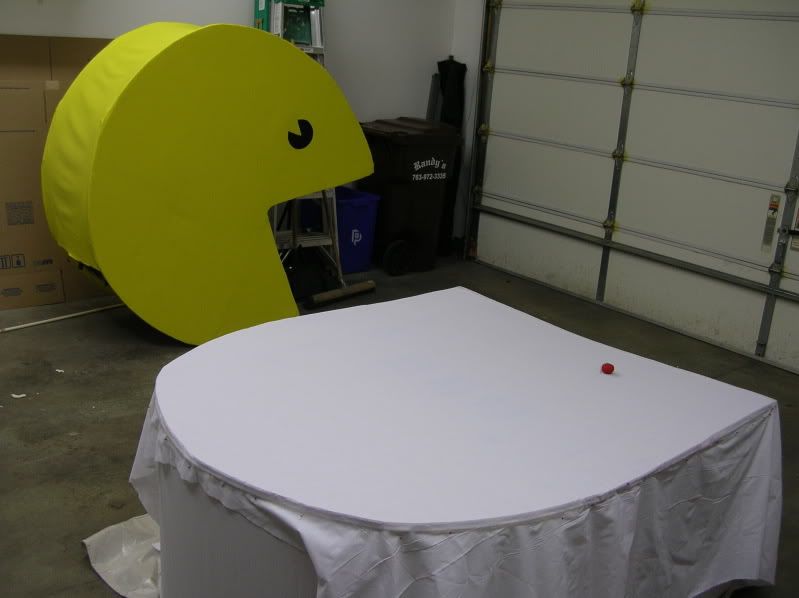
Both costumes:
Image


The ghost is coming along nicely. I’ve got the fabric stretched on the sides now; and all I’ve got to do is cut off the extra on one side, glue down the ends of that fabric, paint, and somehow cut the squigglies out for underneath.

Image

Image

I’ll have a video up soon, hopefully later tonight of the thing in action!

User avatar
adrian
Halloween Master
Posts: 6231
Joined: Fri Oct 17, 2008 9:55 pm
What is the highest number?: 10992
Location: Buice Manor in Beulah AL

Re: My PacMan costume

Post by adrian » Thu Oct 22, 2009 6:19 pm

PAC MAN looks Awshum!!! i love it
Last night 'twas witching Hallowe'en
Dearest; an apple russet- brown
I pared, and thrice above my crown
Whirled the long skin; they watched in keen;
I flung it far; they laughed and cried me shame
Dearest, there lay the letter of your name!

Techy101
Zombie
Posts: 12
Joined: Wed Oct 07, 2009 5:11 am
What is the highest number?: 10992

Re: My PacMan costume

Post by Techy101 » Fri Oct 23, 2009 1:16 am

Video at the end of this post!

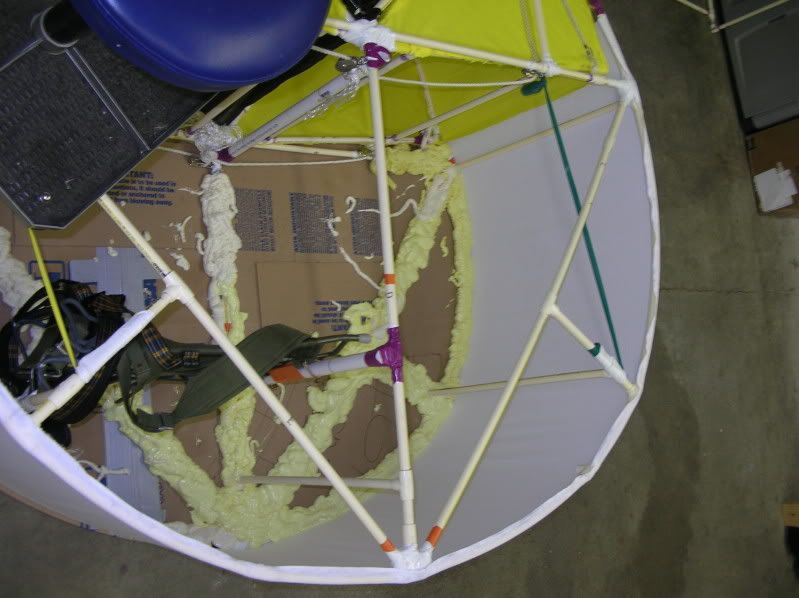
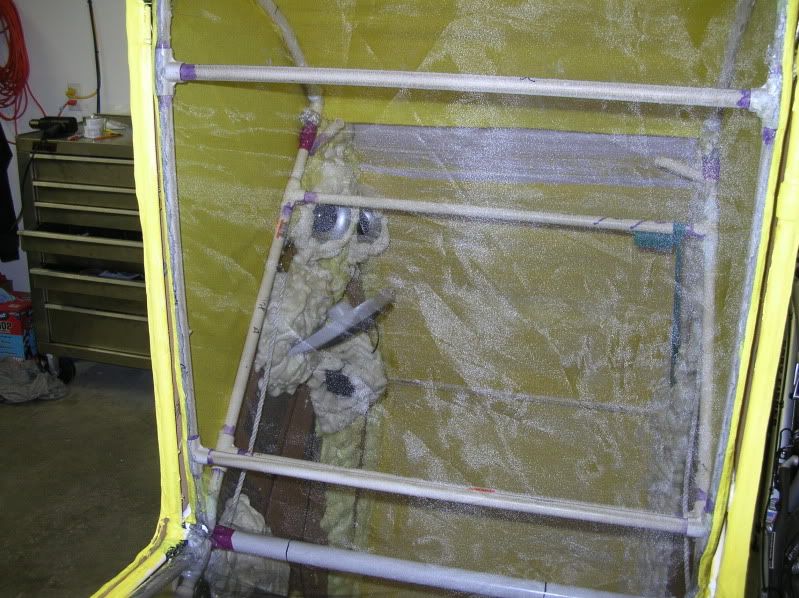
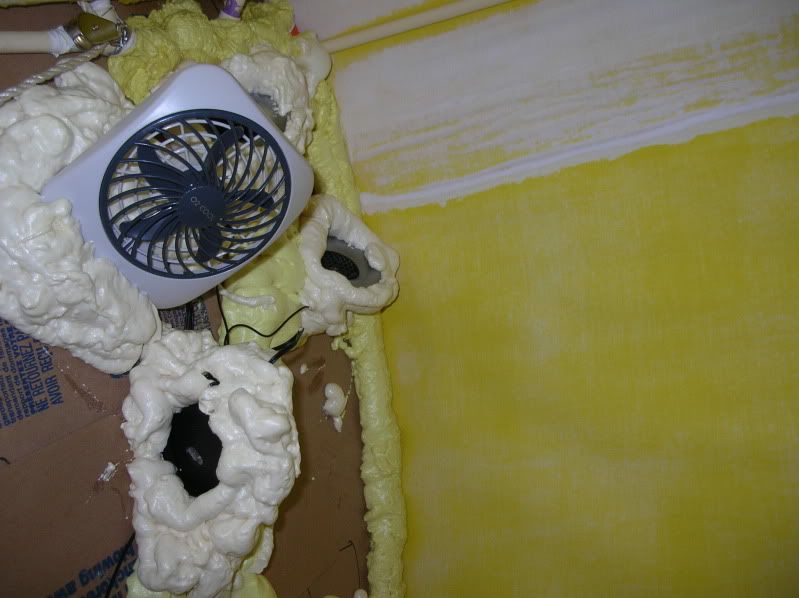
Here are a couple more pictures of the finished costume, first is one looking through the mouth. You can see the speakers, the little round speaker battery pack/amp, and the fan all mounted to the inner wall.
Image

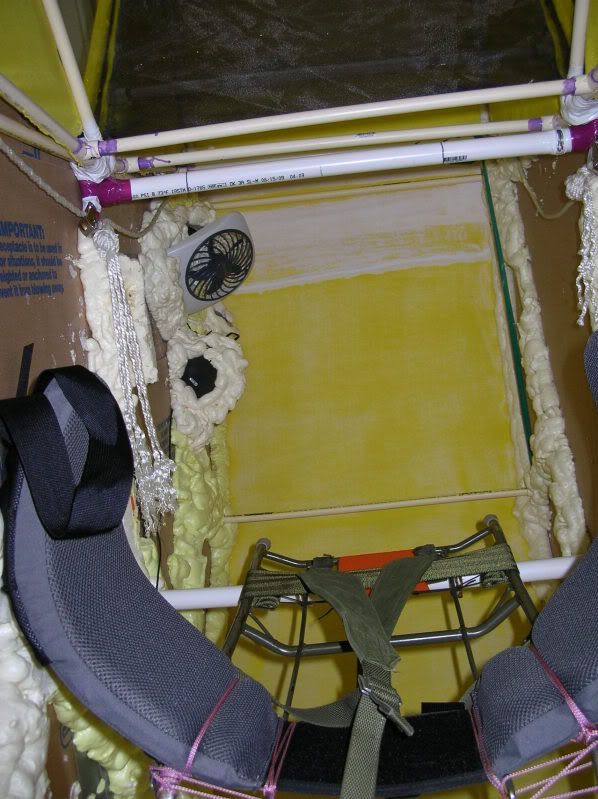
Here is a shot from the opening in the bottom looking up toward the top of the suit. You can see the fan and battery pack/amp. They’re all within reach while the suit is on. The large block of foam on the left has cutouts in it for my cell phone holster clip and for the iPod.
Image

In this one you can see one of the speakers
Image


The loose ends of the side fabric were glued down tonight on the ghost, and I think it’s going to get painted tomorrow.

Image

Image


And lastly I have a video of the costume in action. It doesn’t look as good as it did in my mind’s eye, but nonetheless, still pretty nifty. The paint was supposed to be color matched to the fabric that is used on the mouth pieces, but the computer at Lowes seems to have not done so well. Oh well, what can you do. I’m really looking forward to next weekend!


http://www.youtube.com/watch?v=fVX0HJGk9C0

User avatar
NeverMore
Halloween Master
Posts: 5163
Joined: Thu Aug 06, 2009 3:35 pm
What is the highest number?: 10992
Location: 2nd level of Hell

Re: My PacMan costume

Post by NeverMore » Fri Oct 23, 2009 1:26 am

.
Even though it wasn't quite what you were shooting for, great job anyway! I hope it's easy to remove, otherwise I suggest staying away from the beers :wink:


Image
                    • [list][list][list][list][list][list][list][list][list][list][list]Image
[/list][/list][/list][/list][/list][/list][/list][/list][/list][/list][/list]

Post Reply